Nailheads are an outstanding accessory that helps add character and charm to any furniture. As with any furniture accessory, nailheads may wear out with time, or you feel the need to change their color to match or reflect a new theme in your house or space.
In this review, we'll answer the following questions about upholstering with nailheads and how you can change the color of nailheads on furniture:
- What are nailheads?
- How can I add nailheads to my furniture?
- How can I change the color of nailheads on my furniture?
- Can I change the color of the nailheads on my furniture without removing them?

What are nailheads?
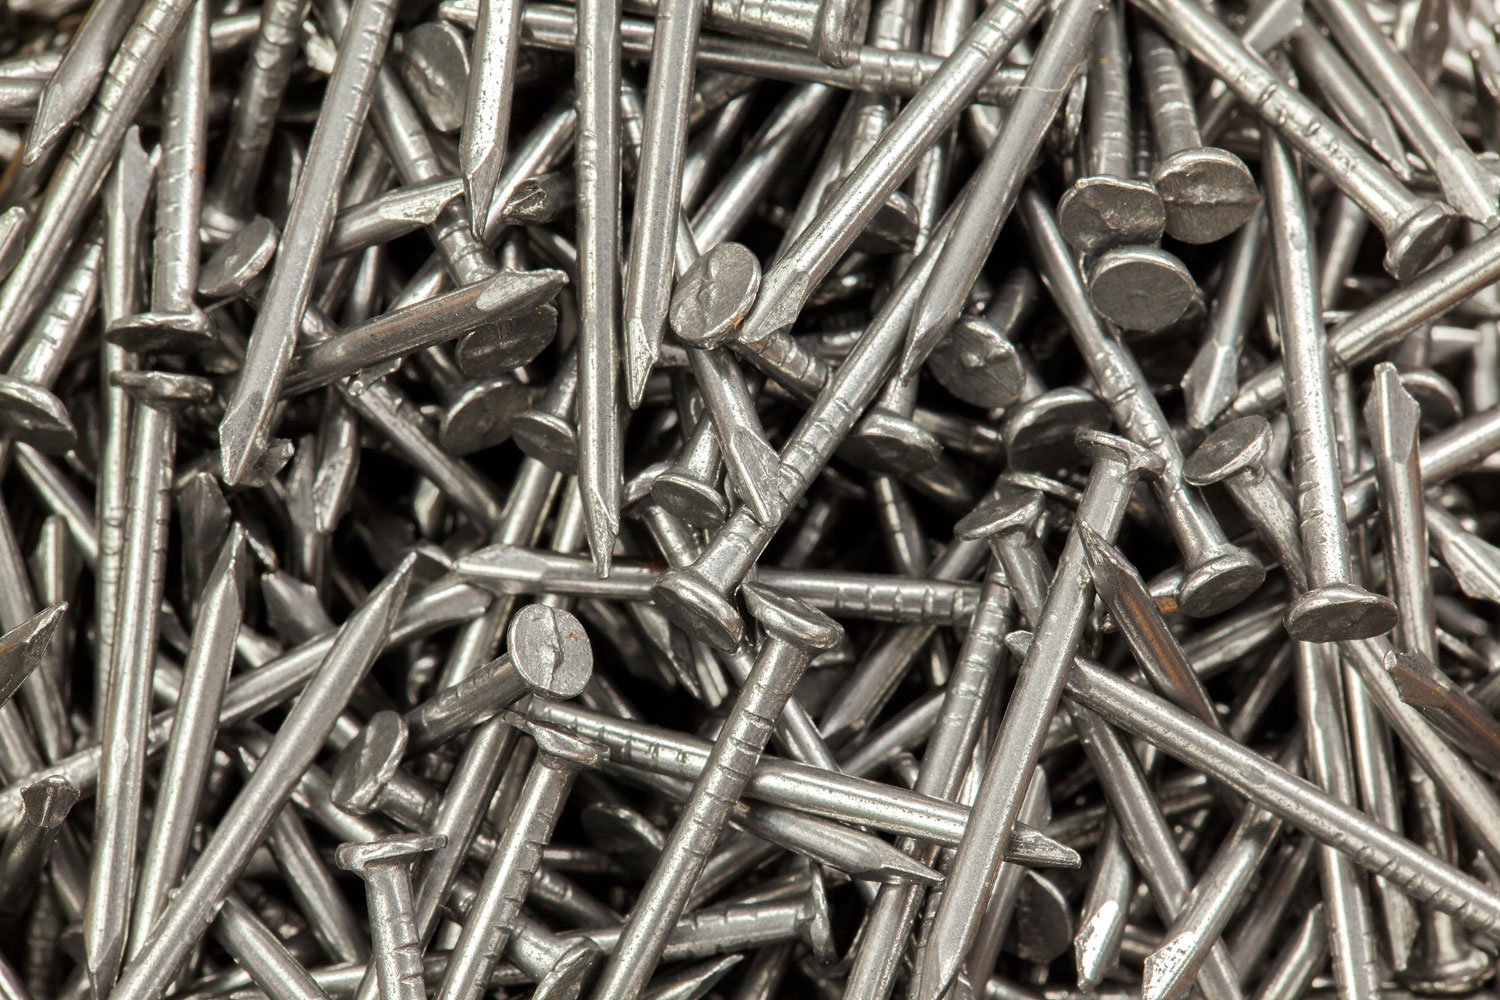
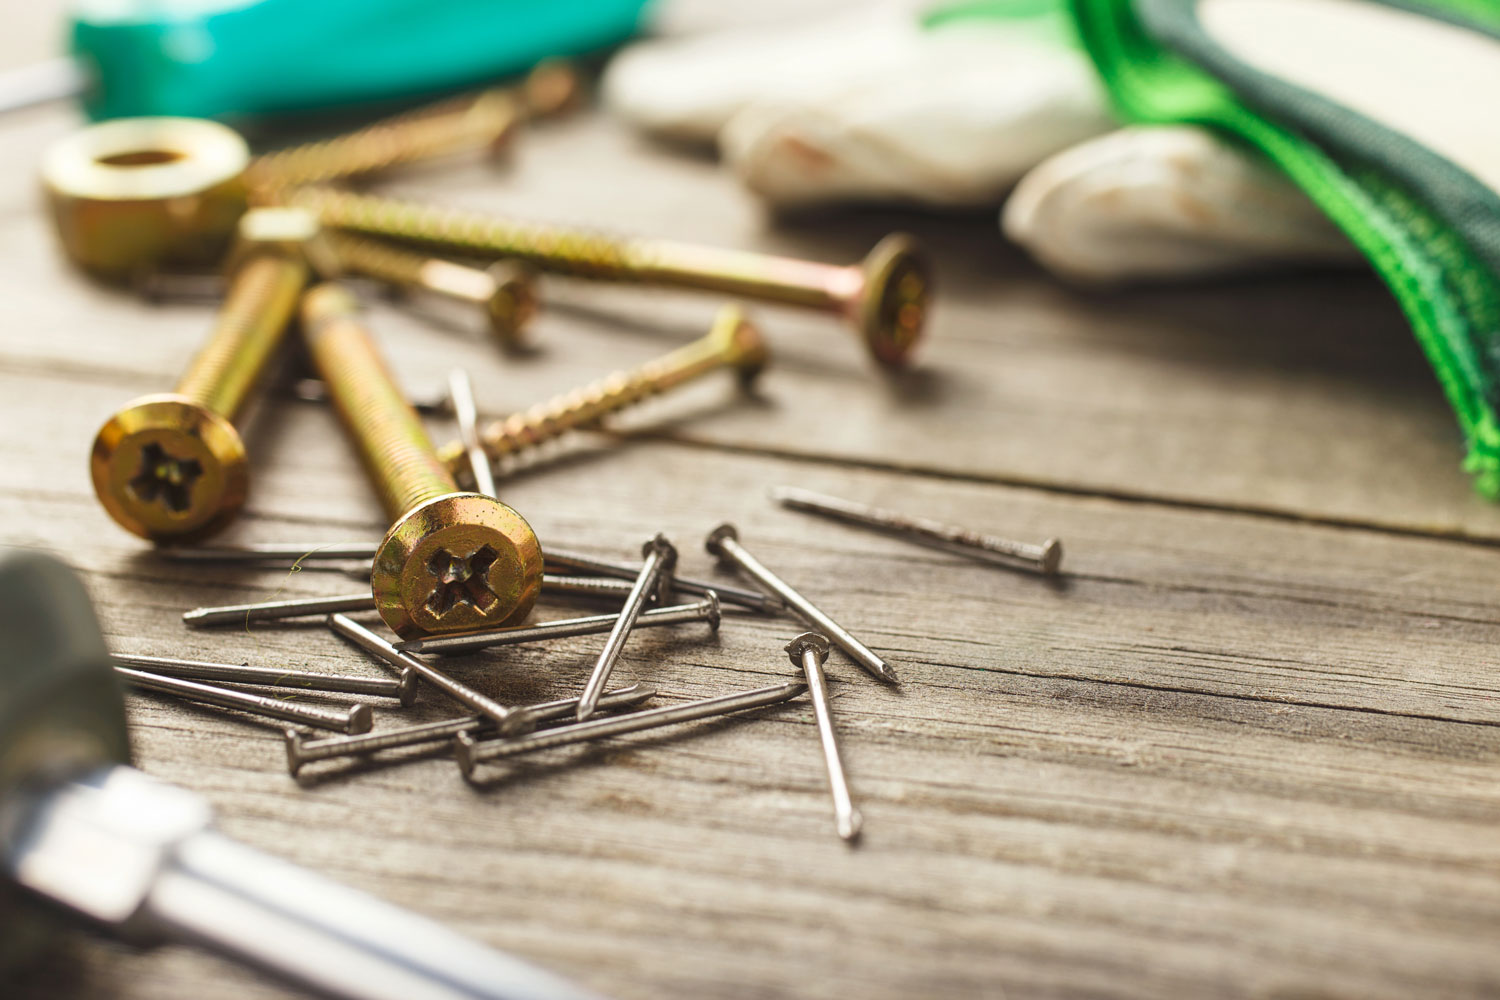
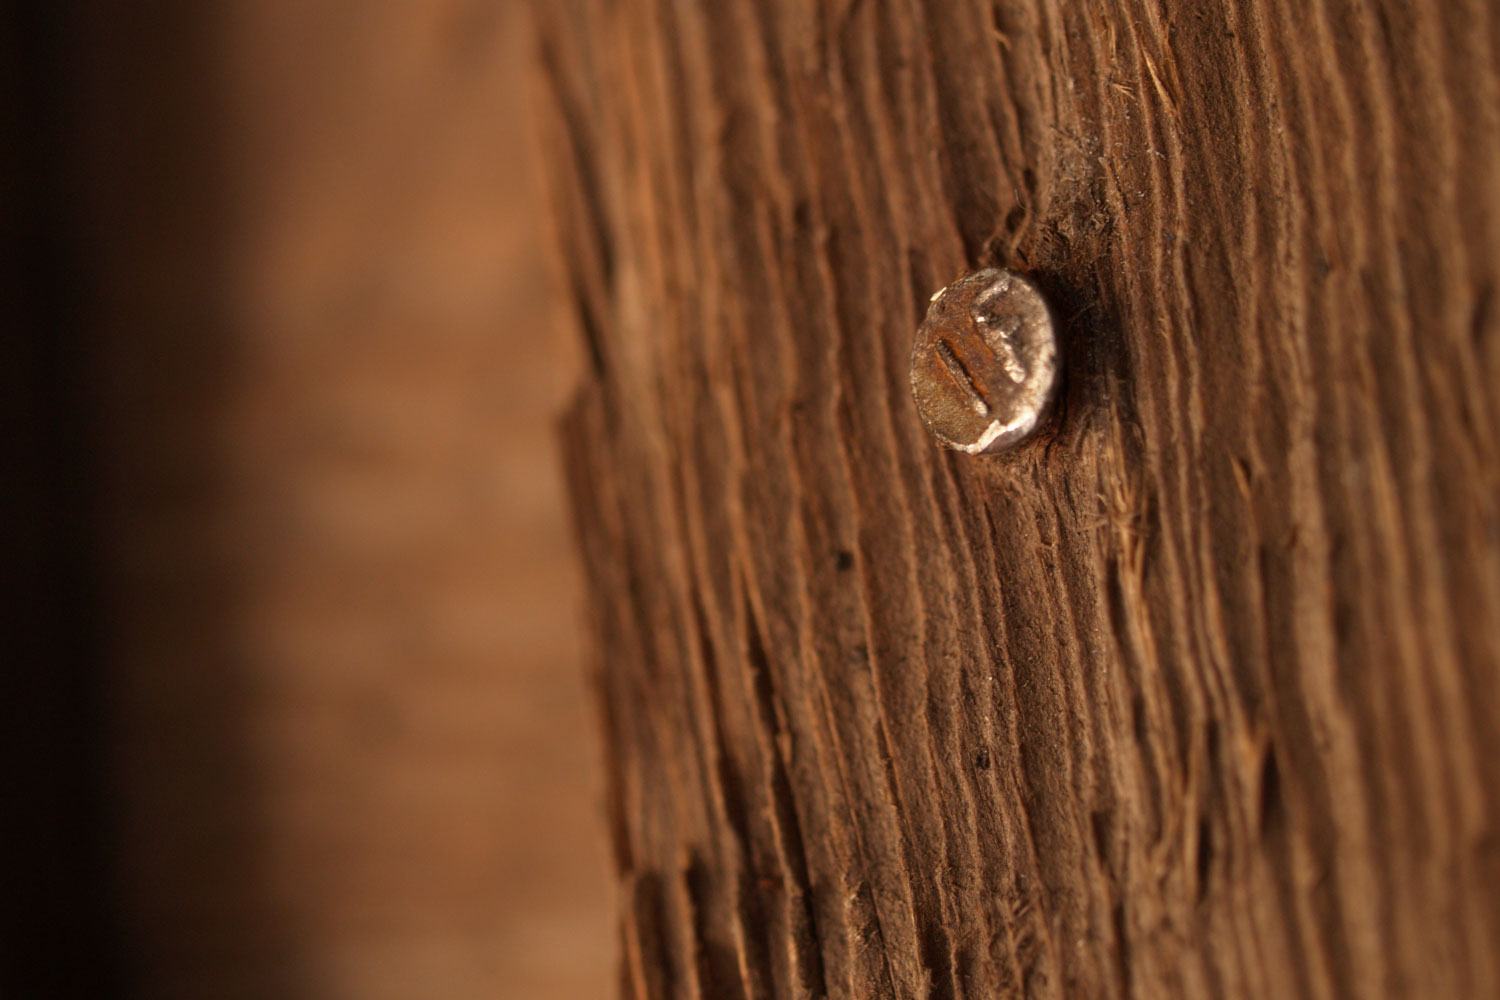
Nailheads, also commonly referred to as upholstery tacks, are the metallic nails used to accentuate or cover the edges of furniture. You can use nailheads on all types of furniture, be it on fabric upholstery, wooden benches, or decorate certain parts of your furniture.
We may include affiliate links and curated AI content to highlight top design styles.
Nailheads come in different colors and sizes. You may want to add nailheads to a plain piece of furniture to highlight its beauty, or you may want to change the color of existing nailheads on a piece of furniture.
How can I add nailheads to my furniture?
If you wish to add nailheads to your sofa, headboard, or other types of furniture, the first thing to consider is the color of nailheads that would go well with the fabric or central color theme of your house. It is also essential to consider the size of nailheads you will need, as different sizes give your furniture a different kind of finish.
If you use small-sized nailheads on a big piece of furniture, they might seem inconspicuous at the end. Big-sized nailheads on small pieces of furniture may also seem too cluttered, removing from the beauty of the furniture instead of adding to it.
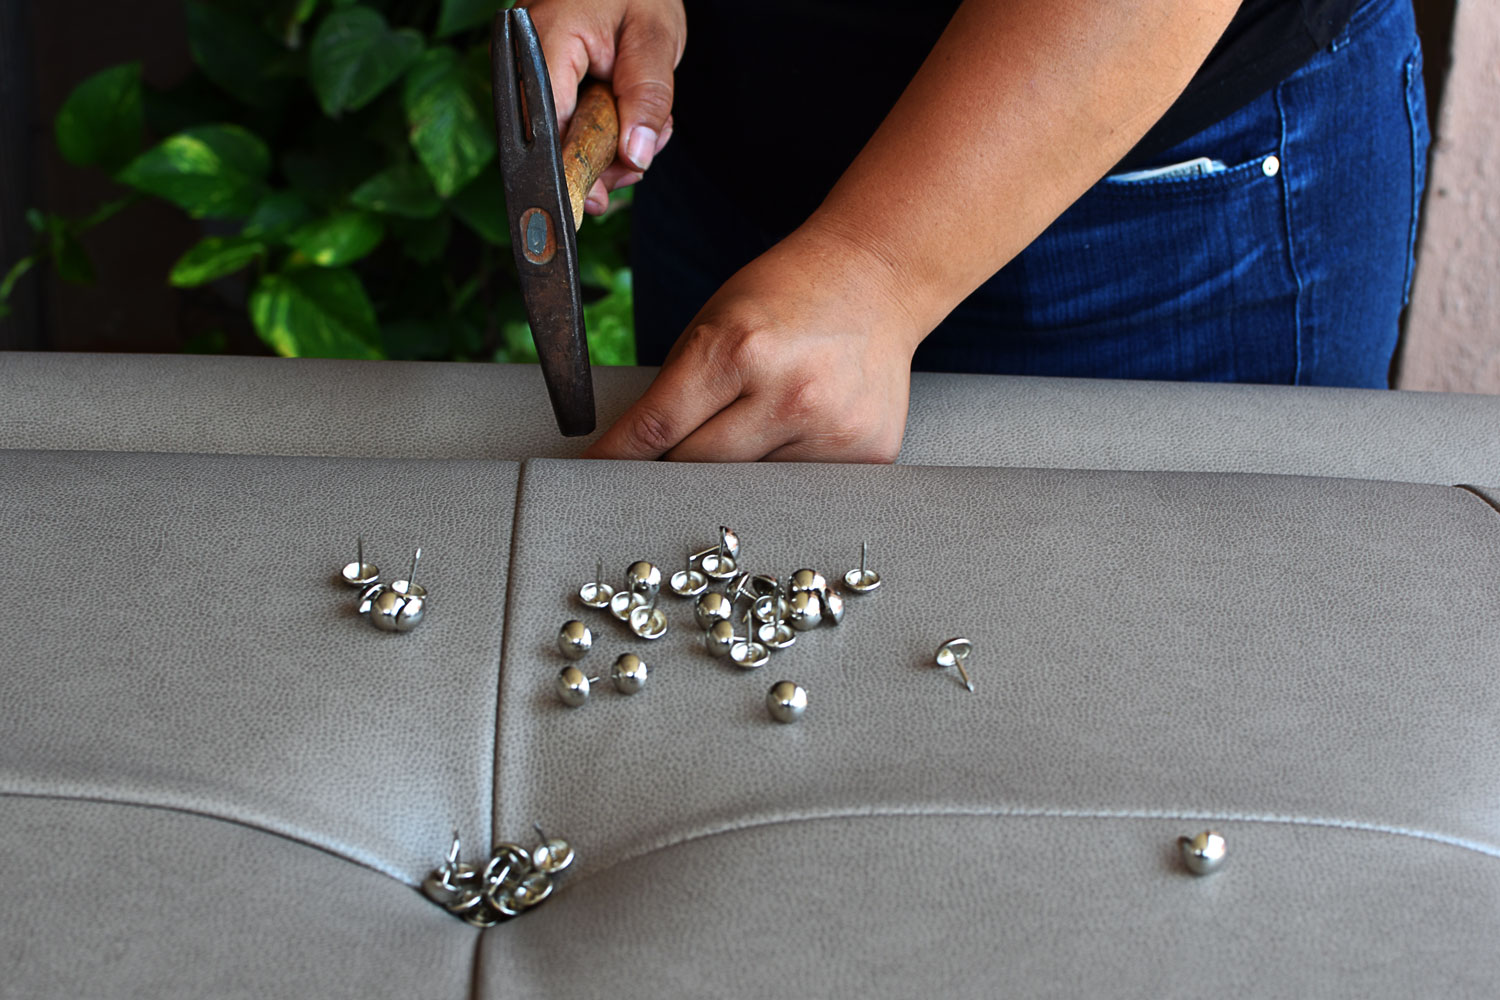
To get a good, quality finish and save on your budget, ensure quality nailheads from the get-go. Given the size and fragile nature of individual nailheads, they may bend and warp as you hammer them onto your furniture. To add or change nailheads on your furniture, you will need:
- Quality nailheads
- Rubber hammer
- Tack remover
- Measuring line/ruler
- Marker pen
Once you have all your supplies ready, decide how you want to place your nailheads. A tight line of nailheads may work for some applications, while a spaced-out line may work for others. Use the measuring ruler or tack ruler and marker pen to mark the line and spots to place your nailheads.
Hammer in your nailheads on the line you have mapped out on your furniture. It is essential to use a rubber hammer to install the nailheads as it does not scratch out the color on the nailheads as you nail them in place.
Remove any bent or warped-out nailheads as you go with the tack remover to avoid tearing or scratching out the fabric or surface of your furniture.
How can I change the color of nailheads on my furniture?
You can either change the color of nailheads on your furniture by removing the old nailheads and installing new ones in your preferred color. A new set of nailheads will save you the time you may spend painting nailheads on furniture and give you a defined, uniform look on all nailheads.
If you wish to change the color of your nailheads to a unique color that's not available on nailheads in the market, you can buy nailheads and paint them yourself. Re-painting may take time, but it's worth every minute of effort in the final look of the nailheads.
To paint nailheads, you will need:
- Quality nailheads
- Painters tape
- A wide-mouthed bucket
- Spray primer
- Spray paint in your preferred color
Start the painting process by cutting the painter's tape into multiple strips and placing them across the mouth of the bucket. These strips will be the surface where you place the nailheads to paint and dry out before installing them on your furniture.
Next, push your nailheads onto the strips while spacing them out to ensure complete coverage of paint around the surface of the nailheads. Once this is done, spray the nailheads with the spray primer. Ensure to use a spray primer specific for metallic surfaces for best results.

Check out the Rust-Oleum Professional Primer Spray on Amazon here.
Apply two coats of primer and allow 10-15 minutes between each coat to allow sufficient drying. Also, ensure to spray from different angles to ensure complete paint coverage on each nailhead. Repeat the same process with the spray paint, applying three coats of colored paint.

Allow the freshly painted nailheads to dry out overnight before pulling them out of the tape and installing them on your furniture. Use a rubber hammer to install the nailheads without chipping the paint off during application.
Can I change the color of the nailheads on my furniture without removing them?
Yes, you can. However, this method can be tedious and quite messy, but good if you are on a tight budget. You can also choose to change the color of nail heads without removing them if they are permanently fixed, and removing them would cause more harm than good.
To change the color of nailheads on furniture without removing them, consider spray painting them or applying the new color using a brush. Both of these application methods can be messy, so consider covering the other parts of your furniture from getting the paint.
You can use masking tape to cover the areas you do not wish to paint on your furniture. This tape can cover the extensive areas and the small sections between the nailheads. If you are using spray paint, use a spray primer first before the paint itself.
If you are using a brush to paint on the nailheads, choose a rounded brush in an adequate size, depending on the size of the nailheads. Start painting the nailheads from the center out, and run the brush around the edges to ensure complete coverage.
As usual, start painting the nailheads with a primer to ensure the paint holds well on the metallic nailheads and lasts longer. Also, ensure sufficient time between each application to allow the coats of paint to dry out well without bubbling up.