If you're looking to hang pictures without using nails, we feel your pain! Nails and hammers are a dangerous mix, especially if you’re living in rental accommodation.
Lucky for you, there are tons of ways to get those massive frames on the wall without ruining smooth walls. We’ve scavenged the internet to provide you with the best, nail-free alternatives that won’t take much of your time and energy. These methods are also fun activities, that have the most satisfying results.
Here are three ways to hang pictures without nails:
- Command strips to hold up the frame (most effective)
- Hook-and-loop tapes (or Velcro) for textured walls
- Command hooks for frames that weigh between 50 and 80 pounds
We know you’re itching to mount your art or photo frames using these genius ideas. We also know that you need in-depth, step-by-step instructions on how to go about each option. So, keep reading because we’ve explored all the methods listed above in this post for a clearer understanding. We sure hope it helps!
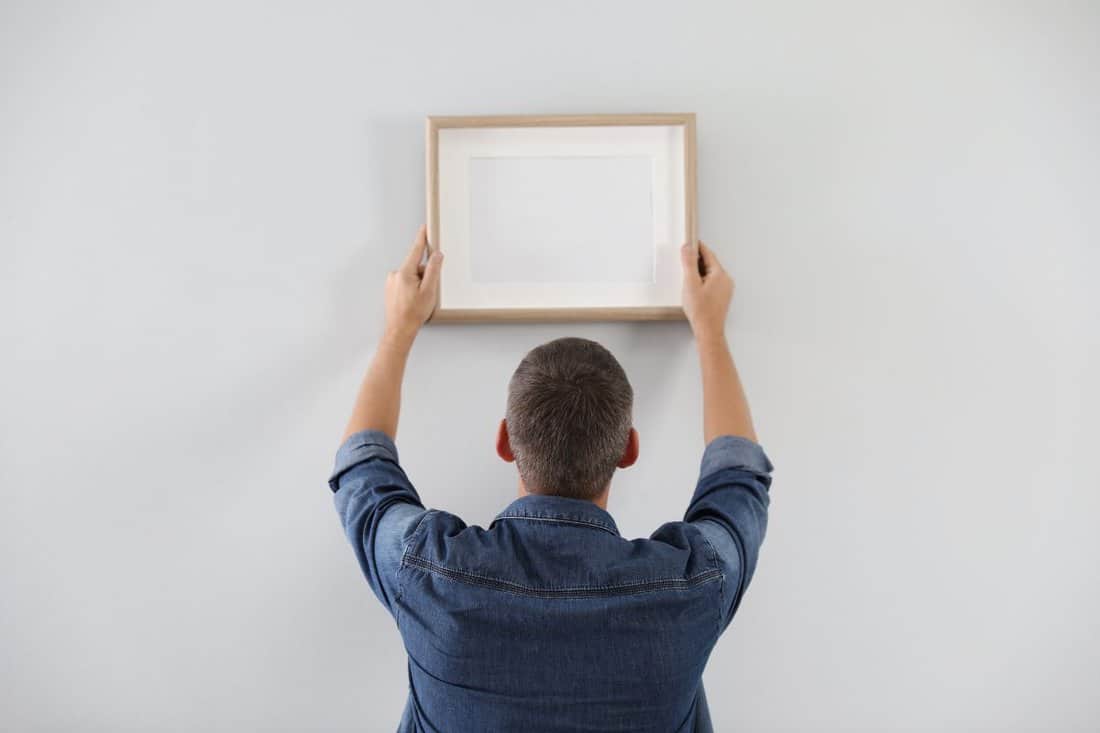
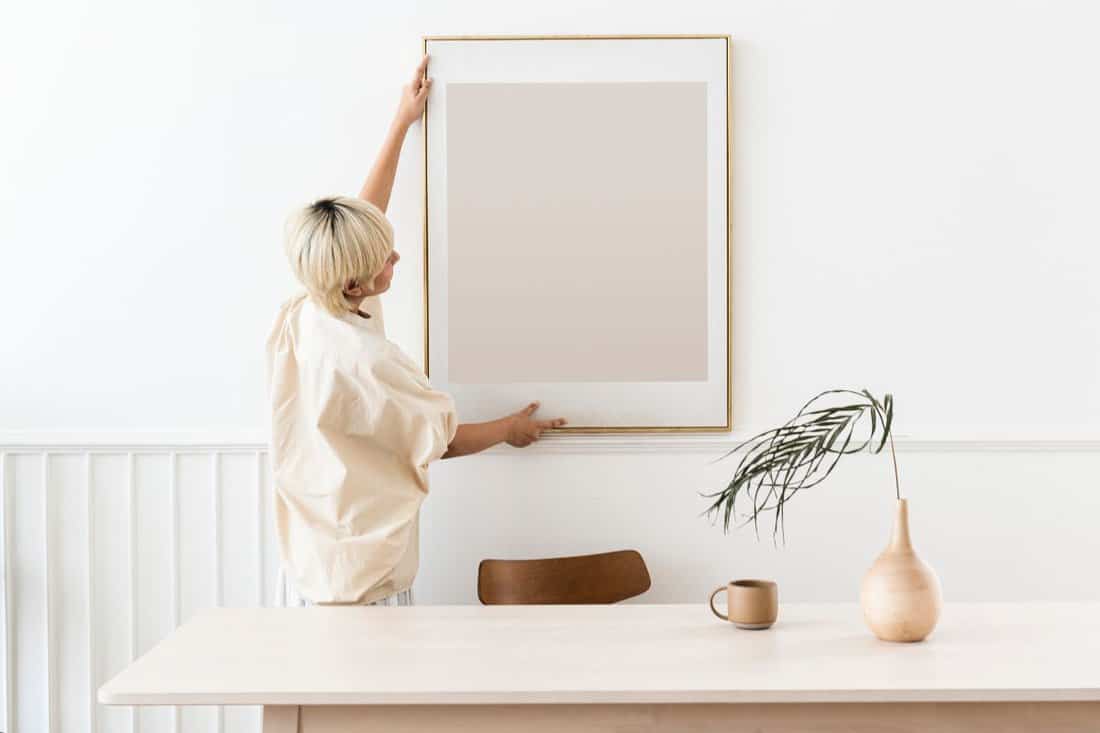
![Woman hanging blank photo frame on white wall. - How To Hang Pictures Without Nails [3 Easy Ways]](https://homedecorbliss.com/wp-content/uploads/2020/08/Woman-hanging-blank-photo-frame-on-white-wall.-How-To-Hang-Pictures-Without-Nails-3-Easy-Ways.png)
How To Hang Pictures On Concrete Walls Without Nails
No nails needed to hang pictures on concrete? Sounds unbelievable, but it’s 100-percent possible. Here’s what you’ll need, along with a clear guideline on displaying your pictures on the walls using adhesive hooks:
- Rubbing alcohol
- Pencil
- Command hook
- Paper towel
Step 1: Prepare The Wall
We may include affiliate links and curated AI content to highlight top design styles.
Start by cleaning the wall using alcohol, or a similar cleanser, for a firm hold. Water and detergent can work too. Pour your cleaning agent/solution onto a small rag or paper towel and wipe the surface gently. This rids the surface of any unpleasant elements or debris that could hinder the adhesive from achieving a firm grip.
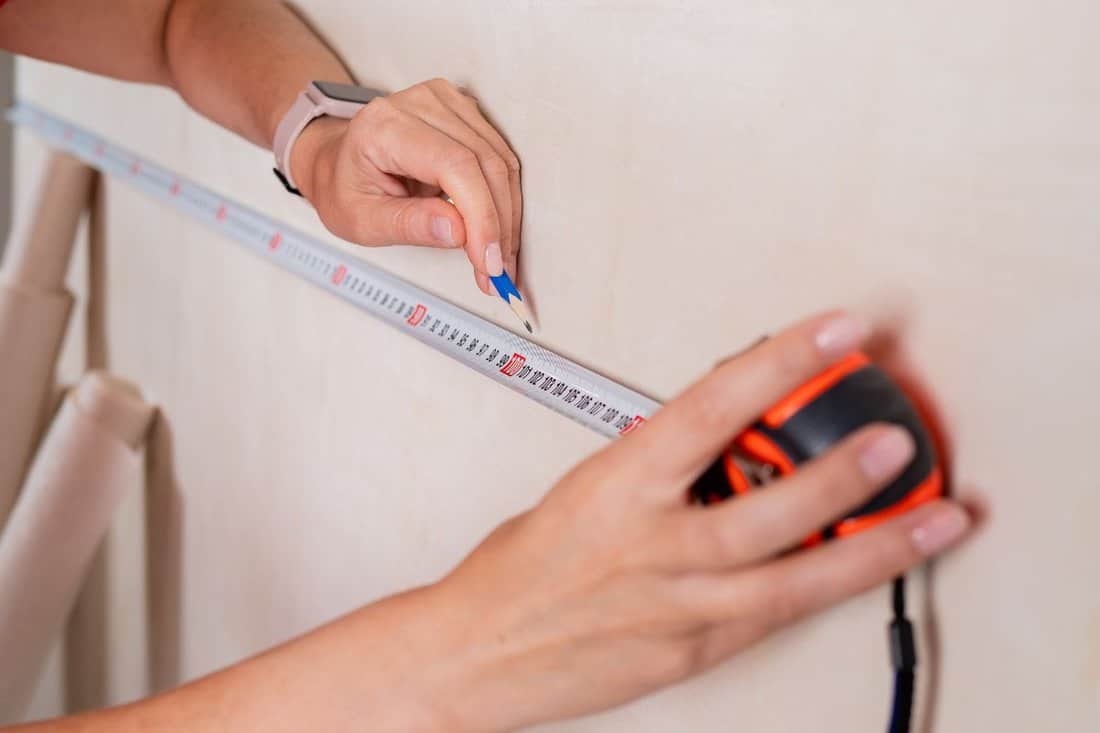
Step 2: Make Visible Markings
Do this using a light pencil, as using a marker will only stain the wall you’ve worked so hard to clean. Mark a visible spot on the exact area you want to install the hook. Be as precise as you can to avoid any costly mistakes.
Step 3: Stick The Adhesive To The Wall
Peel the covering from the command hook and align it with the markings you made in step 2. Once it's in place, press the hook as hard as you can for up to 30 seconds to make sure it has a solid hold on the surface.
Step 4: Allow The Adhesive To Dry
Don’t hang your picture on the hook just yet. Give the adhesive approximately 30 to 60 minutes to do its job and keep the hook tightly stuck on the wall. Later, test the strength of the hook by hanging your heavy picture.
If it falls off, repeat the whole process with a fresh set of command hooks and follow each step more carefully.
How To Hang A Canvas Painting Without Nails
Here’s what you’ll need for a seamless process to hang a canvas painting without nails:
- Level
- Four or more command strips
- Painter’s tape/piece of chalk/pencil
Before you get started, ensure your canvas painting is nowhere near your working area. You wouldn’t want your foot landing on your fancy piece accidentally! With that said, let’s get started:
Step 1: Take the command strips and separate each one by pulling them off. Connect the bottom sides of each strip, one on top of the other. As you connect the sides, you’ll hear a “snap” sound. This is one way to verify the strips' functionality.

Step 2: Separate the strips and paste them on the corners at the back of your canvas painting. How many strips you’ll need depends on the size of your canvas painting. Once you’ve placed them on the back of your canvas painting, unpeel the covering from each command strip.
Step 3. Position your canvas painting on the desired spot and place the level on top of it. Hold the canvas painting in a way that you don’t press the canvas painting to the wall. Once the bubble is at the center of the level, aligned at the top of the canvas, be careful not to adjust the canvas painting any further.
Push the canvas painting on the wall and press it hard until it sticks. If possible, knock on the corners with a little force for a more solid grip.
Watch this video for a more practical explanation:
Hanging Pictures Without Nails On Textured Walls
Textured walls are some of the best forms of walls you’ll ever find in a home. This can quickly change once you drive a single nail right into the surface of the wall. Aside from command strips, you can use two other nail-free alternatives to hang your pictures with zero damage.
Hook-and-Loop Tapes
Popularly known as Velcro, this type of tape provides the perfect solution if you’re one to switch picture positions from time to time. Aside from pictures, the hook-and-loop tape is also great for hanging fabric, window treatments, plaques, and frames on walls.

On a side note, hook-and-loop tapes can also be used to add patterned backings or table skirts to furniture. The strong adhesive backing makes it possible to secure anything and everything.
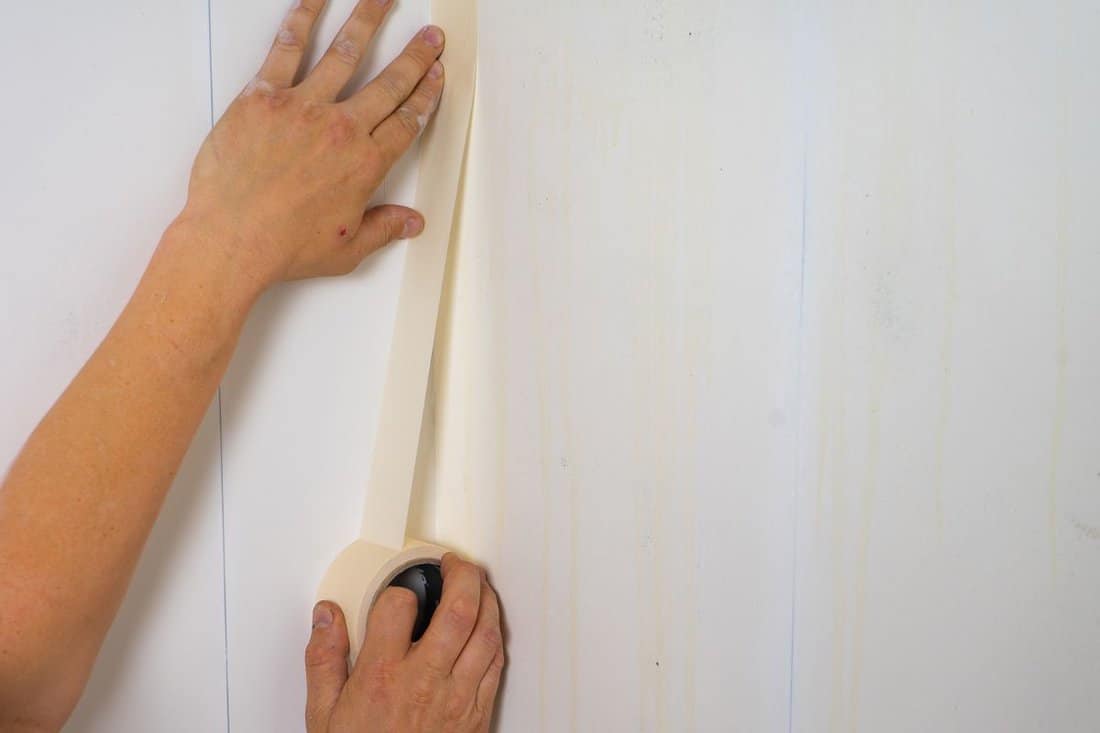
Washi Tape
Washi tape is among the most cost-effective options when it comes to affixing pictures on the wall. However, this will depend on the weight of the item you want to hang. Some good options to use include sticky putty, masking, double-stick, and packing tapes.

Just stick small pieces of vinyl or tape on all four corners and voilà! Use some great tape, and you’ll notice how much texture, pattern, and color it adds to your room!
How To Hang Art Prints Without Frames - Without Nails
So, you have art prints without frames; that’s no reason to keep them in between your books or under your mattress. You do not need nails to hang a piece of paper, do you? Post art prints on your wall using these handy alternatives:
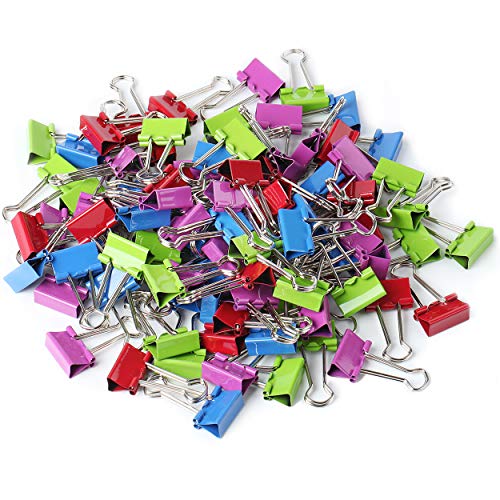
Binder Clips
Using office supplies for decorative purposes is completely unheard of, which makes it even better. Binder clips are easy to find, really affordable, and can give your wall a classic, industrial look.
Clipboards
Clip your art print onto a clipboard and change the prints as often as you want. Having one or two clipboard prints on the fireplace, bookshelf, or office desk is sure to make a lasting statement to you and your guests.

Clips And Strings
Not only do they bring out that Bohemian vibe, but clips and strings also speak volumes of your creativity. Simply stick decorative strings from one end of the wall to the next with tape, then clip your art prints onto it. The more hanging prints, the better.
Do Command Strips Work For Heavy Pictures?
If you’ve used command strips before, then you understand just how strong they can really be. They work just fine for light and heavy pictures alike. If your picture does not hang for long on the command strip, there must be something you're not doing right. Here are a few mistakes that most homeowners make without realizing it:
1. Disregarding Weight Guidelines
The thing with command strips is that they clearly indicate just how much weight they can carry. Before buying a command strip, weigh your picture carefully first to determine the right kind of command strip to use.
2. Using Them On Uneven Surfaces
If you have rough walls, you’ll be better off when you make them smooth first before hanging heavy pictures. This applies to walls made of timber, concrete, textured wallpaper, and brick walls.
A sure way to cover up roughness is by using high-quality wallpapers that fit your home’s general design. Read, "15 Faux Brick Wallpapers That Can Transform Any Room Design," for more tips and ideas.
3. Failure To Prepare Surfaces First
Command strips are most effective on dirt-free, smooth walls. Wipe the spot you want to hang your picture using methylated spirits, alcohol, or other effective cleaning agents. Steer clear from using cleaning wipes or surface sprays. These will hinder the effective bonding of the strips to the wall.
4. Not Pressing Hard Enough
Don’t be afraid to apply an extra form of pressure to your picture once you’ve placed the strips to hang it on the wall. Press along the specific areas you’ve placed the strips and make sure it sticks completely.
5. Adjusting It Once It’s In Place
Use a level to make sure the picture is placed correctly before sticking it to the wall. Adjusting it soon after will only weaken the adhesive and cause the picture to lose its grip and fall. Keep reading to find out the weight limits that different size command strips can accommodate.

How Much Can Command Strips Hold?
As noted earlier, every command strip comes with its own unique size and weight restriction. This information is often listed on the package. The larger strips can handle art or pictures that weigh an excess of 16 pounds. Smaller command strips can only hold up to four pounds.
For hanging anything, it’s recommended that you buy a size that’s a little bigger than the actual weight of your frame or photo. This is worth trying if you doubt whether the strip you purchased can actually handle the weight indicated on the package.
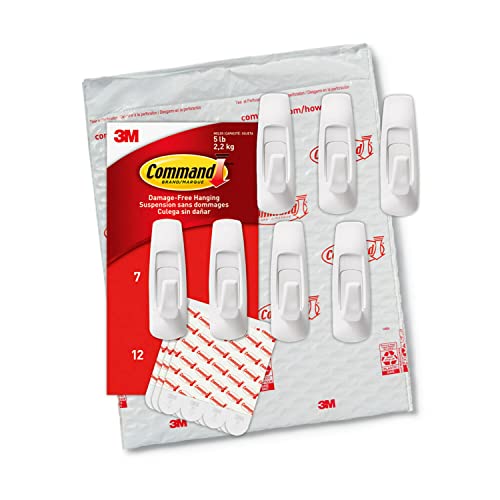
For best results, steer clear from using two command hooks to hang your frame. Once the adhesives of the two strips are pushed together, they can hold a combined weight of 15 pounds. The best thing to do is to use a single strip with a better weight capacity. A good example is the Command Jumbo Utility Hook. This strip can hold a whopping seven-and-a-half pounds and stay firmly plastered on the wall for the longest time.

How Heavy Can You Hang Something Without A Stud?
In case you don’t know, a stud is a strong piece of wood that acts as the frame of a wall. It is located directly underneath the wall. Many homes today have vertical studs that are spaced approximately 16 inches apart from each other. There are also studs that run horizontally.
Studs act as solid foundations for nails or screws when you need to hang something on the wall. Without the studs, you cannot hang more than 10 pounds. As durable and versatile as it is, drywall is extremely weak without a stud beneath it. That’s why you shouldn’t risk using any nails or screws at this point. If you have a picture or frame that’s a lot heavier than 10 pounds, your best option is to use something that won’t ruin your frame once it crashes down unexpectedly.
Because drywall isn't very sturdy, avoid hanging art and pictures from spots that are void of studs; that is, if you’re using nails or screws. If you’re not, adhesive strips and hooks can serve the same purpose.
With either of these adhesives, you won’t have to worry about missing a stud or searching for any weak spot with a stud finder. Anywhere on the wall is good enough. They each have varying glue strengths, with the maximum carrying a weight of approximately 16 pounds.
When using an adhesive, be sure to follow all the instructions provided above to prevent any accidents.
Get Those Memorable Pics And Classy Art On The Wall
Whether you’re in rental or permanent accommodation, the tips and tricks outlined in this post are sure to preserve your walls’ beauty. The types of walls in your living space should not hold you back from adding a personalized touch to your rooms.
![A modern dining room with a framed map hanging on a white wall, How To Hang Heavy Frames Without Nails [3 Easy Ways]](https://homedecorbliss.com/wp-content/uploads/2020/08/How-To-Hang-Heavy-Frames-Without-Nails-3-Easy-Ways.jpg)