
You feel like your bedroom could really use some new furniture, but that isn't in the budget right now. Your old furniture is still in pretty good shape; it's just in sore need of an update. Now you've started wondering if you could jazz up that furniture as a do-it-yourself project. You're in the right spot; we've done some research for you and want to give you some help repainting or restaining your worn-out bedroom furniture!
To repaint or restain bedroom furniture, if you want your paint job to last, you will need to complete the following steps:
- Clean the furniture.
- Strip the old paint or stain.
- Apply primer.
- Paint or stain the furniture.
- Use a furniture seal to protect.
These are the most basic steps for revitalizing your old bedroom furniture, and although it sounds fairly simple, there are many more details involved if you want to get it right. Read on to learn the full process and best tips for a beautiful project you can enjoy for years to come. We'll also recommend some quality paints and stains for your furniture.

1. Clean the Furniture
It might be easy to overlook, but making sure the surface of the furniture you're working with is clean can most definitely affect your results. Start by removing all the hardware on the furniture (handles, hinges, etc.) and wipe the entire thing down with a clean, damp cloth. If it requires a bit more than a damp cloth to come clean, try some furniture cleaner such as Murphy's Oil Soap. Be sure to let the furniture completely dry before moving on to the next step.

We may include affiliate links and curated AI content to highlight top design styles.
2. Strip the Old Paint or Stain
Now that the furniture is squeaky clean, it's time to remove the old paint or stain from its surface. There are two different methods of getting this step done, so let's discuss them both.
Sanding
By far, the most popular and straightforward method, using sandpaper, will get the job of stripping done. We recommend using medium-grit sandpaper. If you're painting or staining a chest of drawers or dresser, remove the drawers and work on them separately. Sand the surface until it is smooth, and the shine is gone.
Sanding can take a lot of elbow grease, so if you have a power sander, now is the time to break it out. These are also generally available to rent at most hardware stores. If you don't want to invest or rent a power sander, a sandpaper block will make this job easier.
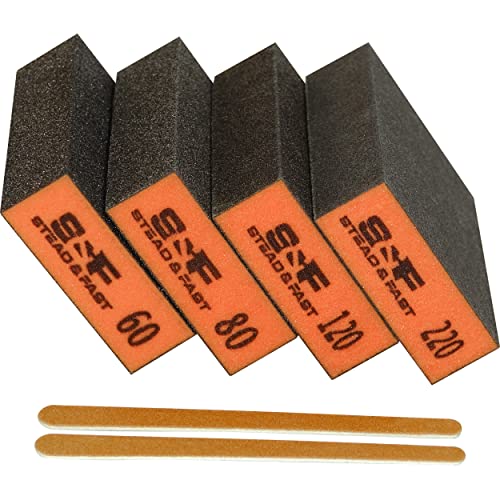
View these sandpaper blocks on Amazon.
You might have to switch to fine-grit sandpaper to get into small crevices on your furniture's surface. Having fine-grit sandpaper will come in handy later, as well.
Using a Chemical Stripper
Chemical strippers take less elbow grease, but there are more steps involved in the prep and cleanup. Be sure you're in a well-ventilated area and are wearing proper protective equipment (goggles and gloves at the very least).
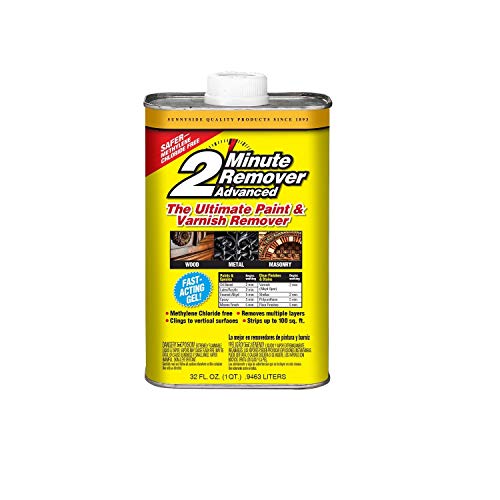
View this chemical stripper on Amazon.
Chemical strippers come in different forms, but regardless of whether you choose a liquid or spray, you'll need a stiff paintbrush to spread the stripper over the surface in a thick, even layer. Don't try coating the whole thing with the stripper all at once either; work in sections. Allow the stripper to sit according to the manufacturer's instructions, then scrape the paint or stain with a putty knife. You might need to use sandpaper or steel wool for stubborn spots.

View this putty knife set on Amazon.
After the furniture is stripped, follow the instructions on the stripper on how to clean it from the furniture's surface. Cleanup after is important, because any remaining stripper could make it impossible to prime and paint afterward if not removed.
3. Apply Primer
Before applying primer, use a tack cloth (a lint-free cloth) to wipe down the furniture to ensure it is completely free of dust and debris.
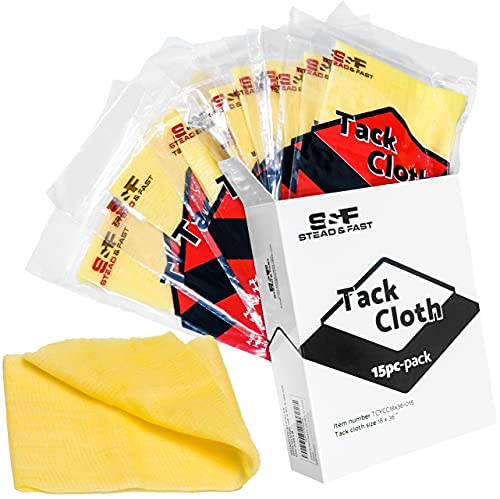
View this tack cloth on Amazon.
Primer helps your paint or stain properly adhere to the furniture; this is a very important step. Primer also hides any discolorations or stains in the wood.
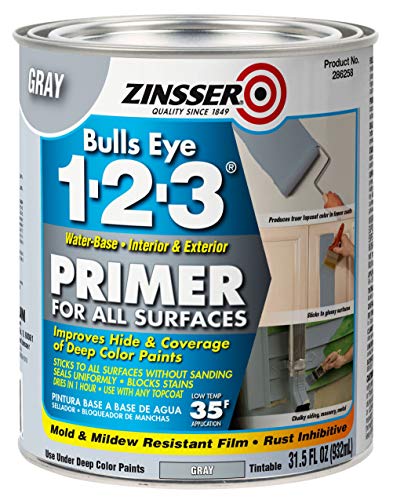
Primer comes in different forms, generally a spray or liquid form. The spray is great to ensure even coverage and will help you get this part done a bit quicker. If opting to use a brush and liquid, be sure a thin, even layer covers the entire piece. Avoid overapplying with either method.
Apply two to three coats of primer before moving on. Allow the primer to be touch-dry before applying the next coat. Any areas where there are drips or the primer was over-applied, use fine-grit sandpaper to smooth the surface. Allow the primer to dry for several hours before moving on to the painting stage. Review the manufacturer's recommendation for total drying time.
4. Paint or Stain the Furniture
Before applying paint or stain, use another tack cloth to ensure the furniture's surface is free of dust or debris. Apply the paint or stain using a nylon bristle brush in smooth, even strokes. Catch dribbles of paint before they set. The best practice for painting is to follow the wood grain. Follow the same principle to apply a stain.
Do at least two coats of paint or stain. Allow to dry in between coats and sand spots where the paint is uneven, rough, or has visible flaws. Use another tack cloth to ensure nothing is clinging to the furniture before applying the next coat.
Once you're satisfied with your paint job, allow it to dry for at least 24-hours before moving on to the next step.
Should all the bedroom furniture you're repainting or restaining match? Read "Does the Nightstand Have to Match My Dresser?"
5. Use Furniture Seal to Protect
Finally, apply a clear topcoat/finisher to protect your piece from chips and moisture. You can choose different types of topcoat, the most popular being a polyurethane or lacquer finish.

View this protective finish on Amazon.
Apply the topcoat using a brush or cotton rag. If desired, do a second coat after the first is touch-dry. Allow the piece to dry fully before adding the hardware back to your furniture.
Can You Paint Over Previously Stained Wood?
You can paint over previously stained wood if you sand and prime it first. Some paints advertise they will work on wood without priming or sanding; however, if you want your paint job to last, it is recommended you take the time to sand and prime the furniture before painting it.
Can You Paint Over Varnished Wood Without Sanding?
If you use an oil-based primer before painting, you can paint over varnished wood without sanding. However, as previously mentioned, applying paint to a slick surface, even with an oil-based primer, likely isn't going to maintain its paint job as long as sanding before priming and painting.

View this oil-based primer on Amazon.
What Kind of Paint Do You Use on Wood Furniture?
The best type of paint for furniture is something with a satin or high-gloss finish. Anything with a flat finish shows fingerprints terribly and is difficult to clean. The shinier the paint is, the easier it will be to wipe away surface dirt and grime. Try latex paint, which is also resistant to mold and mildew.

View this furniture paint on Amazon
Is Chalk Paint Good for Furniture?
Chalk paint furniture is all the rage for home decor at the moment. Chalk paint can be used to paint just about anything. Chalk paint is great for making new pieces look old. It can give any piece of furniture a distressed look without actually having to do any distressing. One of the benefits of using chalk paint is that it is easy to apply because the paint job doesn't have to be perfect. It's made to look imperfect, so it's perfect if you're just delving into DIY furniture painting!

View this chalk point on Amazon.
What Kind of Stain Do You Use on Furniture?
There are several questions to ask yourself when choosing the best stain for your furniture. What kind of finisher do you want to use? Some finishers act as stain and protectant. The most popular type of stain is oil-based. Oil-based stains penetrate the wood and spread easily, as well as leave a buildable finish. If you're looking for something non-penetrating, look at a varnish stain that sits on top of the wood instead of becoming a part of it.
Is It Better to Stain With a Brush or a Rag?
The primary difference between using a brush or rag to stain furniture is a personal preference. Regardless of which you decide, it is important to have a clean rag handy to wipe away any excess stain as you go. Either way, wear gloves to protect your hands from messy stain.
What is the Most Popular Stain Color for Furniture?
The most popular stain color for furniture is dark walnut. A nice, even dark stain can create the illusion of a pricier piece of furniture than it appears.
To read more about the tone of furniture and which way you should go, read "Should You Choose Dark or Light Living Room Furniture?"
In Conclusion
Repainting or restaining your bedroom furniture is a great beginner DIY project. With a little patience and attention to detail, your old furniture can look like new again (or old and distressed if you're a chalk paint fan)! The biggest hassle is waiting on the primer, paint or stain, and finisher to dry. The waiting will be worth it when you're able to take a look at what you've created. Have fun!


Such an informative blog! One thing I would like to say that before start working on our project we should use tack cloth for removing small dust particles from the surface, it will give you a perfect finishing. Everyone should follow the tips provided by you, it will make their work easier. Thank you for sharing! I will share it to all my friends and relatives. Keep Posting! Keep Sharing!
Thank you for sharing this information. I’m getting into refinishing furniture and this guide is really helpful. Looking forward for more tips from your blog.