One of the biggest advantages of latex paint is its short drying time and its smooth texture. However, there are scenarios in which homeowners may want to thin out latex paint before starting on a project. It's helpful to know the best way to do this so that you do not waste paint (or time). We've done the research to bring you the best method for doing so.
Here are the basic steps to thin latex paint:
- Check the current thickness level of your paint
- Pour the latex paint into a bucket
- Add water to the paint
- Stir the water and paint together
- Test the new viscosity of the paint
In this post, we will discuss the easiest and most commonly used method to thin latex paint for your next painting project. We'll also cover other helpful tips for working with latex paint. So be sure to keep reading.
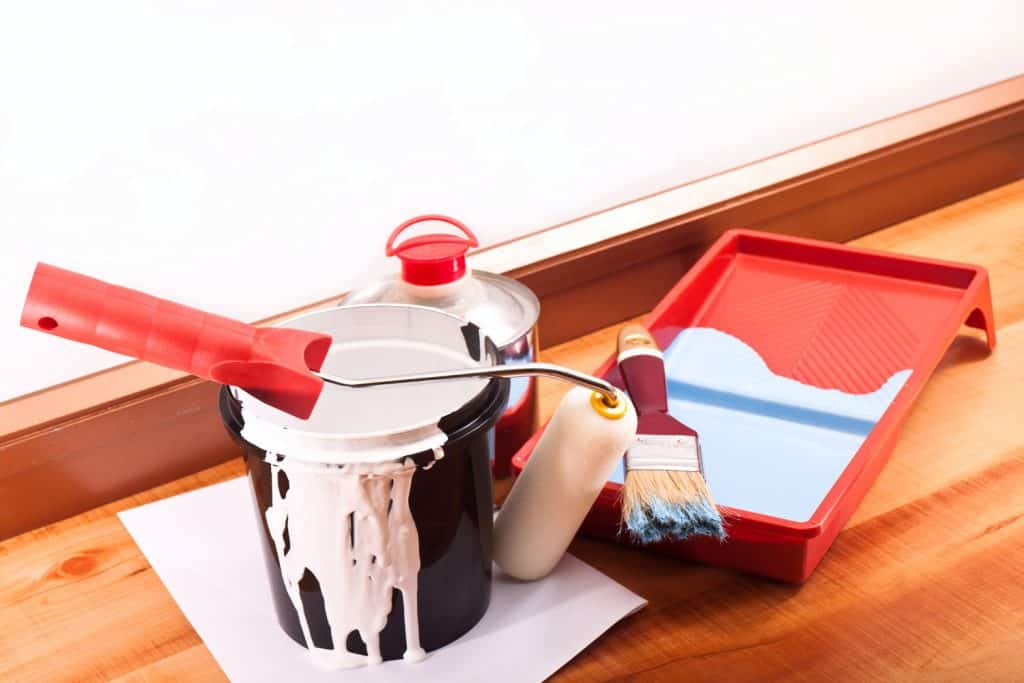
![A man rolling his rolling pin on the paint tray with blue paint mixed with latex, How To Thin Latex Paint [5 SIMPLE Steps]](https://homedecorbliss.com/wp-content/uploads/2020/11/How-To-Thin-Latex-Paint-5-SIMPLE-Steps-683x1024.jpg)
Steps To Thin Latex Paint
Things you'll need:
- Drop cloths
- A 5-gallon bucket
- Scrap piece of wood or cardboard
- Tap water
- An additional empty paint can
- Funnel
- A measuring cup for the water
- Latex paint
- Paint stir sticks or a mixer to mix the paint with
- A plastic funnel
Step 1. Check the current thickness level of your paint
First, start by opening up your paint can and using your paint stirrer to mix it for around 30 to 60 seconds. You can also agitate the paint by holding it in both hands and tilting it from side to side for about 30 to 60 seconds.
When removing your stirrer from the paint, look at the paint on the stick to note how it drips off it. This is known as checking the viscosity of the paint. Most latex paints will drip in a long single stream, then smaller (slow) drips until the drip eventually stops.
We may include affiliate links and curated AI content to highlight top design styles.
Check out these paint stirrers on Amazon.
Step 2. Pour the latex paint into the bucket
Next, grab your 5-gallon bucket and pour the entire can of paint into it (or a specific amount depending on your project). Use your paint stirrer to scrape off any paint on the inside of the can. Let it hang over the bucket for a few seconds until the dripping slows down significantly.
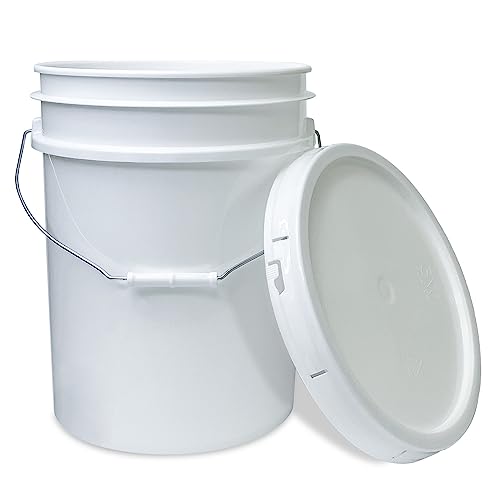
Check out this 5-gallon bucket on Amazon.
Step 3. Add water to the paint
Now it's time to add water to your paint to thin it out. The general rule of thumb for thinning the paint with water is to use 1/2 cup of water for every gallon of paint. So in this case, you will need to add 1/2 cup of water to the bucket containing the paint. Be sure that the water is at room temperature. Do not use water from the refrigerator.
Slowly pour the water into the bucket, making sure not to pour it too fast. It's best to pour the water in small increments than all at once. Also, make sure to stir the water into the paint with your opposite hand while you pour it into the bucket. Remember, it's better (and cheaper) to add a little water at a time and add more later (as needed) than to have to add more paint because you've poured in too much water initially.
Note: Some latex paint brands may require more or less water to thin out the paint to your desired specifications. Therefore, it's always best to first read the manufacturer's recommendations and the back of the paint can to ensure that you are using the appropriate amount of water to thin it.
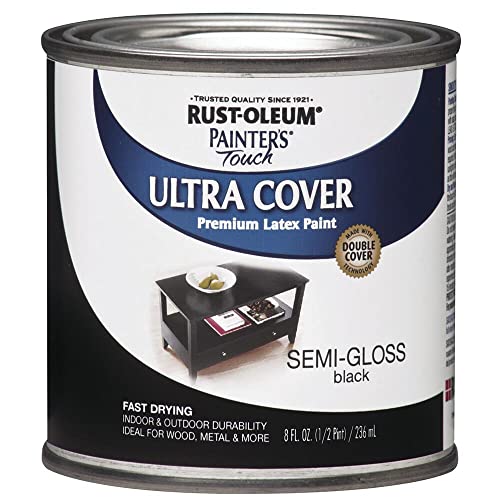
Check out this latex paint on Amazon.
Step 4. Stir the water and paint together
Now, use your paint stirrer to assure that the paint and water are thoroughly mixed. Every 10-15 seconds, take the paint stirrer out and take note of how the thinned paint drips off the stirrer.
If you notice that the paint is still a bit clumpy or thick, use a measuring cup to add water in increments of one-fourth cup at a time. You'll want to repeat this process until the texture of the paint is thin and smooth enough for your preference.
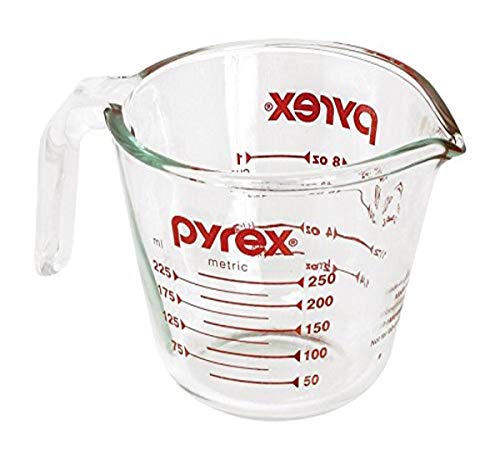
Check out this measuring cup on Amazon.
Step 5. Test the new viscosity of the paint
If you are using a paint spray gun to apply the paint, you'll first want to test the paint by pouring it into the additional 5-gallon bucket using a funnel and your paint stirrer. If the paint is thinned properly, it will flow freely into the funnel (which means it will be thin enough to use for the spray gun).
If it's still too thick, it will continue to rise to the top of the funnel, and you'll need to add more water to obtain the right consistency.

Check out this paint spray gun on Amazon.
Should latex paint be thinned?
It depends on the type of application in which the paint will be applied. Latex paint is typically thinned when it will be applied using a paint sprayer. This is a necessary step, as the paint is typically too thick to make its way through the sprayer's gun nozzle. Not only will you create a big mess if you trying to use un-thinned latex paint in a spray gun, but you'll also possibly ruin the spray gun itself.
Does thinning latex paint change the color?
No. The process of thinning latex paint does not change or alter the color of the paint in any way. However, it will require you to apply additional coats of paint to ensure adequate coverage and quality finished results.
How can you make latex paint flow better?
One of the best ways to help your latex paint flow better is to add a paint conditioner to it, such as Floetrol (one of the most popular brands). When there are issues regarding the way that a paint "flows", it's usually when surfaces such as cabinets, trim, or fine furniture are being painted. The reason is that brush strokes tend to appear on these types of surfaces more easily.
There are also scenarios where environmental conditions are not ideal and paint may not adhere to specific surfaces as well.
Floetrol helps to make oil and water-based paints easier to apply and work with. It also helps to prolong the drying time of the paint. Floetrol can easily be mixed into paint by adding anywhere from 16 to 30 ounces per gallon of latex paint. It's best to start off using small quantities of this conditioner so that you will be able to monitor the viscosity of the paint.
Check out this Floetrol on Amazon.
How do you make latex paint dry slower?
Some paint projects turn out best when the paint dries slower on the surface. But how can you extend the drying time of paint? Well, there are a few things that you can add to latex paint dry slower. Here are the most common ones.
Apply paint conditioner
There are quite a few different brands of paint conditioners available that can extend the drying time of your latex paint. Paint conditioners work well if you are also looking to reduce the appearance of brush strokes on your painting surface to create a more smooth and even finish.
To use paint conditioner, you'll typically need to add about 1 quart or more of the conditioner per gallon of paint. Note that if you use more than this, you may affect the appearance of the paint's finish, or you will need to apply additional coats.

Check out this paint conditioner on Amazon.
Add water or "thin" the paint
You can also use water to thin latex paint (aka "make it wetter") to slow down its drying time. To do this, you will typically need to add about 1/2 cup of water per gallon of paint. It's important to read the manufacturer's recommendations before attempting to thin out any latex paint, as some paint brands should not be thinned at all.
How do you revive old latex paint?
There really is not a way to "revive" latex paint, unfortunately. If latex paint has gone bad, there's no solution that you can add to it to revive it. The best thing you can do is first determine if the paint is still viable. Using latex paint that has gone bad will leave the painted surface with a bad odor that will grow progressively worse over time. It will also peel very easily and quickly.
However, most paint today is designed with preservatives and biocides which gives them about an 8- to 10-year shelf life (under appropriate conditions). If the paint has been exposed to extreme temperatures (i.e. under 40 degrees or above 90 degrees Fahrenheit) for prolonged periods of time, then chances are that the paint is no longer viable--it will usually be contaminated with rust or dirt.
Here's how you can determine if your latex paint is still usable:
Step 1. Smell the paint
Remove the paint can's lid using a screwdriver and take a quick sniff of the paint. A viable can of latex paint will smell still like chemicals or "painty." But if the contents of the can have an odor similar to that of rancid or spoiled food, then the paint should probably be tossed out.

Check out this screwdriver on Amazon.
Step 2. Look at the viscosity of the paint
Slightly tilt the paint from side to side to determine if the paint particles have completely separated from the solvent. You may notice a layer of hardened paint on top of the can contents, remove this with your stir stick before stirring the contents.
Step 3. Stir the paint
Use a paint stirrer to mix the paint and take note if it doesn't blend back to its original color. If it doesn't, then the paint is no longer good. If you notice that the paint and the separated liquid blend back together smoothly, chances are the paint is still good. It's also a good idea to check the expiration date on the paint. If the date is near, you may want to set your paint project in motion so that you can utilize it.
Wrapping Things Up
Thinning latex paint is a fairly easy DIY project to complete. The trick is to monitor the amount of water that you pour into the bucket and to continuously stir it while doing so. This will prevent you from "over-thinning" the paint and having to use or purchase more paint to correct the viscosity.
Be sure to check out our other posts before you go:
What Is The Best Paint For Baseboards? [4 Actionable Suggestions]