If you want to use FRP panels for your home project but first need to confirm if they are waterproof, we have the answer for you. We researched this particular attribute of this construction material and here's what we found out.
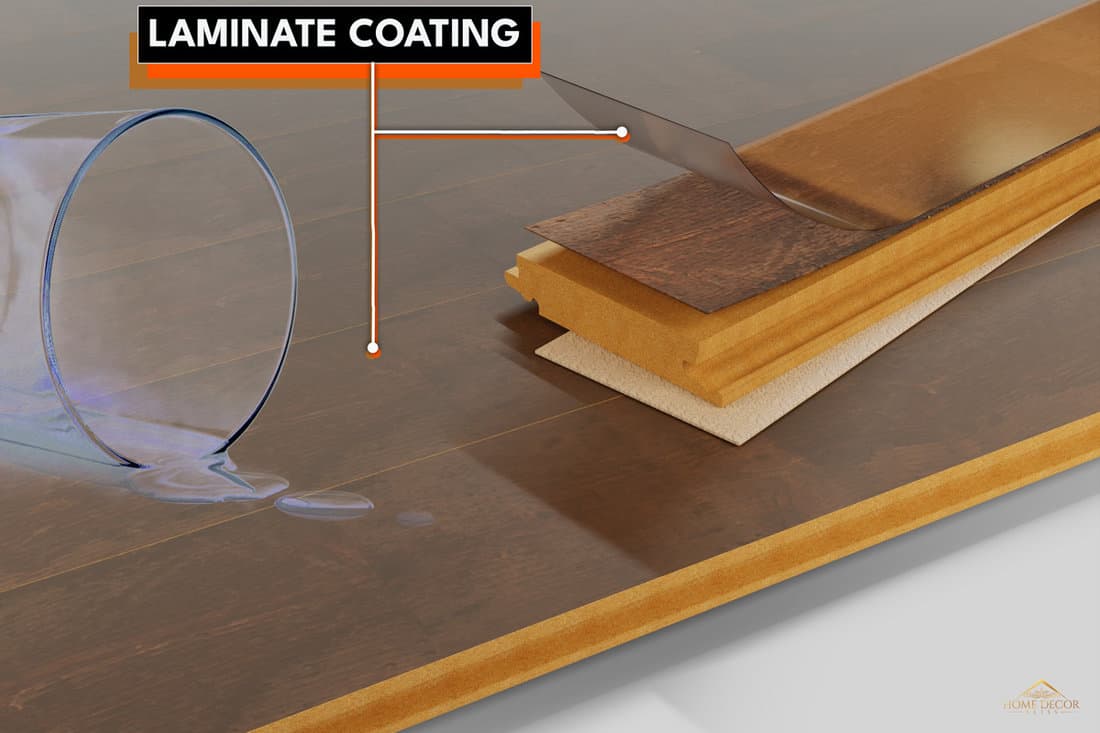
FRP panels are waterproof. They have a laminate coating that protects them against water and moisture damage. Using this material for your wall and ceiling solutions in wet or moist areas of your home is a good idea.
Keep on reading to learn more about FRP panels and what makes them good construction materials aside from being waterproof. We'll also inform you of the disadvantages of using this material. You'll also learn how to install FRP panels using adhesives and screws. Let's get to work!
Is FRP waterproof?
You will pay a high price if you disregard the amount of damage that moisture can cause in your home. Moisture can cause rusting and corrosion on metal. It can cause wood to rot and warp. And when these things happen, these structures will deteriorate and break. This can cause accidents and more damage to your home.
That's why you have to carefully choose the materials that you'll use so that you don't end up having a major headache due to moisture damage. Remember, prevention is always better than cure.
Since you already know which particular areas in your house are susceptible to moisture issues, you have to choose waterproof construction materials in these places right from the start. Don't give moisture a chance to creep into your interior walls and ceiling or else, you're going to regret it later on.
What are the disadvantages of FRP panels?
We may include affiliate links and curated AI content to highlight top design styles.
Adhesion Problem
The adhesive can stiffen over time and eventually lose its hold on the panels. This will also allow water to seep into the substrate which will make the interior wall conducive to mold and mildew growth. Soon enough, the damage will spread throughout the substrate. If it is made of wood, there would be rotting and warping until you have no choice but to replace the entire wall.
That's why it is important to choose a high-quality adhesive that's compatible with the FRP panels and your substrate. Follow the installation instructions, especially the wall preparation so that the adhesive will stick to the surface properly.
Low Elastic Modulus
Poor Resistance to High Temperatures
It is not advisable to use FRP panels on the exterior portions of your house where they will be constantly exposed to the sun's heat. They will become brittle and deteriorate faster.
Shows Signs of Aging
Prolonged exposure to high temperatures, chemicals, and various weather conditions will take its toll on your FRP panels. They will show visible signs of deterioration and aging. Aside from being unpleasing to the eyes, these also present safety concerns to the structure.
These are points to consider when choosing the right material for your construction project.
How to Install FRP Panels in the Shower
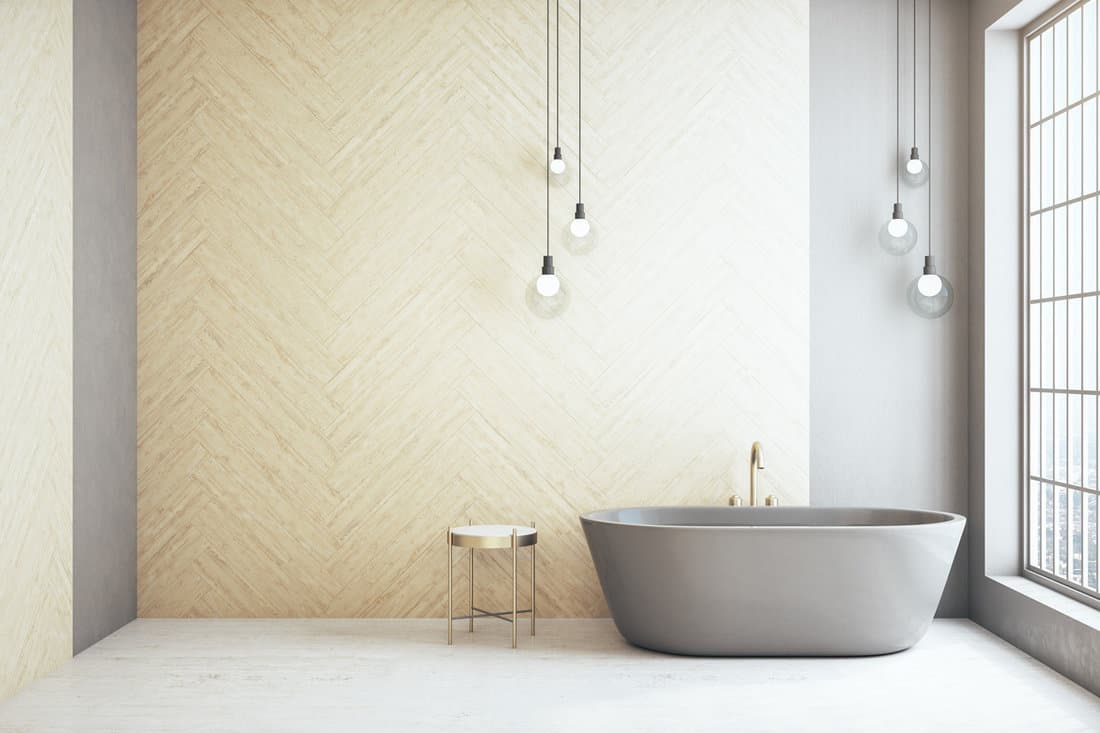
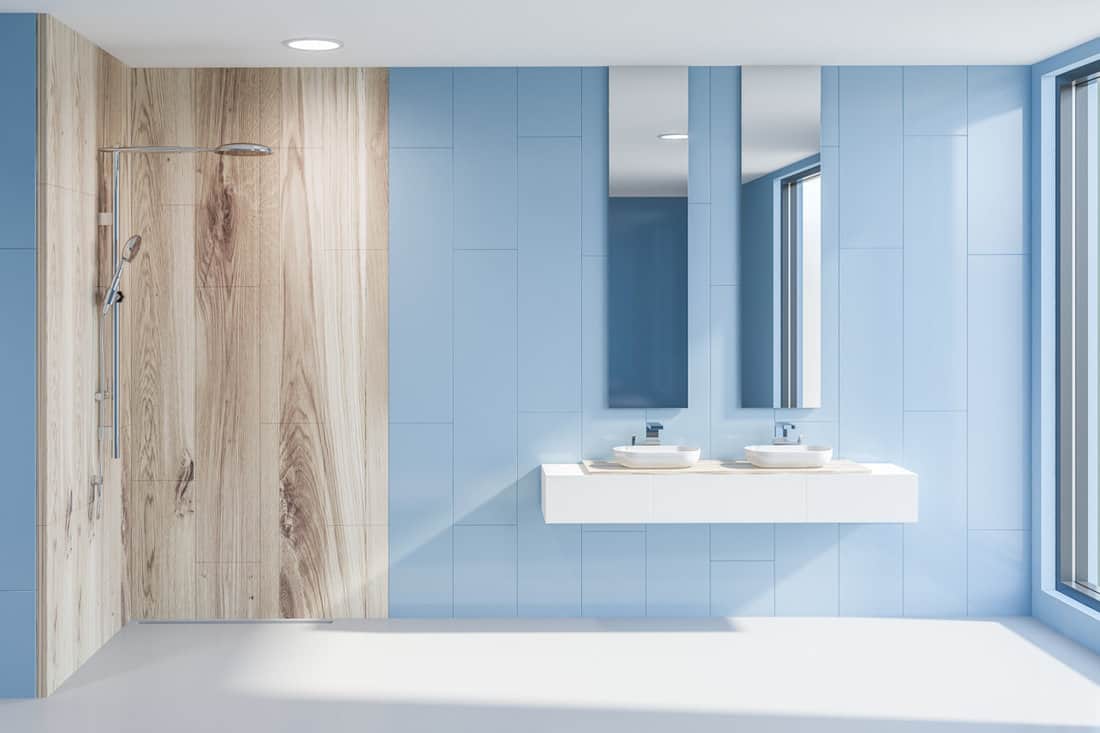
One of the places where it is ideal to use FRP panels is the shower since it is always wet and humid.
In this section, we will teach you how to install these panels on your shower walls. It is quite easy to do as long as you have the right tools and materials.
Prior to installation, it's best to put the FRP panels inside the bathroom or shower area so that they can acclimate. Just position them horizontally and leave the panels inside for at least 24 hours. This way, the panels won't expand or contract once they've already been installed.
Tools and Materials Needed
- FRP panels
- fine-toothed saw
- adhesive
- trowel
- laminate roller
- caulk
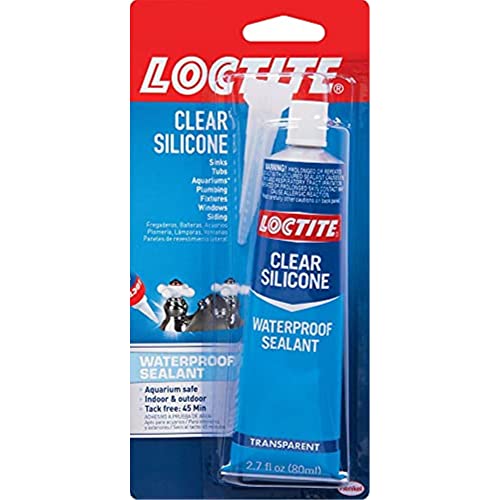
- silicone sealant
- measuring tape
- pencil
Find this all-purpose construction adhesive on Amazon.
Procedure:
- Clean the surface where you plan to install the panels. Make sure it is dry and free of dirt and dust so that the FRP panels can adhere to the wall properly. It should be smooth and even. Take note that any imperfection on the substrate will show through because these thin panels conform to the shape of the surface.
- Measure the surface area that you need to cover and cut the panels according to the size that you need using a fine-toothed saw.
- To make this easier, lay out the panels on the floor with the same surface area to see how they will fit together. There should be an allowance of 1/4" at the top and bottom of each panel and 1/8" on the sides to make room for expansion later on due to humidity.
- Apply an adhesive at the back of each FRP panel. Smooth it out using a trowel so that the depth of the adhesive qual all throughout.
- Attach the panels to the wall. Press them firmly against the wall. Remember to put a little bit of space in between each panel for the divider rails. Use a laminate roller to smoothen them out. Roll it from top to bottom and side to side to remove any air bubbles on the surface.
- Apply adhesive at the back of your divider rails and cap rail. Smoothen them out using a trowel. Place the divider rails at the vertical joints then put the cap rail at the top of the panels.
- Put caulk and silicone sealant on the joints around each panel. They will ensure that no water can penetrate the interior of your FRP wall. Allow it to dry for 24 hours.
There you go! You already know how to install FRP panels in your shower by yourself!
Can you use screws on FRP panels?
As advised above, you can use an adhesive to attach the FRP panels to the wall substrate. But if you prefer to use screws for your installation, you can also do so but extra care is needed so that the panels won't crack.
Here's how to do it.
Tools and Material Needed
- nylon drive rivets
- rivet shaft
- power drill
- carbide-tipped drill bit
- silicone sealant
- pencil
Check out this silicone sealant on Amazon.
Procedure:
- Mark the points on the FRP panels where you will drill the holes.
- Attach the carbide-tipped drill bit to your power drill.
- Pre-drill the holes on the panels. The holes should be a little wider than the rivet shafts that you'll use.
- Put a small amount of silicone sealant inside the drill hole before you drill in the screws.
That's it! You can now choose which installation method is more convenient for you.
Final Thoughts
FRP panels are a good choice for the walls and ceilings in wet or moist areas in your home. Aside from the fact you won't have to deal with moisture issues, they also last longer, giving you the best value for your money.
Feel free to click the following links for some bathroom ideas:

