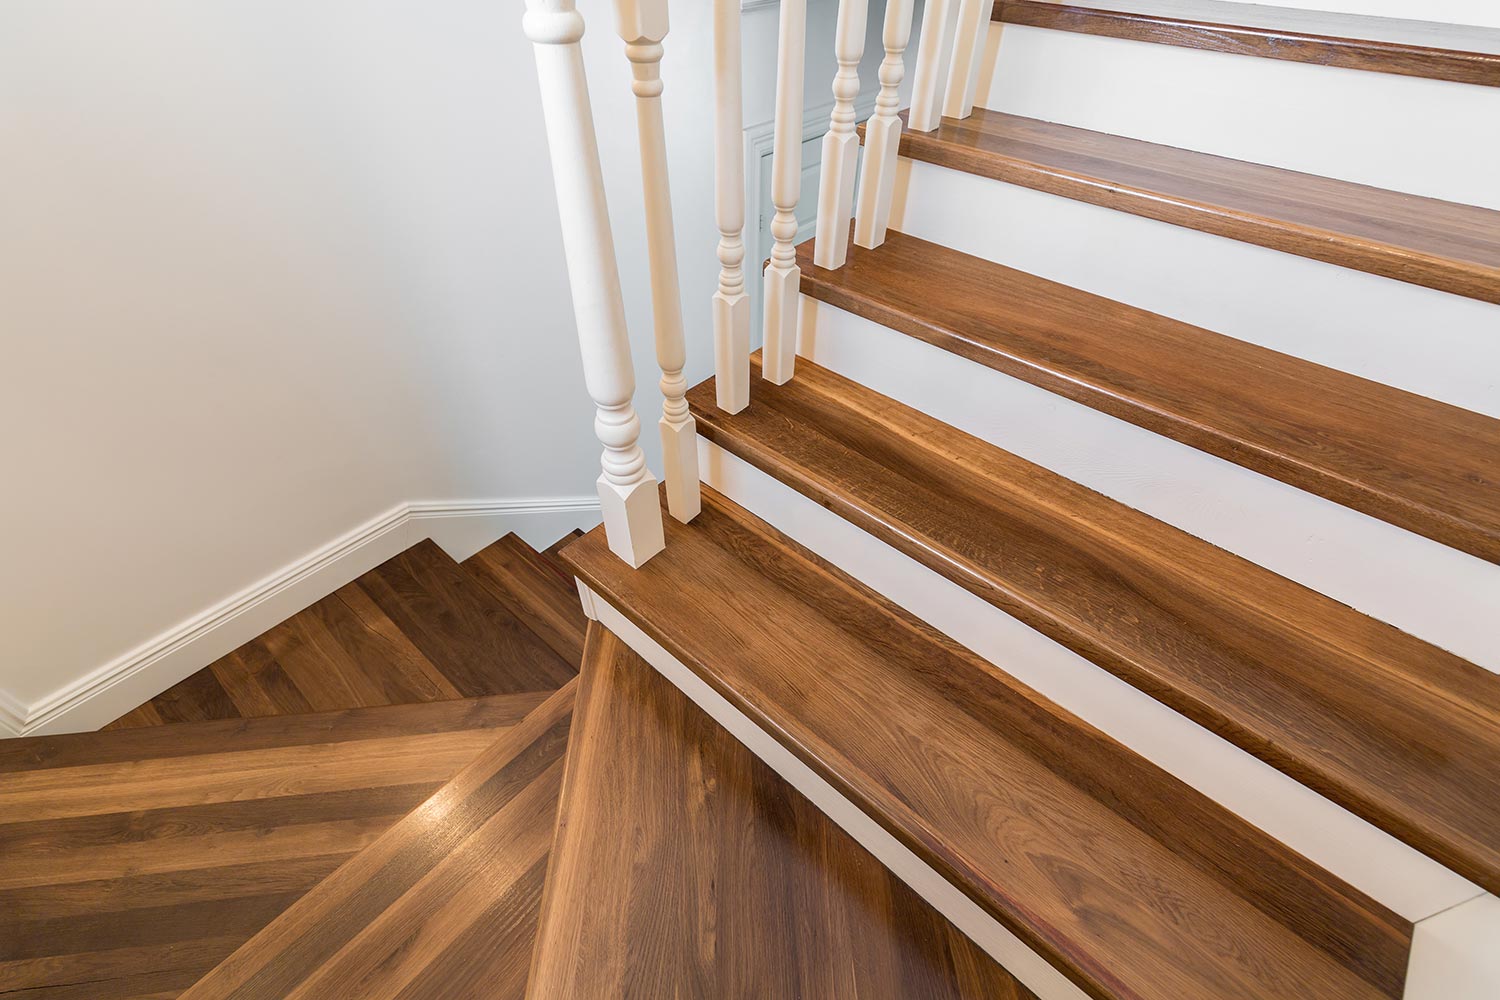
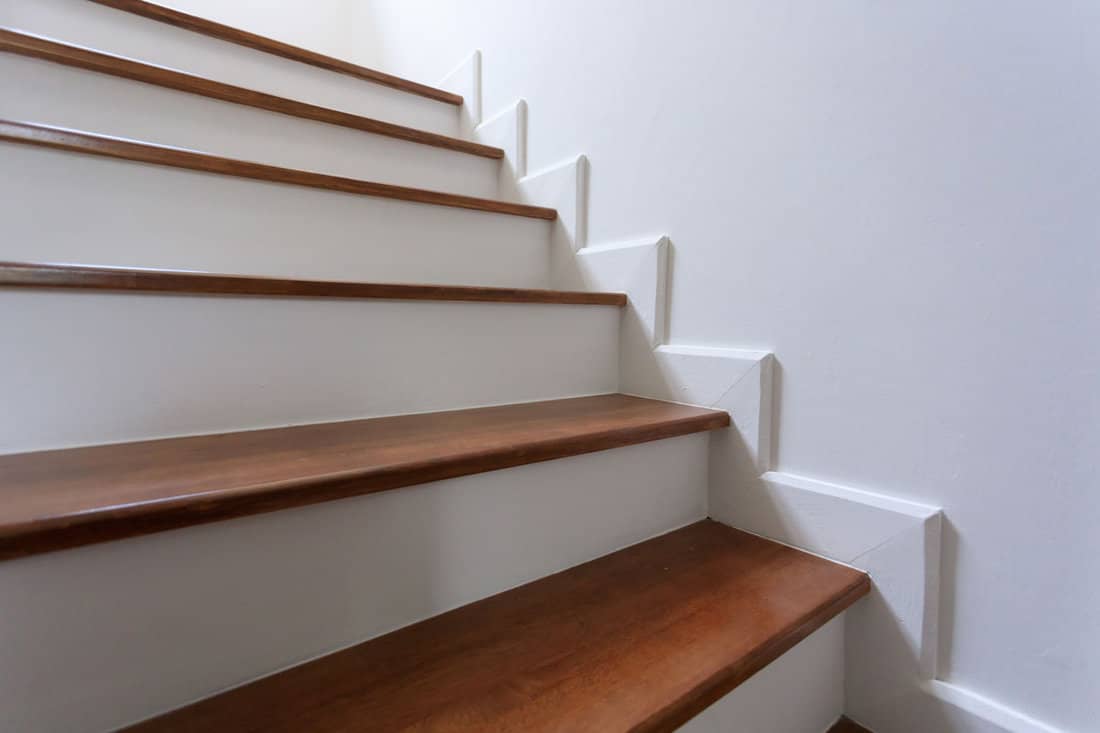
It is common for a gap to appear between your stairs and the wall. Whether this gap is below your stair treads or on the wall above your stairs, you're likely wondering how best to fix it. In this post, we answer your question with up-to-date research from around the web.
Generally, you can fix a gap between your stairs and the wall in one of two ways. You can either:
- Caulk the gap
- Add trim
Keep reading the rest of this post for details on each of the above stair gap-filling techniques. With this guide, you will be able to choose the right technique for your situation and learn how to perform both fixes. To conclude, we'll answer a few related questions.

How To Fix The Gap Between Stairs And Walls
For stairs with a hard covering such as wood, tile, stone, or linoleum, either trim or caulk are feasible options. For carpeted stairs, trim is the best choice. Caulk only works for gaps that are 1/2 inch or smaller. Trim can be used to cover gaps that are almost any size.
Caulk the Gap
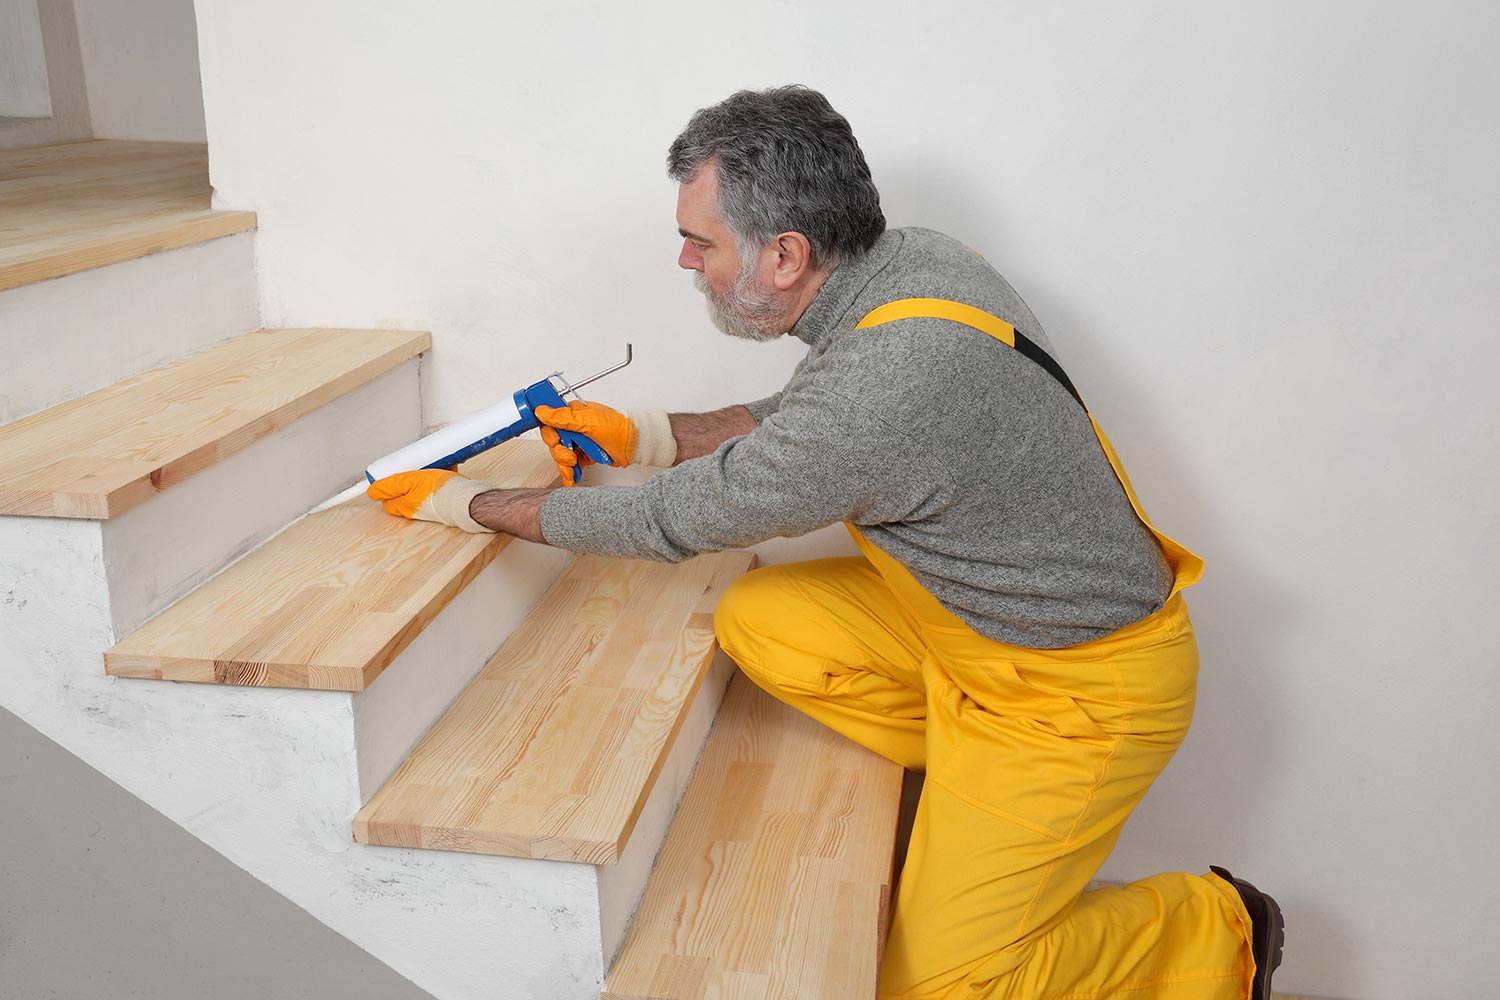
For stairs, you can use any caulk. However, latex is recommended because it is generally much easier to work with. Any caulk is excellent for this job because it adheres to almost any surface and will flex over time. To caulk the gap between your stairs and wall, follow these steps.
1. Prep the Gap
First, remove all dirt, grime, and old caulk from the gap. The goal is to produce two clean even sides that are easy for the fresh caulk to stick to. Sometimes, you may have to use a putty knife to scrape away persistent caulk that does not easily peel away.
2. Tape Around the Gap
We may include affiliate links and curated AI content to highlight top design styles.
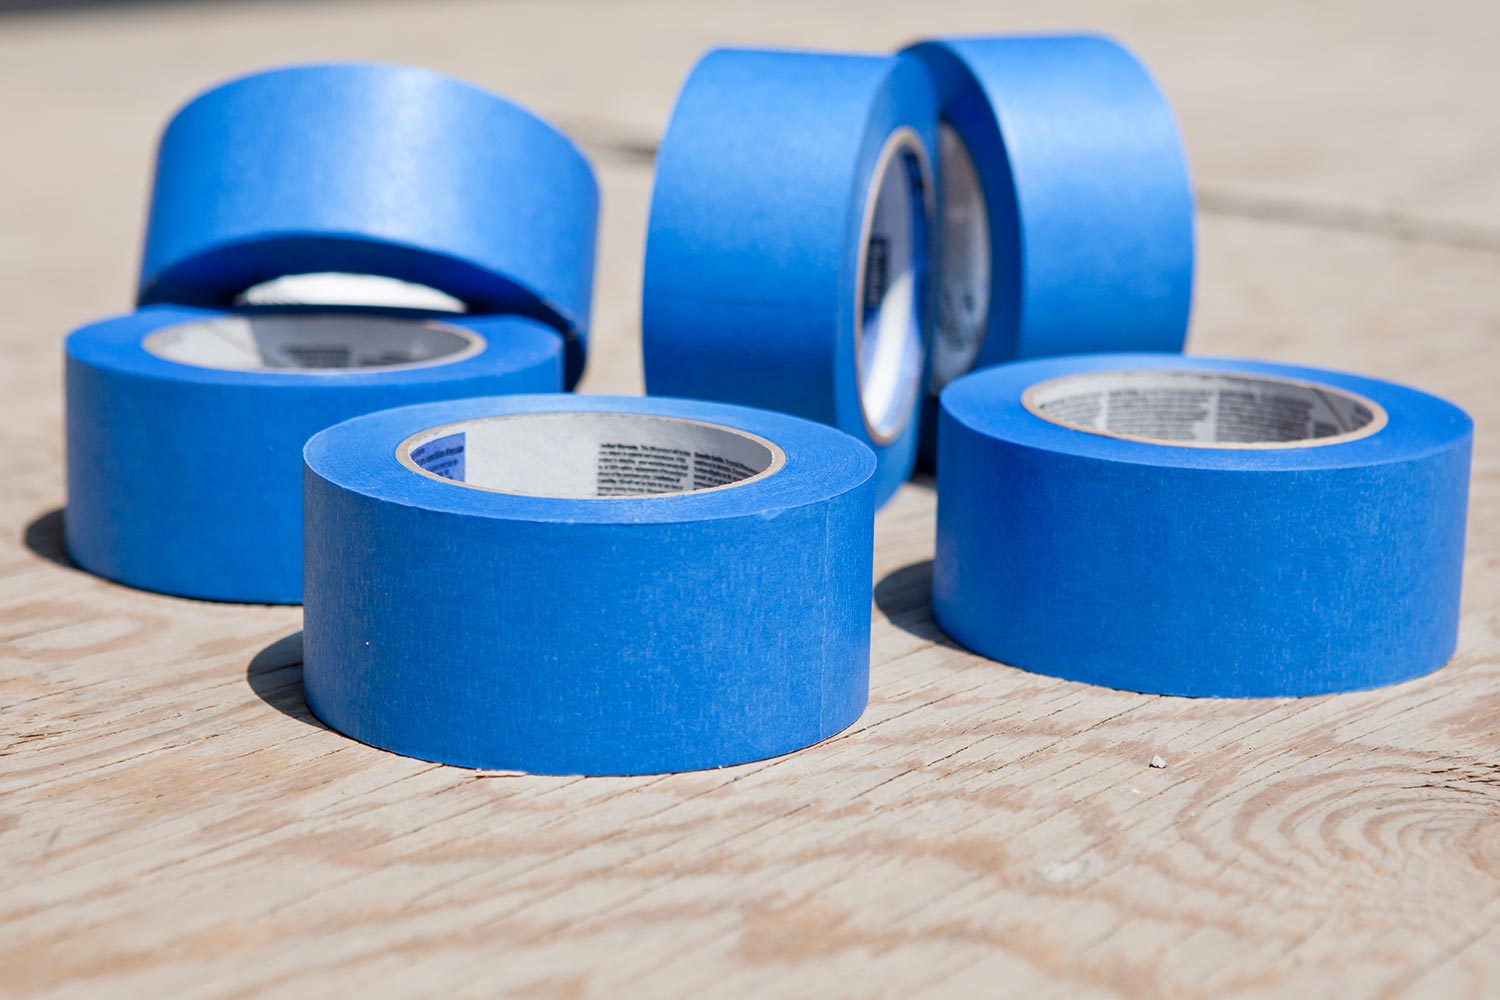
Now, use painter's tape to ensure that you only caulk the gap and not the walls or stairs. Those who are very experienced with caulk may choose to forgo the tape and rely on their steady hand alone.
3. Insert Backer Rod as Needed
For gaps that are larger than 1/4 inch but smaller or equal to 1/2 inch, you can use a product called backer rod. This round foam tube is shoved into the gap to provide the caulk with something to rest on.

Click here for backer rod from Amazon.
If most of your gap is smaller than 1/4 inch but bigger in only a few places, it is still wise to use backer rod for those spots for a neater, longer-lasting finished product.
4. Prep the Caulk Tube
Now, insert the caulk tube into the caulk gun. It is possible to use caulk tubes that do not require guns, but applying this type of caulk is much more difficult and messy.
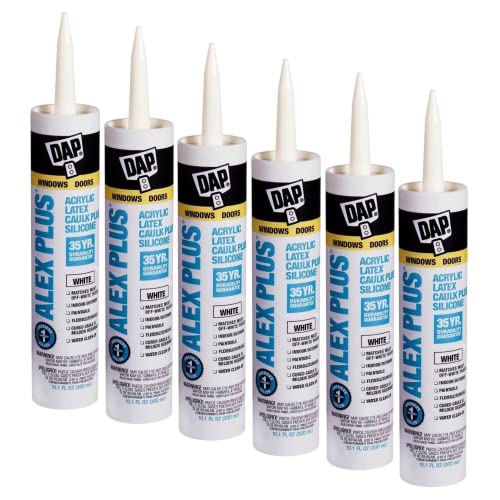
Click here for white latex caulk from Amazon.
Then, cut the tip off the caulk tube at about a 45-degree angle. Make the hole larger for larger gaps and smaller for smaller gaps. Since you can always make the hole larger, it is wise to start with a hole slightly smaller than you expect you will need.
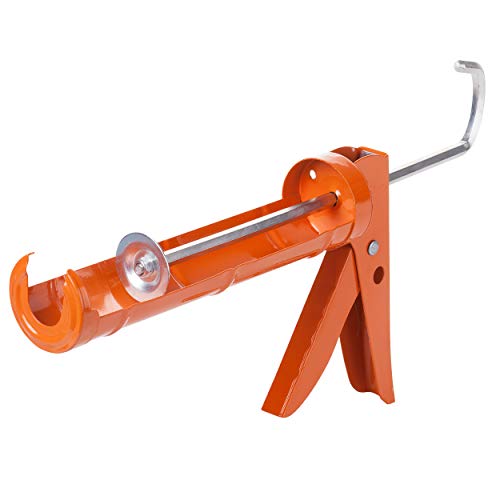
Click here for a caulk gun from Amazon.
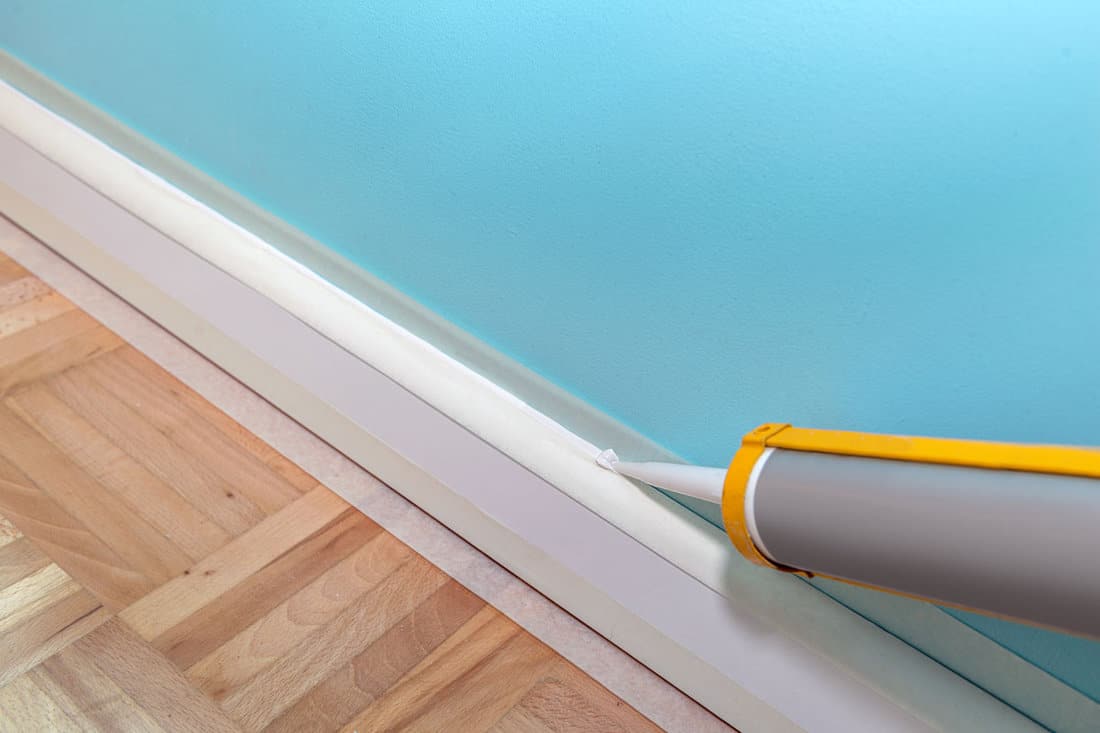
5. Apply the Caulk
First, test the caulk on a disposable surface such as cardboard. This allows you to get a sense of how fast the material will come out. Only apply gentle pressure to the trigger at first, as it is very easy to squeeze out the caulk much too fast.
Once you have the hang of it, place the 45-degree tip parallel with the gap. While pulling the trigger, slowly and evenly draw a bead of caulk along the gap.
6. Finish the Caulk
Once applied, the caulk may not be smooth and even. To fix this, use caulk finishing tools. These tools are designed to produce even finished caulk surfaces and are similar to putty knives. In fact, in a pinch, you can use a putty knife for this step.

Click here for a set of caulk finishing tools from Amazon.
7. Clean off Excess Caulk
Before the caulk dries, be sure to clean off any that ended up where it should not have. To do this, simply wipe it up with a damp rag or towel.
8. Allow the Caulk to Dry
Now, allow the caulk to dry. The caulk will feel dry in about 30 minutes, but it is generally recommended to wait two to four hours before applying any paint. Ideally, follow the directions on the caulk tube to ensure a proper drying time.
9. Paint to Match
If needed, you can now paint the caulk to match your walls or stairs. However, it is usually possible to get caulk that matches your existing colors. This way, you can skip the painting step altogether.
10. Remove the Tape
Once the caulk is dried and finished, the last step is to remove the tape. Ideally, this should leave an even filling of caulk that makes the gap nothing but a distant memory.
Add Trim
Trim is any type of finish material that is used to cover gaps near corners and walls. To use this technique to fix a stair-wall gap, follow these steps.
1. Choose Trim
Home improvement stores and lumberyards all have large selections of premade trim. However, any wood or similar material will work. Make sure that the trim is at least as wide as the widest part of the gap. Or, get trim that is even wider to allow the gap to get even bigger.
Often, your home will already have trim of a certain style and size. To make the new trim fit in, consider using a trim that matches the existing trim.
2. Choose Joint Pattern
Once you have selected your trim you will want to pick how to make your trim joints. There will be quite a few of these because of the stepped nature of stairs. Options include joining everything at a 45-degree angle or cutting everything square and using butt joints.
Butt joints are by far the easiest option. Since homes are rarely totally square, joining all the trim pieces with 45-degree angles will be very challenging even for experienced carpenters.
3. Cut the Trim
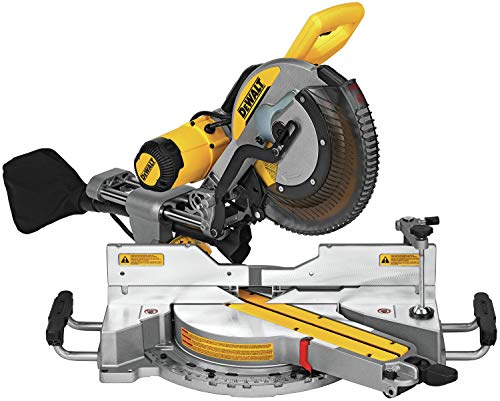
Click here for a miter saw from Amazon.
Now, carefully cut each piece of trim. For the neatest final product, use a miter saw for these cuts. For the easiest job, only cut and attach one or two pieces of trim at a time.
Take note that OSHA recommends that you leave all guards in place and wear eye and face protection while using these tools.
4. Attach the Trim
Now, use a finish nail gun to attach your trim. It is critical that you get each piece in solidly. This means that you want the nails to go through the trim, through the drywall, and then into some sort of framing component.

Click here for a finish nail gun from Amazon.
Ideally, you will want the nails to penetrate the framing at least as deep as the trim is thick. Thus, if you have 1/2-inch trim and 5/8-inch drywall, you will need nails that are at least 1 5/8 inches long.
Usually, there is always a piece of framing under wall edges to fix the wall cladding too. However, if you are using taller trim, you will want to also find the verticle framing pieces with the help of a stud finder.
5. Use Putty to Fill Cracks and Holes
Wood filler putty is used to fill the nail holes and the cracks between trim pieces. If you do not care so much about the quality of the finish, you can skip this step.

Click here for wood filler from Amazon.
Simply scoop some putty out of the jar with your finger or a putty knife and press it into the offending hole. You may have to scrape additional putty off to get a nice even surface. Also, after the putty has dried, you may want to use light sandpaper for that finishing touch.
If you are not going to paint the trim, the color of the putty is not that important. However, if you plan on staining or leaving the trim raw, you will want to make sure to buy a putty that matches the color of the trim.
6. Paint if Needed
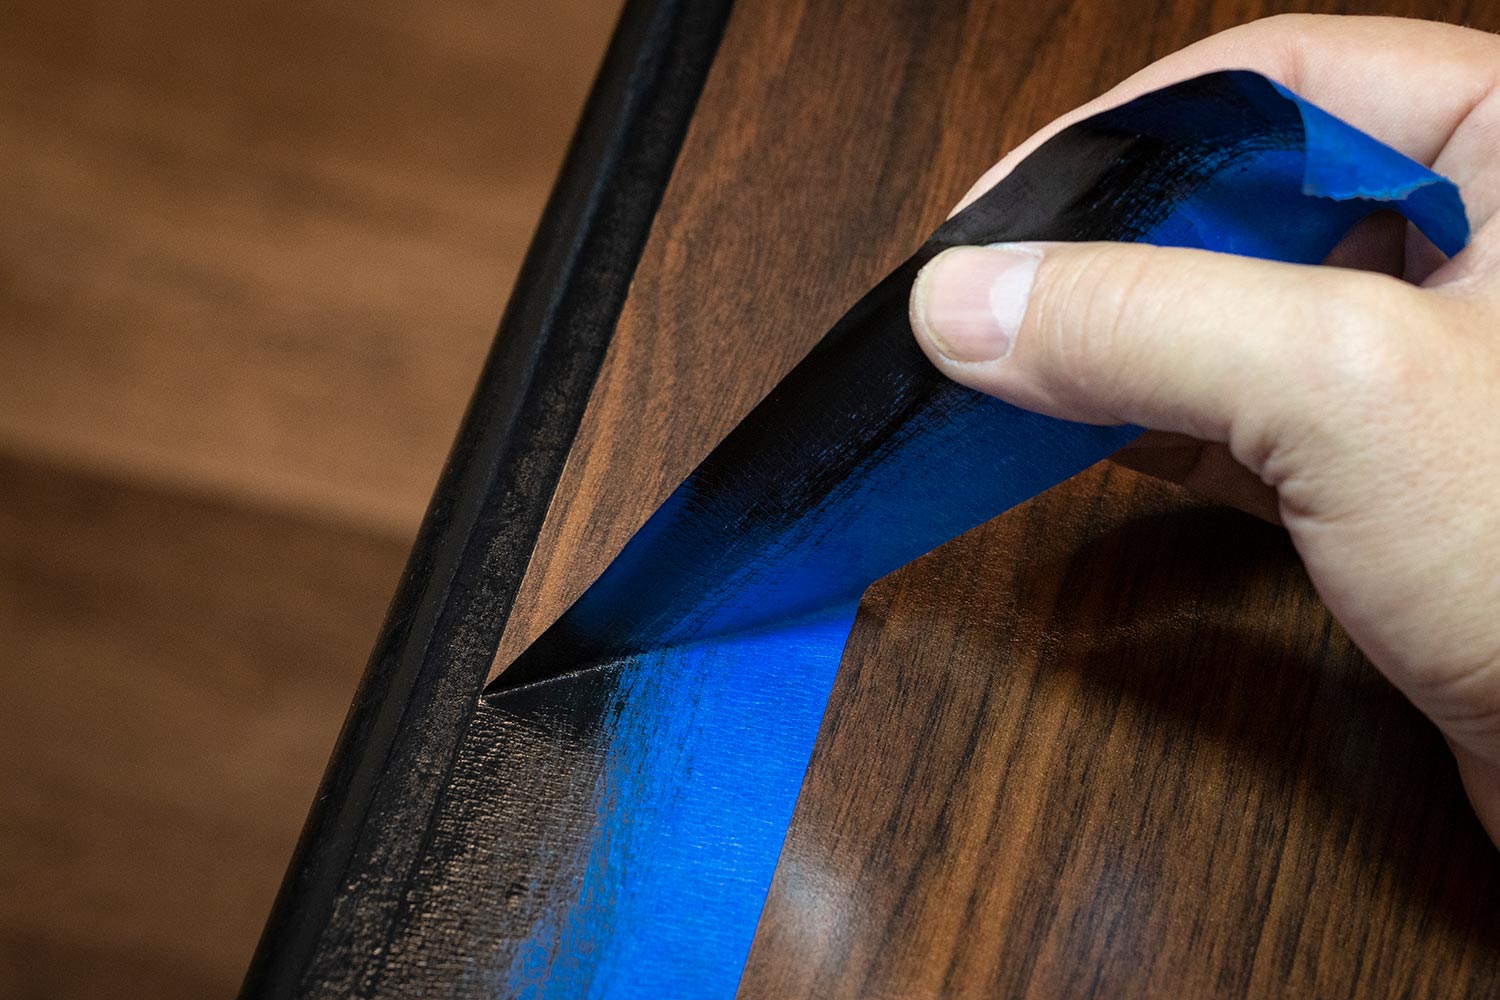
First, tape off all areas where you do not want paint with painter's tape. Then put down a drop cloth or plastic to protect your stairs. Now, you can paint the trim whatever color you like.
If you prefer, you can paint the trim before you install it. This is especially useful if you are worried about getting paint on your carpet. Then, touch up the paint job once the trim is installed.
Why are my stairs separating from the wall?
A gap is appearing because of the natural sagging and movement of a home over time. Unless this gap is really large, it is considered normal and not something to worry about.
How do you fill the gap between wood and drywall?
Fill a gap between wood and drywall with trim and/or caulk. The methods and steps described above in this post will work to accomplish this task.
Why is there a gap between the stairs and the wall?
As mentioned above, there is a gap between your stairs and your wall because of the natural shifting of your home over time. Foundations sag and building materials change shape based on seasonality, moisture content, and age.
In Closing
In this post, we answered the question of how to fill a gap between the stairs and your wall. We provided detailed directions for two different techniques. To close, we answered a few related questions. Good luck!
To learn more about keeping your stairs looking fresh, take a look at these guides:
15 Wood And Carpet Stairs Combination Ideas
What Is The Best Finish For Wood Stairs? [3 Options]