Satin paint is known for its smooth finish and slight sheen.
Mixing this type of paint with water can be useful for certain applications, like thinning the paint for easier application or creating a subtle wash effect on your walls.
To achieve the desired results, it's essential to know the right techniques and proportions for mixing satin paint with water.
This article will guide you through the process, ensuring that you get a consistent and easily applicable mixture. So, grab your supplies, and let's get started!
Properties of Satin Paint
Satin paint has a medium sheen that falls between matte and semi-gloss finishes.
This sheen provides a few benefits for your painting projects:
- Durability: Satin paint is more resistant to scratches and scuff marks than matte paint, making it a great choice for areas with high traffic or those prone to wear and tear.
- Easy to clean: The smooth surface of satin paint makes it easier to clean than matte paint. A damp cloth or sponge will typically remove any dirt or stains without damaging the finish.
- Mildew resistance: Satin paint is more resistant to mildew than flat paint, which can be especially helpful in humid environments or areas with limited ventilation.
When to Use Satin Paint
Satin paint can be used for a variety of applications, both indoors and outdoors.
We may include affiliate links and curated AI content to highlight top design styles.
Here are some examples of when you might choose satin paint for your project:
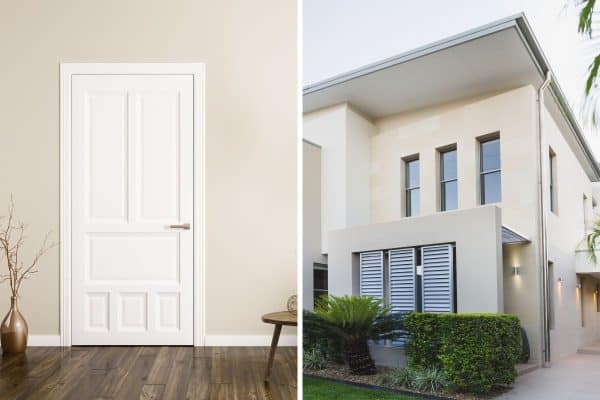
- Interior walls: Satin paint is an excellent choice for living rooms, bedrooms, and hallways. Its durability and easy-to-clean surface make it ideal for high-traffic areas.
- Exterior surfaces: The mildew-resistant properties of satin paint make it well-suited for exterior surfaces such as shutters, doors, and trim. The paint will hold up well against the elements and resist fading over time.
- Kitchen and bathroom: Because satin paint is water-resistant, it's a great option for areas where moisture can be an issue, like kitchens and bathrooms.
Preparing the Workspace
Before you begin mixing satin paint with water, it's important to prepare your workspace to ensure a smooth and efficient process.
Gathering Materials
To mix satin paint with water, you will need the following items:
- Satin paint
- Water
- Measuring cup or container
- Stirring stick or paint mixer attachment for a drill
- Paint tray or bucket
Have all of these materials on hand before you begin the mixing process will help you stay organized and focused on the task at hand.
Check out this premium latex satin paint in canyon black on Amazon.
Protecting Surfaces
When working with paint, it's crucial to protect the surfaces in your workspace to prevent any paint splatters or spills.
Here are some steps you can follow to protect your workspace:
- Clear the area: Remove any items and furniture that could be damaged by paint splatters in the vicinity. This will help create a clear workspace for you to mix and apply your paint.
- Lay down drop cloths: Cover the floor and any remaining furniture with plastic or cloth drop cloths to catch any accidental spills or splatters. This will make cleanup much easier once you're finished.
- Tape off surfaces: Use painter's tape to protect baseboards, window frames, and other surfaces you do not want to paint. This will help create clean lines and prevent any accidental paint application on unwanted areas.
Check out this multi-surface painter's tape on Amazon.
Mixing Satin Paint With Water: Determining the Correct Ratio
To achieve the best results, you need to find the correct ratio of water to satin paint.
The appropriate ratio typically ranges between 5% and 10% of water, depending on the paint and the surface you are painting.
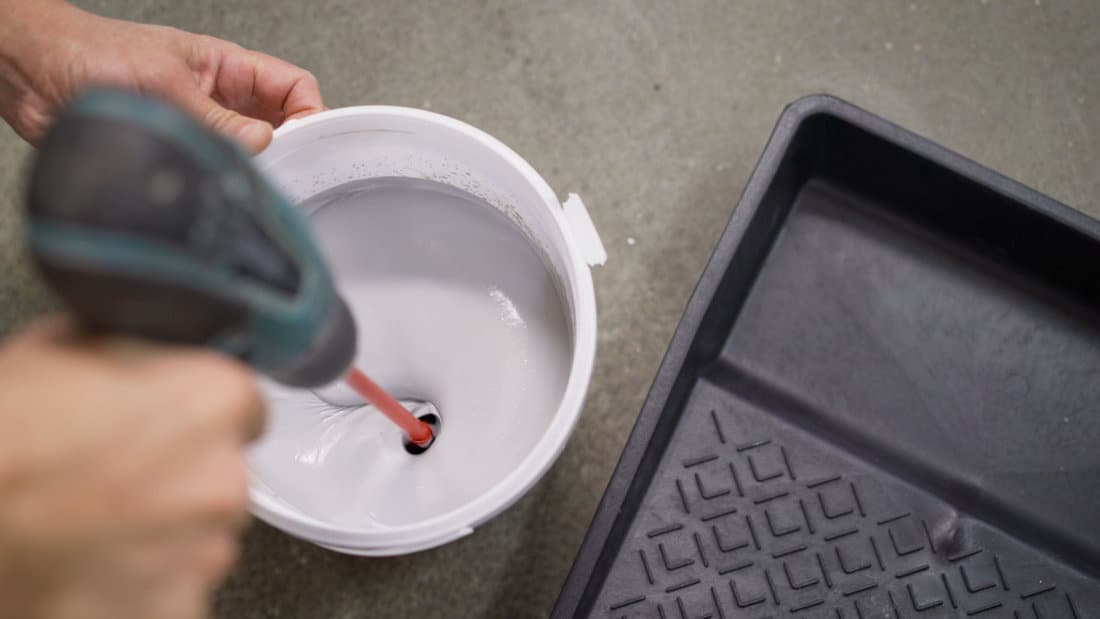
As a general rule, start with a 5% water-to-paint ratio and increase it gradually based on the results.
- Measure your paint: Pour the required amount of satin paint into a container. Note the volume or weight of the paint.
- Calculate the water amount: Multiply the paint volume by 5% or 0.05 to find the initial amount of water to add. (Example: 100 ml paint * 0.05 = 5 ml water)
- Adjust as necessary: If your paint is still too thick after mixing, you can gradually increase the water percentage up to 10%. However, be cautious not to exceed this amount as it might compromise the paint quality.
Stirring the Mixture
Once you have determined the correct ratio, it's time to mix your satin paint with water.
- Add the water: Slowly pour the calculated amount of water into the paint container.
- Stir thoroughly: Use a paint stirrer or a wooden stick to mix the paint and water together. Stir continually in a circular motion for at least two minutes to ensure you achieve a uniform texture.
- Check the consistency: The mixture should have a smooth and slightly runny consistency, without any lumps or clumps. If needed, you can adjust the water ratio and continue stirring until the desired texture is achieved.
- Let it sit: Allow the mixed paint to sit for about 5 minutes, so the components can fully blend together.
To achieve the best results when mixing satin paint with water, it is crucial to follow the manufacturer's guidelines on paint dilution ratios.
Adding too much water can cause the paint to become runny and less durable, so always adhere to the recommended proportions.
Application Tips: Achieving a Smooth Finish with Water-Based Satin Paint
First, prepare the surface by giving it a thorough cleaning. Remove any dust, dirt, and grease using a mild detergent and water.
After cleaning, let the surface dry completely. If needed, sand any rough areas to create an even surface. This will make it easier for the paint to adhere and give you a smoother finish.
Next, you need to add water to your satin paint. Stir the paint well, then pour a small amount into a clean container.
Gradually add a small portion of water, typically between 5% to 10% of the paint volume. Mix the paint and water together well, creating a consistent and smooth consistency.
Remember, adding too much water can lead to a weak paint film, so start with a small amount and adjust accordingly.
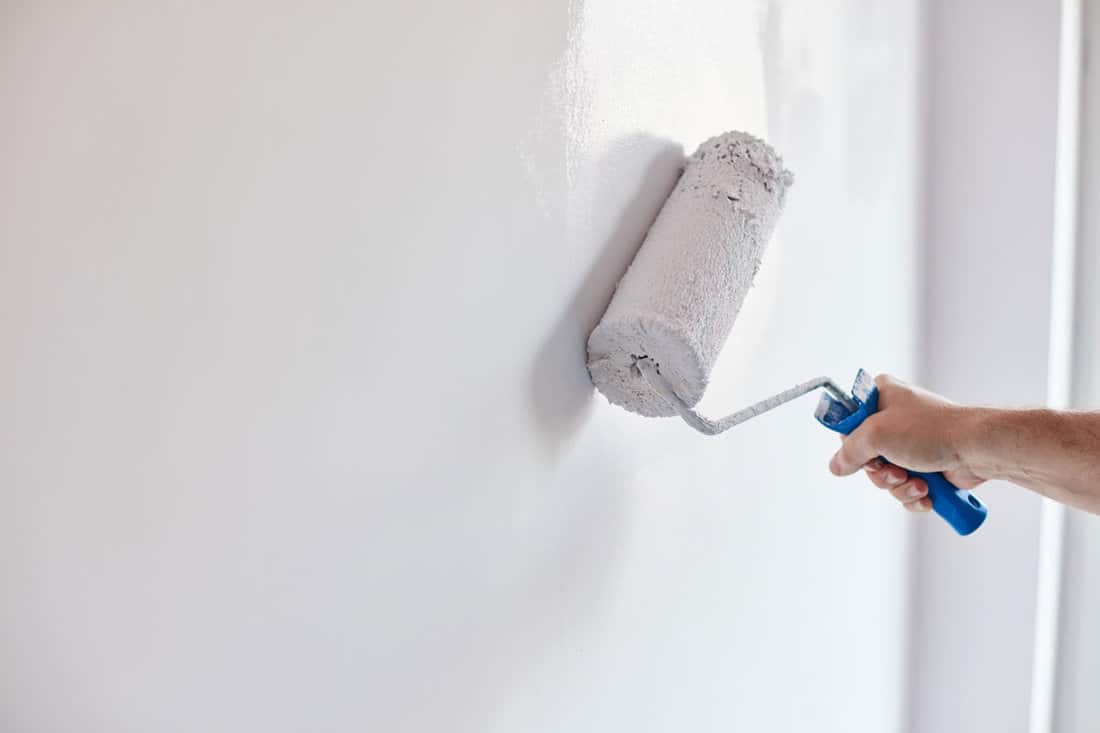
When it's time to apply the paint, use a high-quality brush or roller designed for water-based paints. This will help reduce brush marks and maintain a consistent finish.
Start by applying a thin, even coat to the surface. Work in long, smooth strokes, overlapping each pass slightly.
Apply the paint with a gentle, even pressure, working in small sections.
Allow the paint to dry according to the manufacturer's recommendations.
Once the first coat is dry, assess the coverage and determine if a second coat is needed. If so, apply the second coat in the same manner as the first.
Again, make sure to use long, even strokes and overlap the edges to avoid visible lines.
For larger surfaces, use a foam roller to achieve a more consistent finish. Remember to maintain a wet edge as you move across the surface to prevent lap marks.
Cleanup and Storage
After your satin paint project is complete, it's important to properly clean your brushes and rollers.
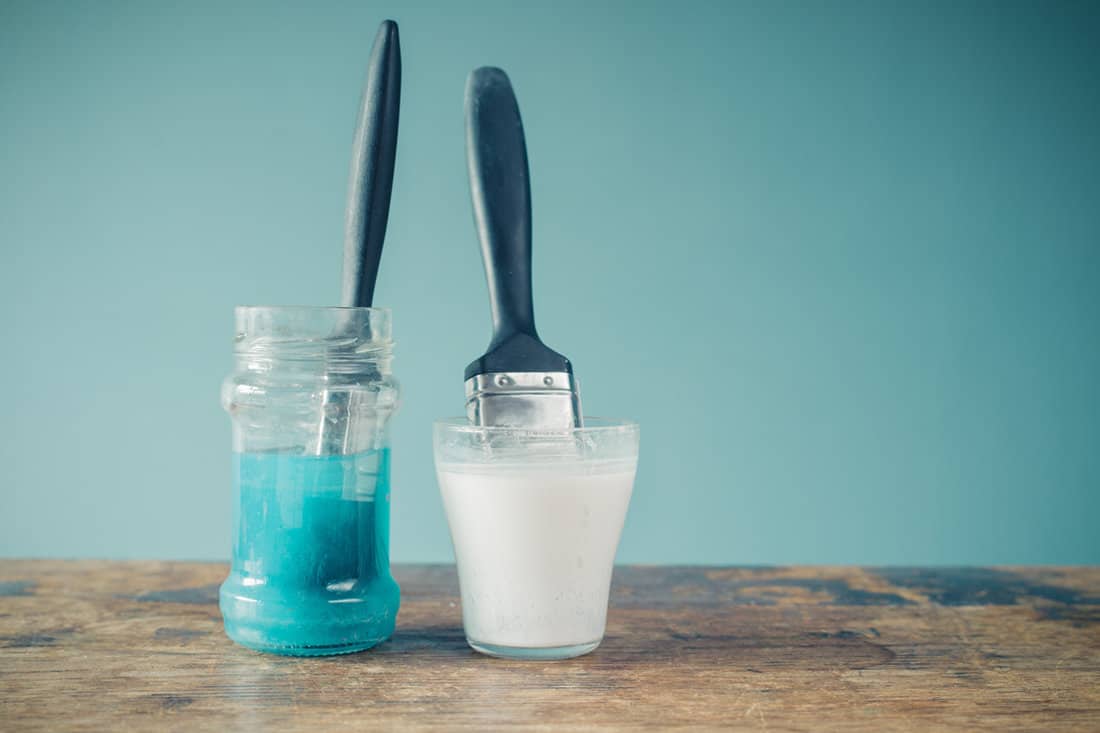
Start by removing excess paint from the bristles or roller by scraping it against the rim of the paint can or using a paint comb. Then, follow these steps:
- Rinse with water: For water-based satin paint, rinse the brush or roller under running water, working the bristles or roller nap with your fingers to remove as much paint as possible. Ensure the water runs clear before moving to the next step.
- Soap and water: Fill a bucket with warm soapy water and soak the brush or roller for a few minutes. Gently agitate the bristles or roller nap to remove any remaining paint residue.
- Rinse again: Rinse the brush or roller under running water once more until the water runs clear and soap-free.
- Dry: Gently squeeze out excess water from the brush with a clean cloth or paper towel, then reshape the bristles and let it air dry horizontally. For rollers, stand them on their end to air dry.
The three-bucket system can be effective for washing your painting equipment, which involves using three buckets filled with water for cleaning your brush or roller in stages.
Remember to clean your painting tools immediately after use, as dried paint can become challenging to remove.
Storing Leftover Satin Paint
It's always good to store leftover paint for touch-ups or future projects. Here are the proper steps to store satin paint:
- Seal the can: Wipe the rim of the paint can with a clean cloth or paper towel. Make sure the lid is clean, then press it firmly onto the can. Tap the lid gently with a rubber mallet or a block of wood and a hammer until it's properly sealed.
- Label the can: Use a permanent marker to write the paint color, type, brand, and date of purchase on the lid. Also, note which room or project the paint was used for.
- Store in a cool, dry place: Keep the paint cans in a climate-controlled area, such as a basement or closet, away from direct sunlight, moisture, and extreme temperatures.
Mix Satin and Paint and Water Following Manufacturer's Instructions
Remember that mixing satin paint with water will thin out the paint, which may affect its overall performance.
Always follow the manufacturer's instructions to avoid the paint and money. Lastly, always test your mixture on a small area before proceeding with your painting project.
So, go ahead and grab your brushes, rollers, or spray equipment and start painting.
With your well-mixed satin paint in hand, you'll bring life to your walls, furniture, or any other surface that needs a fresh look.
For more painting advice, check out these other articles below:
Can You Use Satin Paint on the Ceiling? Expert Tips and Advice


