If your laminate cabinets have become worn or outdated, it may be time to splash a bit of paint on them to refresh your room. But what is the best method to go about painting the cabinets? You'll be glad to know that we've researched for you. In this post, we will provide you with everything you need to know about how to properly carry out this renovation project.
Here are the steps to paint your laminate cabinets:
- Prepare the area for painting.
- Clean the cabinets.
- Fill in holes and damaged areas.
- Sand the cabinets.
- Apply masking tape.
- Apply paint primer.
- Apply the paint.
- Apply a topcoat or second coat.
Continue reading to learn about the tasks involved in each step. We'll also suggest what type of paint to use, whether you can paint over peeling laminate and whether you can stain laminate cabinets.
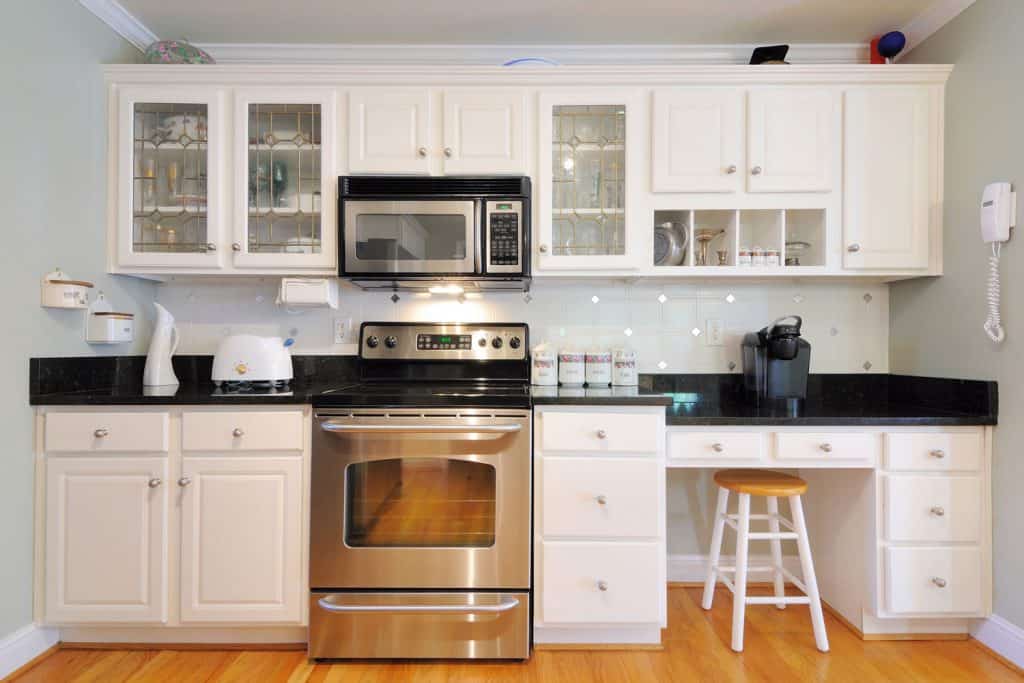
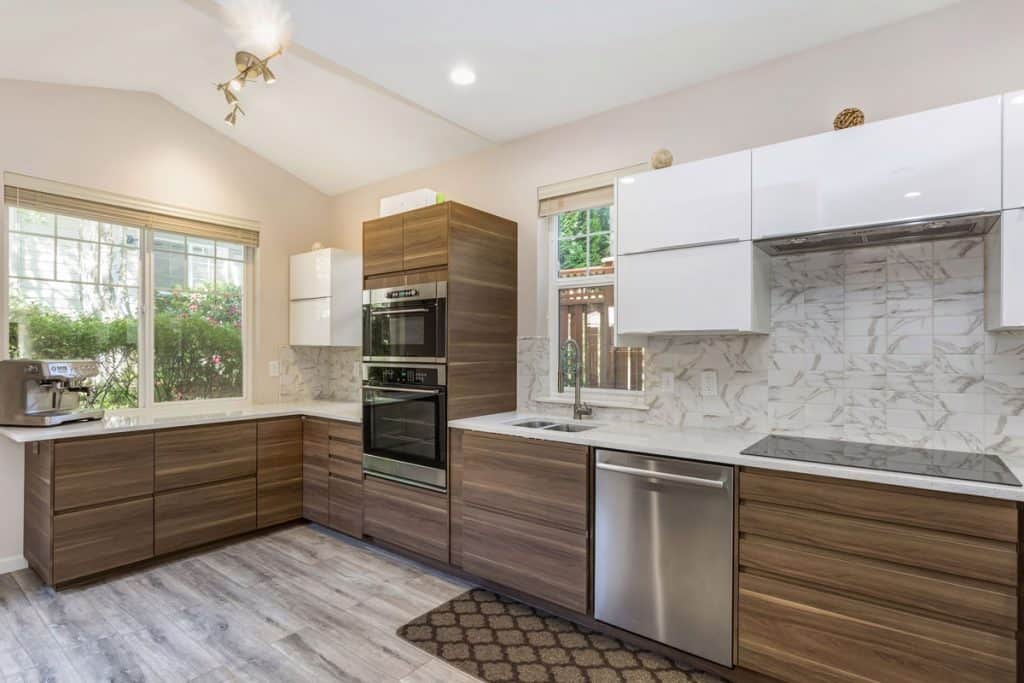
![Modern kitchen with wooden laminated panels and a white countertop with hanging white paneled cabinets, How To Paint Laminate Cabinets [8 Steps]](https://homedecorbliss.com/wp-content/uploads/2020/11/How-To-Paint-Laminate-Cabinets-8-Steps-683x1024.jpg)
The Steps To Paint Laminate Cabinets
We may include affiliate links and curated AI content to highlight top design styles.
Painting laminate cabinets requires a bit of prep work to ensure beautiful finished results. If you don't prep the cabinets properly, you may run into problems in the future, including paint peeling, chipping, and streaking. So it's best to note all the essential steps involved before setting the project in motion.
Tools you'll need:
- Masking tape
- Angled paintbrush
- Laminate cleaner
- Mini paint roller
- Drop cloths
- Laminate paint
- Ladder
- Rubber cleaning gloves
- Paint trays
- Snack bags small trash bags
- Dust mask
- Cleaning cloth
- Fine-grit sandpaper
- Laminate primer
Step 1. Prepare the area for painting
First, gather all of your painting tools and materials and be sure to set everything down over a drop cloth--this includes your paintbrushes, cans, rollers, and cleaning materials. Next, make sure that your cabinets are completely free of any dishes or other items. Also, place drop cloths around your kitchen floor or whatever room the cabinets are located in.
Be sure to cover all furniture and any areas where paint drops can fall. Next, take off any doorknobs, handles, and other hardware on the cabinets. If your cabinets have any special attachments, it's probably best to remove these, as it will make your paint job easier once you start.
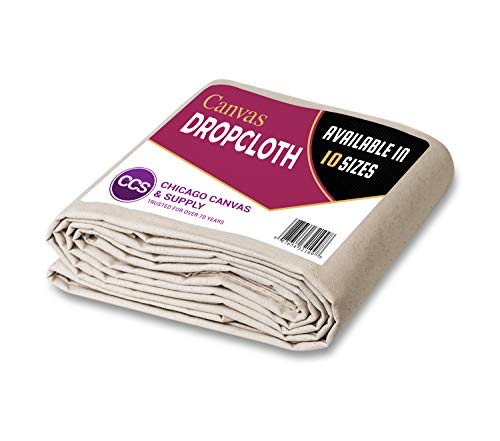
Check out this drop cloth on Amazon.
Step 2. Clean the cabinets
It helps to first wipe down the cabinet, as cabinets are known to collect dust easily. Do this before sanding the cabinets and painting them to minimize the amount of dirt and debris in your painting area. You don't want to sand dirty cabinets. To do this, you can use a homemade cleaner or any inexpensive general purpose cleaner.
A quick homemade cleaner that you can make is a vinegar and water solution. To make this, combine half a cup of distilled vinegar with half a gallon of water and mix them in a spray bottle. You can also just mix a little dishwashing soap with water and pour it into a spray bottle.

Check out this all-purpose cleaner on Amazon.
Pro Tip: Stay away from cleaners that contain any oils or that may leave an oily residue on the cabinet surface. It's also helpful to check the primer's label to see if any cleaners are not recommended before applying.
Step 3. Fill in holes and damaged areas
Now that you've cleaned the cabinets, it's time to inspect them for damage. Before sanding them, it's always best to first check the cabinets' surfaces to determine if there are any imperfections or holes that need to be filled up before painting. This can include dents, damaged areas from puncture marks, or areas where the wood has been scraped off. If you notice any of these areas on the cabinet, take your wood filler and apply it to them using your putty knife or your fingers if they are very small.
Check out this wood filler on Amazon.
Step 4. Sand the cabinets
Even if your paint primer states "no sanding required," it's typically a good idea to do at least some light sanding on the cabinets before painting them. This can help smooth out any imperfections or invisible surface bumps, but it can also help the paint adhere better to the cabinets' surface. This will ensure that you have a smooth and even finish after you've painted the cabinets.
Use your fine-grit sandpaper (180-grit to 240-grit should suffice) or a sanding block to go over each cabinet lightly. It's best to start on the top cabinet's left side and work your way to the right, going down as you do. This way, when you apply your primer and paint, each area will receive the same amount of drying time. Be sure to only lightly sand the cabinets, as you don't want to sand off the actual laminate.

Check out this sandpaper set on Amazon.
Pro Tip: Sanding can be an optional choice for many people when it comes to painting wood-based laminate cabinets. Some people prefer not to do it, and some primers or painting kits don't require it. It could be a matter of personal preference (and dependent on the type of condition the cabinets are in) and the type of primer and paint that you use.
Step 5. Apply masking tape
Apply masking tape around the cabinet's edges to not accidentally paint the walls are any bordering areas. Be sure to pay special attention to any areas where fixings or hardware will be applied later. Also, make sure that you apply a small amount of tape on the doors' hinges, as accidentally painting them (which is common for novice painters) can result in the doors getting stuck once the paint dries.

Check out this sandpaper set on Amazon.
Step 6. Apply paint primer
There are several quality primers that you can use for your laminate cabinets, many of which are stain-fighting and low odor water-based options, such as the Kilz and Zinsser brands (some of the most popular multi-surface primers on the market). You can also look for primers that are specifically designed for painting laminate surfaces. These primers can typically be found either online or at a local hardware store.

Click here to see this primer on Amazon.
Apply the primer using the mini roller, working from left to right and top to bottom. Prime all of the surfaces that you've prepared. Allow the recommended drying time for your choice of primer before moving to the next step.
Step 7. Apply the paint
For the paint job, you're going to follow the same application process as with the priming portion of the job. Use a mini roller, or be sure to use long, straight strokes when applying the paint with a paintbrush for a smooth finish. The brushstrokes to be invisible once the paint dries (unless you're going for a specific textured look). Allow the paint to dry and then lightly sand the cabinets afterward to remove any bubbles.

Check out this mini paint roller set on Amazon.
Pro Tip: It's best to check the instructions on the back of your paint can to note any special recommendations by the manufacturer, such as specific types of primer to use for cleaning products to avoid.
Step 8. Apply A Topcoat or Second Coat
Depending on the type of paint you have, you may need to apply a topcoat or a second coat to create a long-lasting paint job.
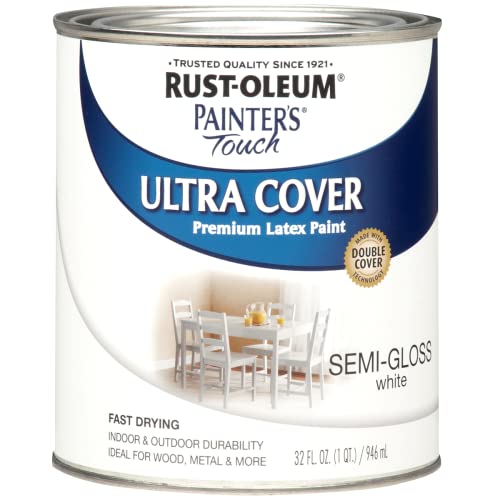
Click here to see this Rust-Oleum semi-gloss interior paint on Amazon.
How can you tell if your cabinets are laminate?
You can usually tell if the cabinets are laminate by checking for any seams on their surface. Also, the texture of laminate cabinets is especially smooth and not grainy such as natural wood. If you see repeated patterns on the wood, the chances are that it's laminate. Lastly, laminate also has a glass-like, hard, and plastic feel when you touch it.
What Kind of Paint Do You Use On Laminate?
Renown paint manufacturer, Sherwin Williams, recommends latex paint be used on laminate surfaces. Latex paints afford a smooth finish and a durable enough to withstand daily wear such as on cabinet doors. Alternatively, you can use oil-based paint. Whichever your preference, make sure to prime the cabinets properly before applying paint to ensure the paint adheres correctly.
Common finishes for cabinets include semi-gloss, gloss, or satin. Gloss is durable enough for frequently used cabinets, like those in the kitchen, but does show imperfections. Semi-gloss is also highly resistant to wear and does show imperfections, but it can be cleaned with ease and tones down the sheen. Semi-gloss is a good finish for cabinets in an area of the home. A satin finish is practical for cabinets because it provides durability without the high-maintenance of keeping a shiny finish free of imperfections.
Can you peel laminate off cabinets (and then paint)?
It depends on if the cabinets are made from particleboard or MDF (medium-density fiberboard). If the cabinets are made of MDF, yes, you can peel off the laminate using a heat gun or simply pull it off in sections with your fingers (start by applying a utility knife or razor to initiate this). Also, some MDF-based cabinets contain a plastic coating (which can look similar to laminate), which can also be peeled off.
If the cabinets are made from fiberboard, you can usually still paint them. However, if you do, it's important to make sure that the boards are in great condition and that you apply and least two coats of quality primer to them before actually painting the cabinets. The reason is that fiberboard is a very porous surface, and if not primed correctly, the paint job will simply peel and chip within weeks (or days).
Can I use wood stain on laminate cabinets?
No, a stain is only intended for use on actual wood surfaces, through which it is absorbed. Applying a stain to a laminate surface will not turn out well, as the stain will not have anything to soak into. The end result would be a laminate surface with a semi-dry sticky stain on top of it.
Wrapping Things Up
Painting laminate cabinets is a pretty simple DIY project, and once you see the finished results you'll be surprised by what a difference a fresh coat of paint can make.
Before you go, be sure to check out our other posts: