
If you've removed carpeting from your stairs lately, you almost certainly found plywood underneath - and what a boring eyesore it is! If you don't want to hide your stairs behind new carpeting, you might wonder if you can paint or stain them to improve their appeal. We've pulled together the steps to paint or stain plywood stairs, so you can prepare for and complete this DIY project.
Plywood stairs are very easy to paint. Simply follow these steps:
- Prep stairs.
- Apply a coat of primer.
- Paint.
- Seal.
Staining is also a manageable DIY process, though you'll want a good power sander.
- First, prep by sanding.
- Apply a wood conditioner.
- Stain.
- Seal the stairs (and more sanding).
Read on for the specific project instructions, tools, and everything else you need to know before you pick up a paintbrush. With this guide, you'll be well on your way to creating an aesthetically appealing staircase.
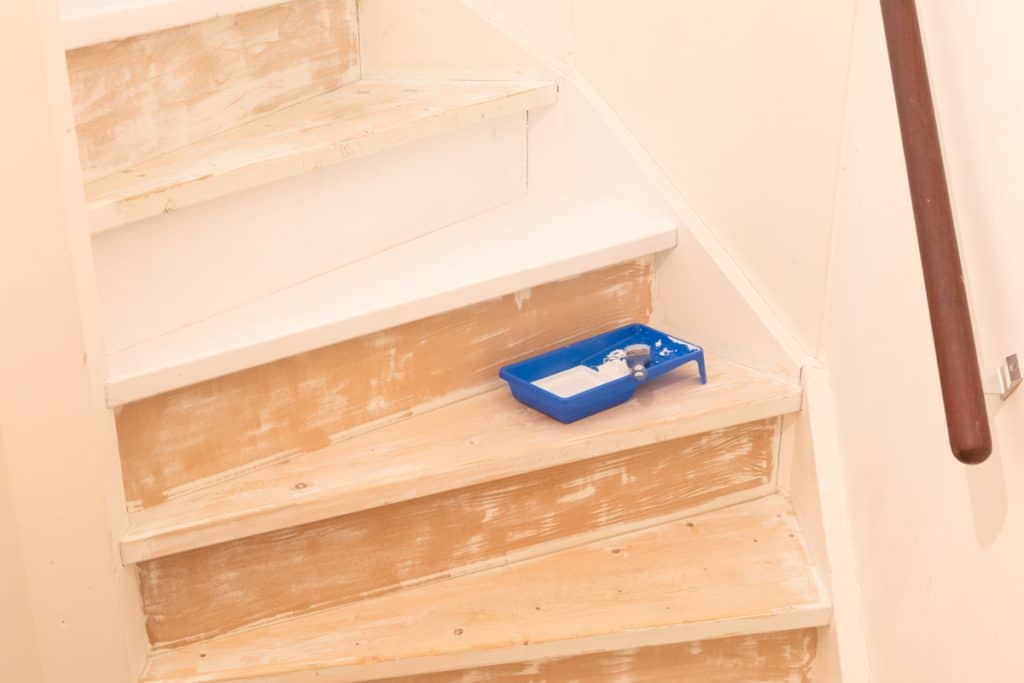
![A painting tray with cream paint placed on an unfinished staircase, How to Paint or Stain Plywood Stairs? [4 Steps]](https://homedecorbliss.com/wp-content/uploads/2020/10/How-to-Paint-or-Stain-Plywood-Stairs-4-Steps-683x1024.jpg)
What You'll Need To Paint
To paint plywood stairs, you'll need a wood filler:
We may include affiliate links and curated AI content to highlight top design styles.
Click here to see Donald Durhams 4-Pound Rockhard Water Putty on Amazon.
A simple primer:

If desired, you can mix a grit additive into the paint to create more traction on the stairs:

And finally, a good quality water-based polyurethane, such as:

Click here to see Rust-Oleum Varathane Gallon Gloss Waterborne Diamond Floor Finish on Amazon.
What Kind of Paint Do You Use On Plywood Stairs?
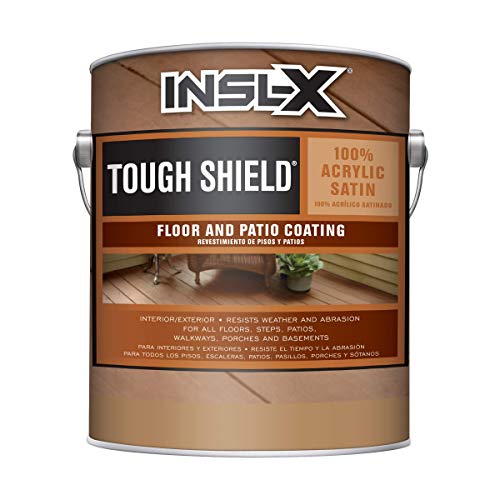
Stairs take a lot of wear and tear, and because of this, not just any paint will do. Select an acrylic latex paint, which is marketed for floor use. This will guarantee that you select a durable, hardy paint that can stand up to whatever kind of abuse your stairs receive. A good selection is this INSL-X Tough Shield Floor paint, available in seven colors.
How to Paint Plywood Stairs
1. Prep
Before you can begin to paint, you'll need to make sure that the stairs are in the right condition. Begin with bare stairs; if stairs are currently covered, or you need advice on clearing staples or nails, you can read How To Remove Carpet From Stairs.
Next, prep the workspace. Tape over any areas that you don't want to be painted, and lay down drop cloths to protect floors as needed. When you start, open the windows for ventilation.
Once the stairs are clear, fill any gaps or cracks with your wood putty according to the manufacturer's instructions. Allow the putty to dry, then sand down each step as needed. Next, clean thoroughly -you don't want any lingering dust to get left behind and, ultimately, dry into your beautiful new paint job.
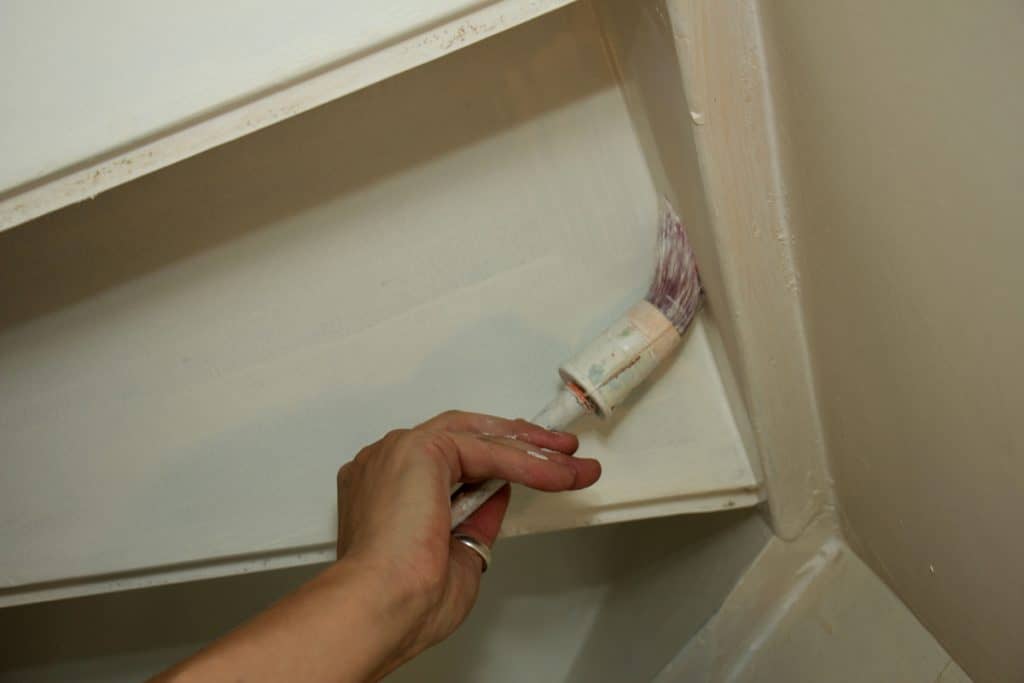
2. Prime
Using a brush with synthetic bristles, apply the primer. Start at the top stair and work your way down. Brush along the sides of the stairs, then into the center. Overlap the brush strokes slightly as you move across the stair to obtain a clean, smooth look. Allow the primer to dry thoroughly.
3. Paint
Painting is essentially the same as the primer. Follow the same method for the best results. Apply the paint in a relatively thin coat and add more frequently, to keep it even. Again, allow the paint to dry thoroughly.
What You'll Need to Stain
To stain plywood stairs, you'll need the wood filler and polyurethane finish, both suggested above.
A wood conditioner will also be required for this project. For best results, be sure to treat the wood with something like this:

Click here to see Minwax Water Based Pre-Stain Wood Conditioner on Amazon.
And, finally, painters tack cloths like these:
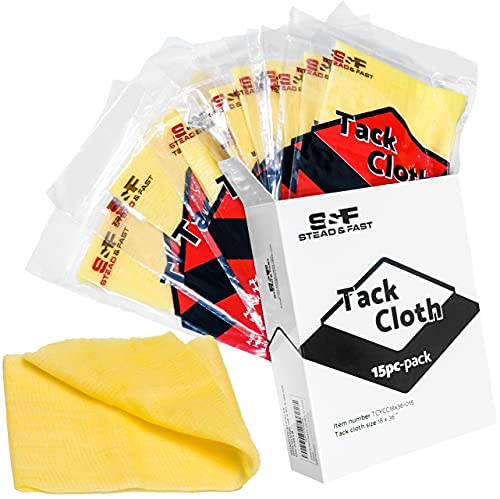
Click here to see Stead & Fast 15-Pack Painters Tack Cloth, 18"x36" on Amazon.
What Kind of Stain Do You Use on Plywood Stairs?
A water-based stain is the best selection for plywood stairs. Because water-based stains emit fewer odors than their oil-based counterparts, they make a better choice for small workspaces (as stairs tend to be). They also dry faster, and in this case, that's a good thing - all the sanding and multiple layers of polyurethane mean that this project will take several days. With oil-based stains, that could stretch into something closer to a week!
Plywood does tend to absorb stain unevenly. For this reason, some people prefer to use a gel stain, which can be easier to work with. However, gel stains take longer to dry compared to water-based stains. Also, they can come out uneven in corners (which are plentiful on stairs). Therefore, many others find it best to stick to a regular stain and simply sand well and pre-treat it with a wood conditioner.
For a regular stain, try General Finishes (shown in Provincial, 18 colors available):

Click here to see General Finishes Waterbased Wood Stain on Amazon.
How to Stain Plywood Stairs
1. Prep
To begin, make sure the stairs are ready. Fill any gaps or holes with the wood putty. (Note: instead of mixing with water, mix the putty with your stain to get the right color.) Remove any nails from the stairs, tape off areas where you don't want stain, and generally, prep your work area.
Next, sand -and sand, and sand some more. Don't use a belt sander because it's too rough for this job. With a handheld orbital sander and low grit sandpaper, sand the surface down to bare wood. Then sand with medium grit, and subsequently, high grit sandpaper. It's important to sand thoroughly (and sand by hand any spots that a sander can't reach); otherwise the stain won't absorb evenly.
It's important to note, while you need to sand to open up the wood and prepare it to accept stain, bare plywood stairs may not need heavy sanding (the current condition of the stairs is a huge variable). In this case, you'll need to be careful. While you'll still want to follow all of these steps for sanding, go easy and avoid removing too much.
Following sanding, clean up well. Wipe up all the dust with a damp cloth and then with a tack cloth. Make sure you take your time, as you don't want to be left with dust ruining your stain. Let the wet stairs dry before continuing.
2. Condition
Apply the conditioner to the wood. Although in many projects, you can stain without conditioning the wood beforehand; plywood tends to take stain unevenly and needs conditioner for the stain to absorb fully. Apply generously and allow it to sit for 15-minutes, then wipe off the excess with a lint-free cloth.
3. Stain
Using a sponge or a lint-free cloth, apply the stain. Work quickly, wiping the stain evenly across the stair. Do not saturate the cloth with stain -wring it out well and apply just a little at a time. Too much will cause pooling and, as a result, an uneven stain. Let the stain absorb for anywhere from 5-15 minutes (adjust for preference and how dark you want the final product). Then, remove the excess stain with a new cloth. Finally, allow it to dry.
Do you need to seal painted and stained stairs?
You will need to seal stairs, whether painted or stained, with several coats of water-based polyurethane. This will create a hardy finish that protects your work and keeps the stairs looking nice.
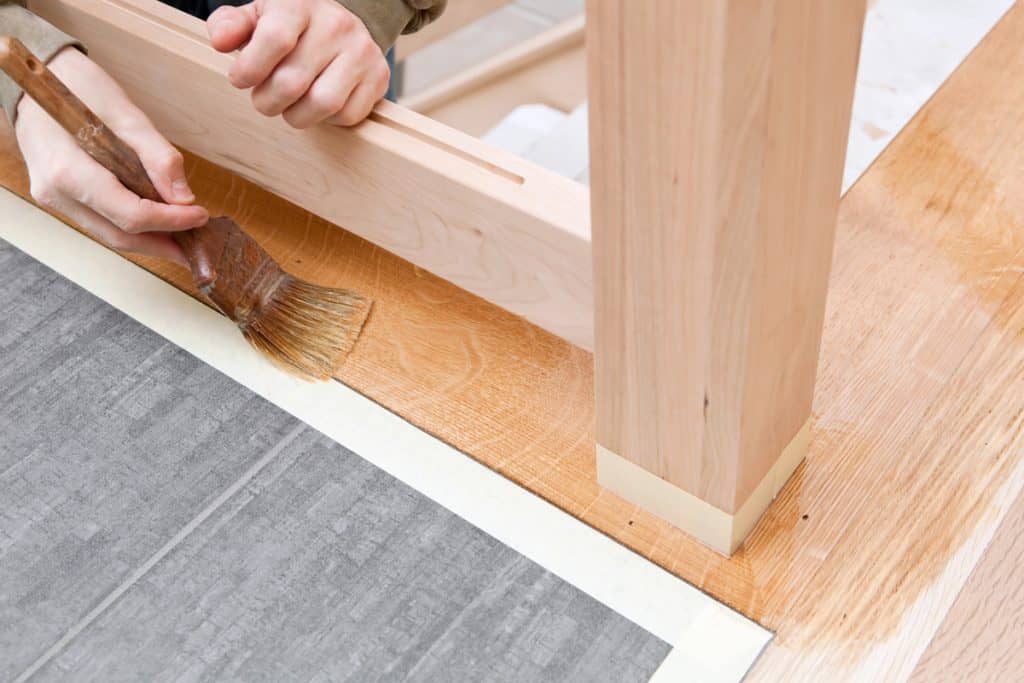
Applying the finish is the longest stage of the process. First, you'll apply the finish by moving across the stair with a synthetic brush. Move the finish in long strokes, one direction (the direction of the grain). Apply a thin coat and add more as needed. Overlap each new brushstroke slightly with the one before it until the stair is covered. Back brush over any drips. Repeat for all stairs.
Next, once the finish is dry, sand it with fine sandpaper (around 200 grit). When you sand, it should create dust. If the polyurethane that comes off while sanding is sort of gummy, it isn't dry enough and needs to wait longer. Clean thoroughly with a tack cloth.
Finally, repeat for as many coats as needed. Add polyurethane, let dry, and sand. Do not sand the final coat. Three coats will provide a good, durable stair cover for even the highest traffic areas. However, the desired look you hope to achieve may take an additional coat or two.
How Long Does It Take For Paint and Stain to Dry on Stairs?
Check the manufacturer's instructions as to the drying time. However, stain generally takes somewhere between 4- and 12-hours before a second coat can be applied. Wait for at least 24-hours for the stain to be fully dry before moving on to sealing. Paint should be left to dry for 4-hours (or as directed by the manufacturer).
Water-based polyurethane will take about 6-hours to dry, and you can tell if it's dry or not when you sand for the next coat (remember, if it creates dust, it's dry). After the final coat, allow the polyurethane finish to dry for 24-hours before use. The finish can take as long as 30-days to cure or fully harden, so try to be gentle with your stairs for the first month and avoid placing objects on the stairs.
If you can't leave the stairs closed for this project's duration, some people will do every other stair instead. Once that set is dry, they'll work on the rest of the stairs. This means that you can always go up and down the stairs, skipping the stairs between those that are "in progress." It's still best to limit traffic as much as possible, as dirt and dust can be dragged through your workspace.
Why Should you Prime Stairs Before Painting?
Priming is an essential step when painting the stairs. Though it seems like you could save some time by skipping it, this will ultimately cost more time when you have to re-do your stairs sooner than anticipated. Stairs simply take too much traffic and wear to skip the primer.
Without a good coat of primer, the paint won't adhere as well and will begin to flake off prematurely. This is one of those projects best to do once and do right because no one wants to repeat it frequently.
In Summary
Giving plain plywood stairs some eye-appeal by painting or staining is a fairly easy DIY project, though it takes patience due to the layered drying times of all the different steps. Prep, priming or conditioning, painting or staining, and finally, sealing can all be done by the average homeowner with a bit of time and a few tools. Take your time, don't rush, and have fun redecorating!
For further reading, try:
How to Remove Rust Stains From Carpet
27 COOL things for your home [Some are downright IRRESISTIBLE!]


Thank you for sharing this informative blog! All the information provided by you is really very helpful for all. Whenever we do a paint job so the problem we face is to remove dust particles from the surface. I agreed by using tack cloth you can keep your project dust-free. Everyone should follow the tips provided by you, it will make their work easier. Keep Posting! Keep Sharing!