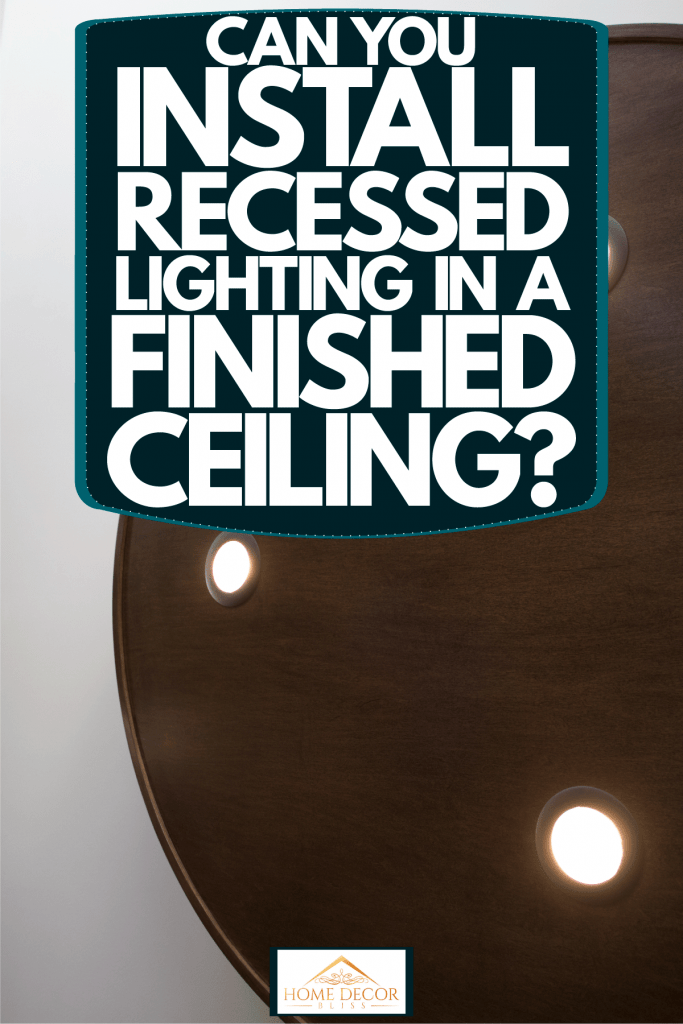
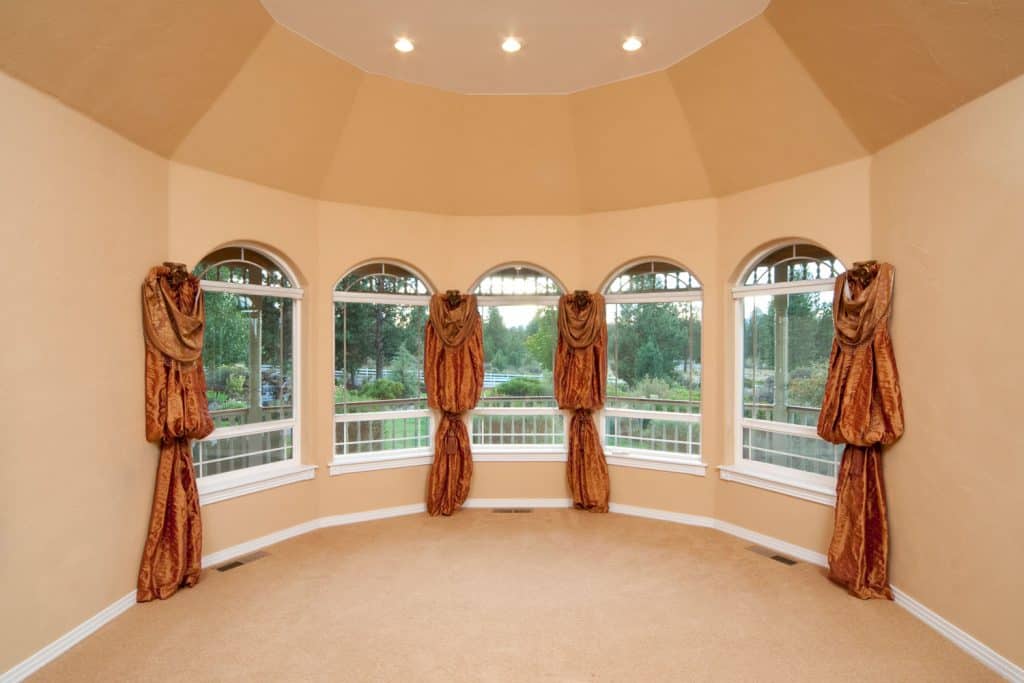
Recessed lighting, also known as can lighting, is a style of lighting that isn't going anywhere for the foreseeable future. Existing homes, not made custom by you, might have added hanging lights or relied on floor lights. Now, with these finished ceilings in place, typically popcorn ceilings, is it possible to install recessed lighting in them? We've taken the time to research for you and bring you an answer!
While it is possible to install recessed lighting in a finished ceiling, there are a few bumps in the road to consider. A popcorn ceiling needs to be smoothed at the site of install to sit flush. Then, having access to an attic is going to be the easiest installation method. Also, condos or two-story homes will require a specific kind of rewiring when the ceiling is finished.
Installing recessed lighting is an intermediate to difficult project to complete on your own since you'll need to have a solid understanding of electrical wiring and junction boxes. You can hire a professional or save labor costs by doing it yourself. We'll be taking a look into the process and things to consider as you prepare for your new lighting.
The process of installing recessed lighting
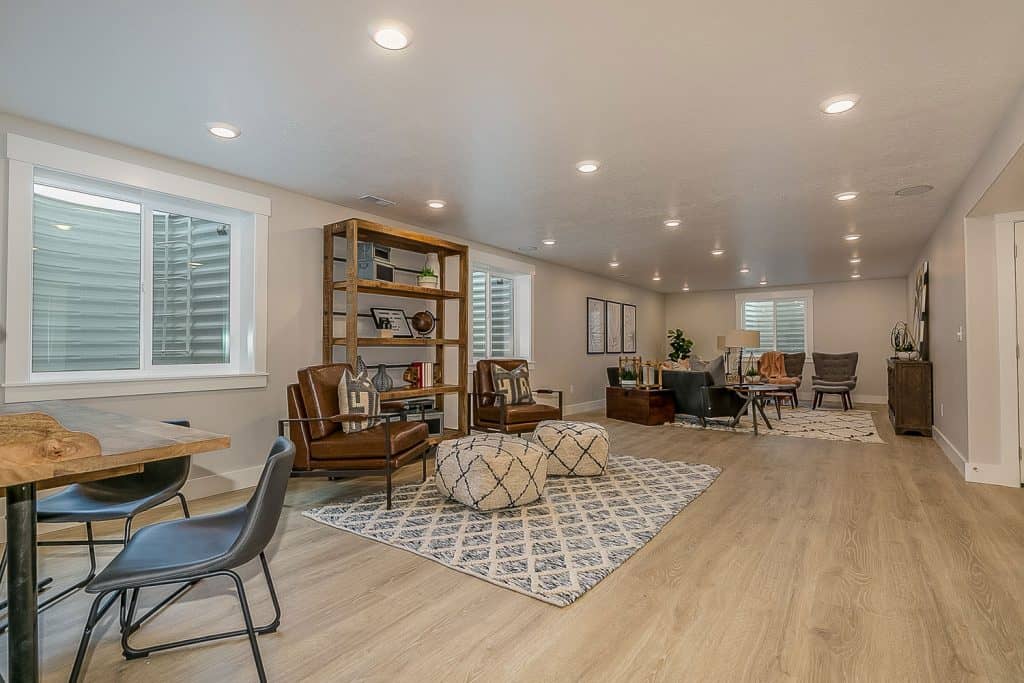
Recessed lighting is a popular choice of lighting as it gives a room more headspace, floor space and can highlight specific areas. They are great for workspaces, kitchens, and bathrooms due to their brightness and often have a dimmer feature available. Depending on how many lights you're installing, allow yourself a few days to complete this project.
We may include affiliate links and curated AI content to highlight top design styles.
If your home was built around or before the 1980s, keep in mind you may have a chance of being exposed to asbestos if you start cutting holes into the ceiling. You'll be able to purchase at-home testing kits before you begin or bring in a professional to quickly test the whole house. New construction homes will be the easiest to install recessed lights into.
Tools
- Lighting size templates
- Hole saw attachment or drywall saw
- Wire stripping tool
- Stud finder
- Voltage tester
- Power drill and drill bits
- Safety goggles and dust mask (optional)
Preparation
Measure out your room and lay out the templates to find your spacing. Take a step back and make sure everything looks even. Then use a stud finder to make sure the current placements do not overlay ceiling joists.
For popcorn ceilings, you'll need to prep the area the light is going to be. Since the popcorn ceiling sticks out, the trim won't be able to sit flush. You'll need to first wet the area to scrape the popcorn off easier and with less dust. Wait for the ceiling to dry and then sand the area flat for install.
Use a thin drill bit to drill into the center of the template. For finished ceilings, insert a bent wire to make sure you aren't going to snag any wires or hit any pipes. You'll want to give yourself an eight-inch clearance or use a low clearance housing if you don't have space.
If you have access to the attic, make a drilled hole and go up to check you'll be in the clear. You'll also be able to go down the line and make sure your other lighting holes won't run into wires. Attics with insulation present or lights above wet areas will require IC-Rated housings to prevent any electrical fires.
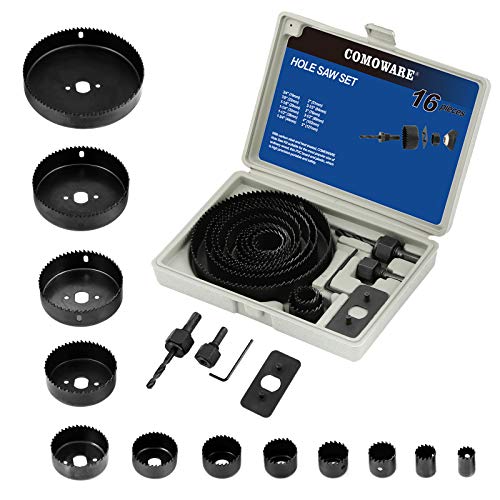
Click here to view this hole saw attachment on Amazon.
Wiring
For this step, turn off your breaker. If you're able to do it by room, turn off the room breaker you'll be working in. Breakers that aren't labeled should have the electricity turned off completely. It is also a safe idea to turn off all light switches in the room you're working on.
Once you've determined the lighting spots, cut around your template to the exact size with a drywall saw or hole saw attachment for your power drill. Now you'll want to run an NM-B cable, also called Romex, from the power source to the power box and then to the first hole. After the first has been done, you can move on to the second, and so on to connect them all.

Click here to view this wire snip on Amazon.
Tip: Give yourself an extra 16 inches to 18 inches of wiring for increased ease of use.
Time to complete the full wiring. Open your junction box and attach the cable to it. Clamp the wires together by snipping the wire ends and about 1/2-inch of the wire's insulation. You'll be matching up the like-colored wires, twisting them together, and capping them. Fold them neatly into the junction box and screw on the box's cover.
Mounting
Now that the more complicated part of wiring is over, you'll be able to move onto the mounting stage. A majority of recessed lighting houses have retractable clamps that hold the housing in place. Push the clamps into the inside of the housing, insert them into the ceiling, and then push the clamps back out until they click into place.
The trim is the finish surrounding the housing to hide the edged of the cutout. The trims have either coil or hook attachments that will fit into the predetermined spots of the housing. Push these into place until they are secure and sit flush to the ceiling.
Finally, add your light bulbs. Each housing will tell you the required wattage and sized bulb. With the bulbs in place, turn on the breaker and flip the switches. If your lights do not work, the wiring is most likely not connected properly and you'll need to turn off the breaker and rewire.
Do you need an electrician to install recessed lighting?
Depending on what type of home you live in, permits may be needed for changing the electrical system. A licensed electrician will be up to date on all these requirements. An electrician will cost you around $150 to $250 for each light fixture, which can rely heavily on the availability of materials and what type of housing you'll need.
Another factor in their pricing is the location of the lights, the size, the ceiling height, existing ceiling or new construction, and access to the attic. However, when you go with a professional company or contractor, you'll often be given a warranty on the work in case anything goes wrong. While you will be spending more money hiring an electrician, you'll be getting insured work and less of a headache.
Tip: The overall room's wattage will need to be the same as before to reduce over-usage. Divide the current light bulb wattage by how many new lights you're installing to figure out the wattage of the new bulbs.

Click here to view these housings on Amazon.
How long does it take to install recessed lighting?
With electrical knowledge, it will take anywhere between 30 minutes to an hour per light fixture when doing it yourself. So if you have six light fixtures in one room, set aside the day or two days to complete the project. Since popcorn ceilings need drying time, air drying will add hours. Or you can rent an industrial dryer to speed up the process.
By installing a row of lights on the same junction box, you'll reduce the time of connecting multiple wires to multiple boxes. Don't forget the prep time! Factor in the time of measuring the room, laying out your templates, and figuring out where any wiring is or isn't.
How much does it cost to install recessed lighting without existing wiring?
Ceilings without existing wiring will add a good chunk of change to the cost of your project. You can expect each light to now cost between $200 and $300 plus extra labor and material costs. Condos and townhomes that do not have an attic or have concrete above the ceilings' drywall will require a completely new wiring system and more drywall cut out.
For materials, you'll need NM-B wire, connectors, switch boxes, and then low-clearance can housings if you don't have space. Since you're doing it from scratch, you also have the option to install a dimming feature, but that will tack on another $30 to $70. Also, if your home is older, asbestos and out-of-date wiring removal can add a few extra hundreds on.
Does recessed lighting use more electricity?
Using LED lights with your recessed lighting will use less electricity and go easier on your AC system. If you cannot find LED bulbs or aren't a fan of the colors they come in, look for other bulbs that are Energy-Efficient approved. You can use up to 50% less electricity with either of these options.
Tip: Add a dimmer to turn the power of the light down during the middle of the day.
To summarize
Recessed lighting is able to be installed in a finished ceiling, including a popcorn ceiling. This is a project that will require knowledge of electrical systems and takes a few days to complete. Also called can lighting, they'll never go out of style and can even add value to your home. The trims come in multiple colors and can work with any style of home!