Some homeowners are curious about the difference between a picture frame window and a sill. We also want clarification about those two. So to satisfy both of our curiosities, we have thoroughly researched this subject, and after much fact-finding, we have finally determined the answer!
Picture frame window is one method of making window casing, whereas a sill is a part of a window. However, the latter is one that you need to install another method of casing windows, which is the traditional style.
In this post, we'll cover the installation process of the picture frame and sill approach. So, it would be best to keep reading and gather more knowledge about these two. Let's delve into the details!

What Is The Difference Between Sill And Picture Frame Window?
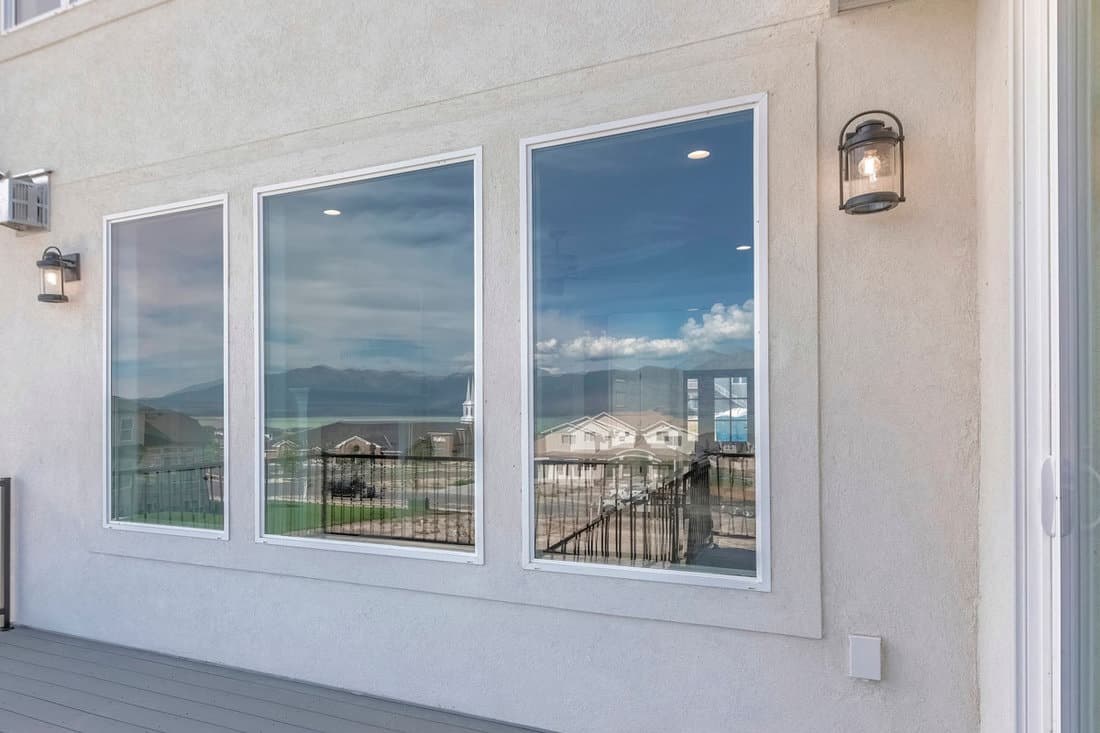
The two most common types of window casings are the picture frame and the traditional style. In a picture frame window, the frames on four sides are the same.
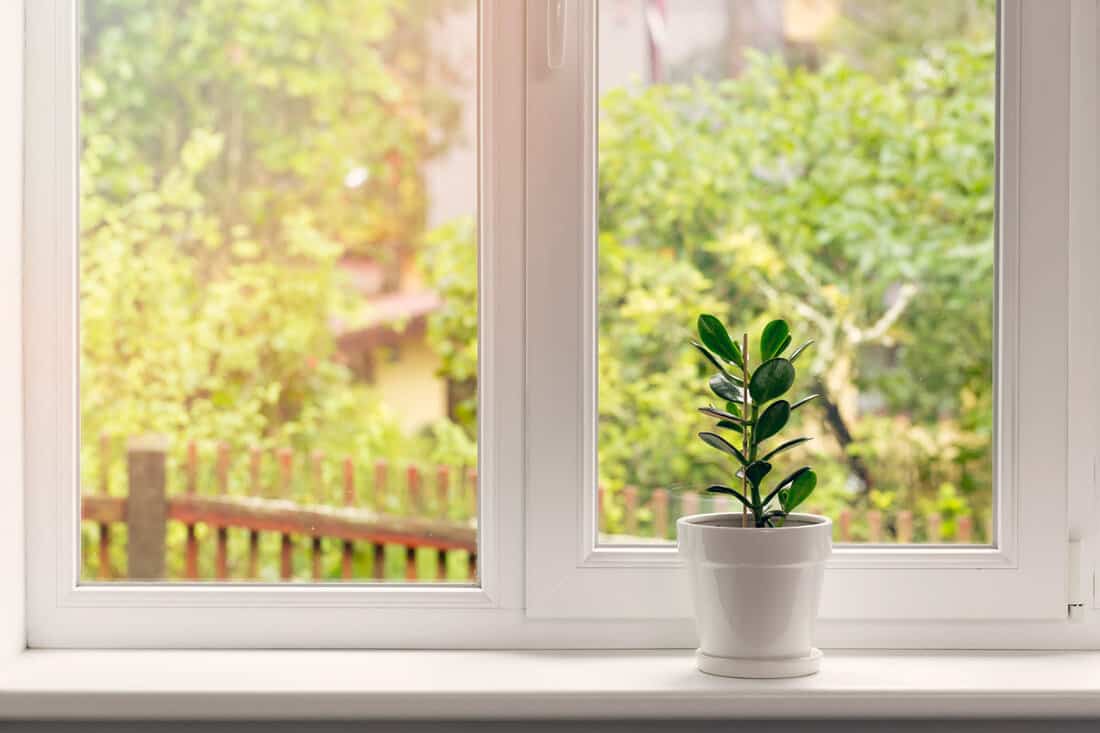
Contrarily, a sill, commonly known as the "stool," is a component you need to achieve the traditional casing type that also requires the apron component.

We may include affiliate links and curated AI content to highlight top design styles.
For further understanding, know that you can locate the window sill on two parts of the house. The window sill outside is what you call the stool inside your home.
Window specialists refer to the stool as the sill. So, if you are to ask about the word sill, it can be unclear which component of the window you are referring to.
How To Install Window Casing?
Below are the installation process of the two casing methods.
Picture Frame Window
Before anything else, measure the height and width of the window.
1. Clean The Window Surface
Eliminate all dirt and dust from your window using a wet cloth. After that, let the surface air dry.
2. Draw An Outline
Get the trim and place it on the window. Leave a half-inch border on four sides. After that, create an outline of the trim.
3. Cut The Trim To Size
You'll need to cut the trim according to the outline's measurement.
4. Apply Adhesive
Put enough adhesive on one side of each trim. Place all the trims on the window and ensure to put them using heavy pressure.
5. Trim
If you notice some excess material, it would be best to cut it out using a sharp knife. Lastly, seal the trim's surface. You can use varnish or clear sealant.
The Traditional Way Or Using The Sill
As mentioned, in a traditional window casing, you will need to install a sill or stool and an apron.
1. Repair The Gaps And Damages On The Wall Near Your Windows
If you see cracks on the wall and gaps between the trim and jamb, it would be best to utilize wood filler strips instead of silicone caulk.
2. Get The Window Jamb Ready
Using a straightedge, ensure the window jambs are all sitting at the same level on the wall. Remove any projections by smoothening them off with the wall.
If the jambs are set back from the wall, you'll need to find out how much away the straightedge is from each jamb.
Afterward, tear jamb extensions from 1x stock to the required width and a thickness of 1/4 inch less than the jamb thickness.
Nail the strip to the jamb every 8 to 10 inches using 18-gauge pneumatic nails and 4d finish nails. Remove the surplus by smoothening it off.
You should place the point of a compass on the bottom inside corner of a jamb, with the legs of the compass flared apart a quarter inch. All three jambs need to have a reveal line drawn along their perimeters, making the inside facade of the jamb a reference.
Furthermore, you should cut a slight slope into the jamb's wall-facing edge to ensure a snug fit between the jamb and the window casing.
3. Make A Rabbet Joint On The Stool
Proceed to the wall and secure the side casing, keeping in mind the reveal line on the side jamb. Additionally, you should create a mark on the housing's outer edge on the wall next to it. The next step is to switch to the opposite frame.
Compare the two dots to see how far apart they are. After taking the dimensions, add two more inches to cut the stool to size easily.
You should be able to rest the front of the stool on the sill while the rear rests on the sill trim. Once you finish, mark the point where the end of the stool meets the highest portion.
Position the stool so the back edge is flush with the sill trim, then slide the side into the jamb. After that, make a vertical line at the junction of the frame and stool end encounter.
Draw an "X" at the intersection of the lines you drew using a square. In this space, you can see the surplus of material you need to cut before creating the rabbet. Make two separate rip cuts utilizing the table saw to accomplish this.
4. Put A Mark And Arrange The Stool
Mark the inside of the stool at the mouth by measuring one inch from each end. There should be a notch cut into the corner where this item meets the inside of the window jamb.
Use a square to draw jamb lines over the top of the stool on the previously marked spots.
Jamb lines should meet jamb inner margins. The compass's rear end should rest on the stool's back.
The other end should remain at the sill trim. To do this, keep the compass flat on the wall while you draw a line from the end of the stool to the jamb.
With the lines as a reference, cut a notch at the stool's edge using a jigsaw cutter. Once finished, test the fit. Use sandpaper or a chisel to make necessary modifications.
Lastly, put a dab of adhesive on the window sill and nail it to the stool.
5. Fasten The Side Casing
This step requires you to create a square-end cut on the casing. After you make it, you should put it on the stool.
It is advisable to mark the area where the head jamb's reveal line crosses with the interior end. In that particular spot, cut out a square and then do the same thing on the other end.
Furthermore, you should run a bead of glue on the following:
- the part that will rest on the stool
- the casing that will protrude from the side jamb
In this step, you'll want to ensure the edge is flush with the reveal line. Nail the frame and casing to the wall using 4d finish nails, then use 8d finish nails to anchor the piece to the wall. Clean up any glue messes afterward, then proceed to the next section.
The base of each horn needs two 18-gauge nails hammered in from the outer border of the casing. Use a drill to make pilot holes. A substitute for the nails above is the 6d variety.
Make a mark on a piece of casing, especially where it hits the inside ends of each side casing. Next, make square crosscuts with a miter saw. Make such on the notches.
Once you've finished, attach the head jamb to the head casing. It would be best to ensure the reveal line reaches the base edge.
6. Incorporate Corner Blocks
In this step, you should place the blocks in the corners and check for any gaps. If you notice that the pieces seem inappropriate and unpleasant, flattening their edges will ensure a precise fit.
Additionally, applying a bit of glue to the ends of the jamb and head casing block would be best. Put some adhesive on the block's bottom right away to hold it in place.
After applying the glue, put 18-gauge nails. It would be best to use a pneumatic nailer to do it.
If you only have a hammer, you should create pilot holes before utilizing 8d finish nails.

Check out this pneumatic nailer on Amazon.
7. Setup The Window Aprons
Hold a bit of apron stock while the front end is down. Mark the sections of this stock that will extend to the side casing's outside. It is best to make square cuts at these locations using a miter saw.
Grab the scrap material perpendicular to the newly trimmed area to make the apron ends smooth. Flush the scrap profile while turning it to face the side of the apron. Trace the scrap profile onto the apron.
Use the same procedures on the other side. When finished, carefully remove the traced object and plane off any sharp corners.
A dab of adhesive at the top of the apron will hold it in place while you line up the corners with the side casing's finish. Lastly, you should hammer down the upper edge of the apron to the lower half of the stool.
Step 8: Finish Up
Apply putty on all gaps you see. Let it dry for a night, then smoothen it using sandpaper. It would be best also to do the same to all window components.
Moreover, you should clean the entire window area of dirt and debris, then primer and varnish or paint.
What Is The Purpose Of The Sill?
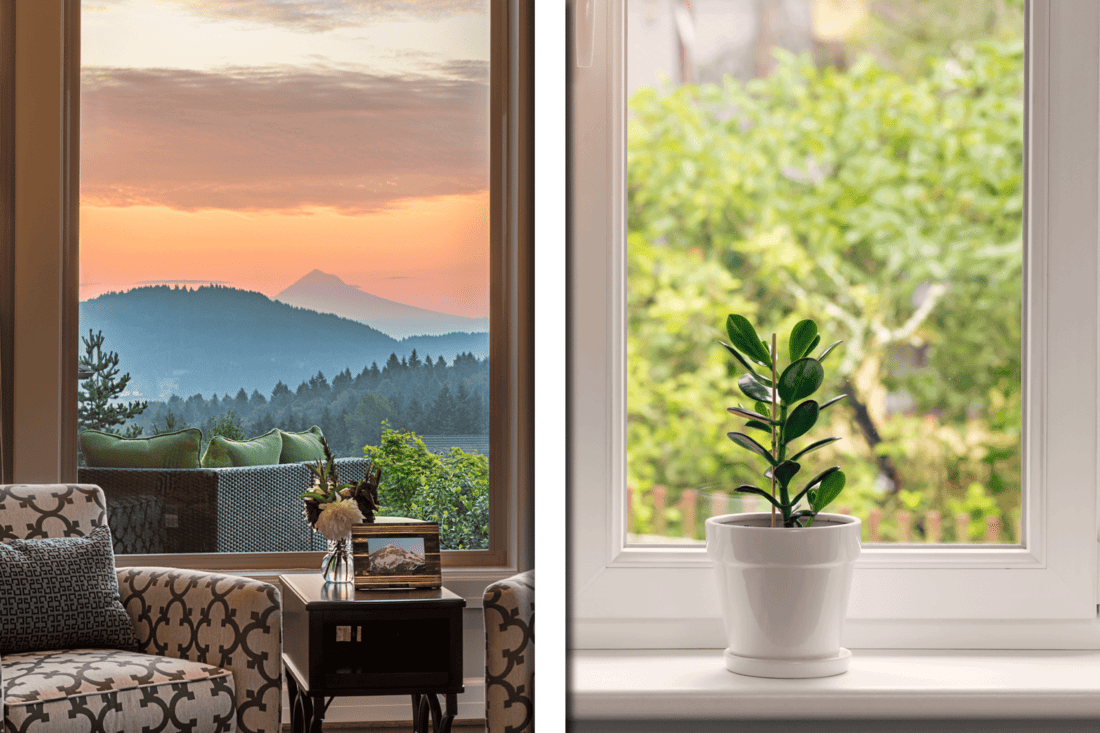
Learn that window sills contribute to the aesthetics and functionality of the window itself.
- The sill helps prevent flexing and provides structural stability.
- Sills can produce greater effectiveness in conserving energy. Allows for the installation of thermal insulation by acting as a barrier.
- It prevents water from seeping into your home during rainstorms and keeps it from leaking into the wall.
- You can use the sill or stool to place decorations. Exhibit things like candles, photos, and plants on tiny pots.
Conclusion
Changing your windows is one challenging task. It is true, especially if you are an amateur in this job.
Now that you know the difference between a sill and a picture frame window, it would be best to follow all the guidelines provided in this post if you are to install either of the two.
If you want to learn more, check these window-related posts out!
How To Repair Rotted Window Frame [Inc. Interior And Exterior]
![Motorized roller shades in the interior. Automatic roller blinds beige color on big glass windows, How To Install Lutron Serena Shades [Step By Step Guide]](https://homedecorbliss.com/wp-content/uploads/2022/11/Motorized-roller-shades-in-the-interior.-Automatic-roller-blinds-beige-color-on-big-glass-windows-600x400.jpg)