Are you planning to give your space a fresh look by reusing old tiles?
Good decision! Not only does this save you money, but it's also an eco-friendly option.
In this article, we will guide you through the process of removing mortar from old tiles so that they are ready for reuse. Let's begin!
Part I: Removing the Mortar
The first step to reusing your old tiles is to remove the mortar.
Below, we've outlined the steps you need to follow.
Step 1: Use Protective Gear
Before starting the process of removing mortar from old tiles for reuse, make sure to wear the appropriate protective gear.
Get safety goggles to protect your eyes, gloves to protect your hands, and long sleeves and pants to protect your skin from cuts and scrapes.
Step 2: Remove the Grout
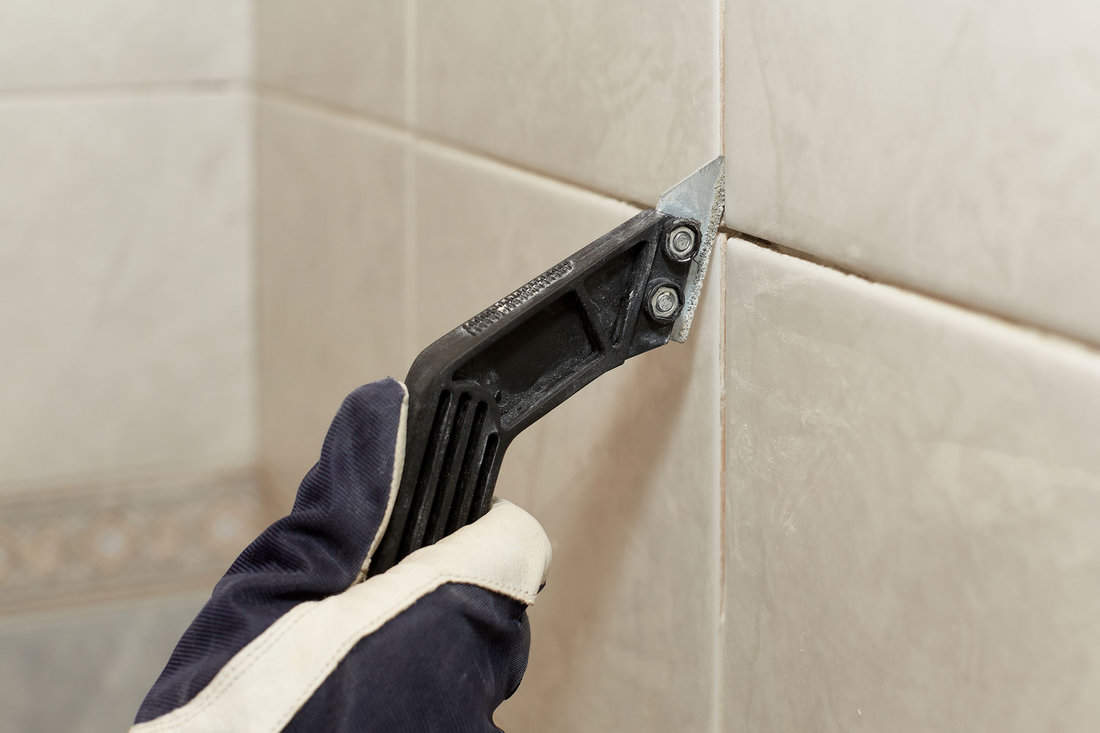
Grout is primarily used to fill the gaps between tiles during installation, so removing it before attempting to remove the tiles is crucial.
By doing so, you can access the edges of the tiles, making it easier to pry them out.
You can use a grout scraper or chisel to remove the grout, carefully applying steady pressure without damaging the tiles.
It is essential to be patient during this process and avoid applying too much force, which could damage the tile.
If there is any remaining grout residue, a 50-grit sanding disc can help remove it.
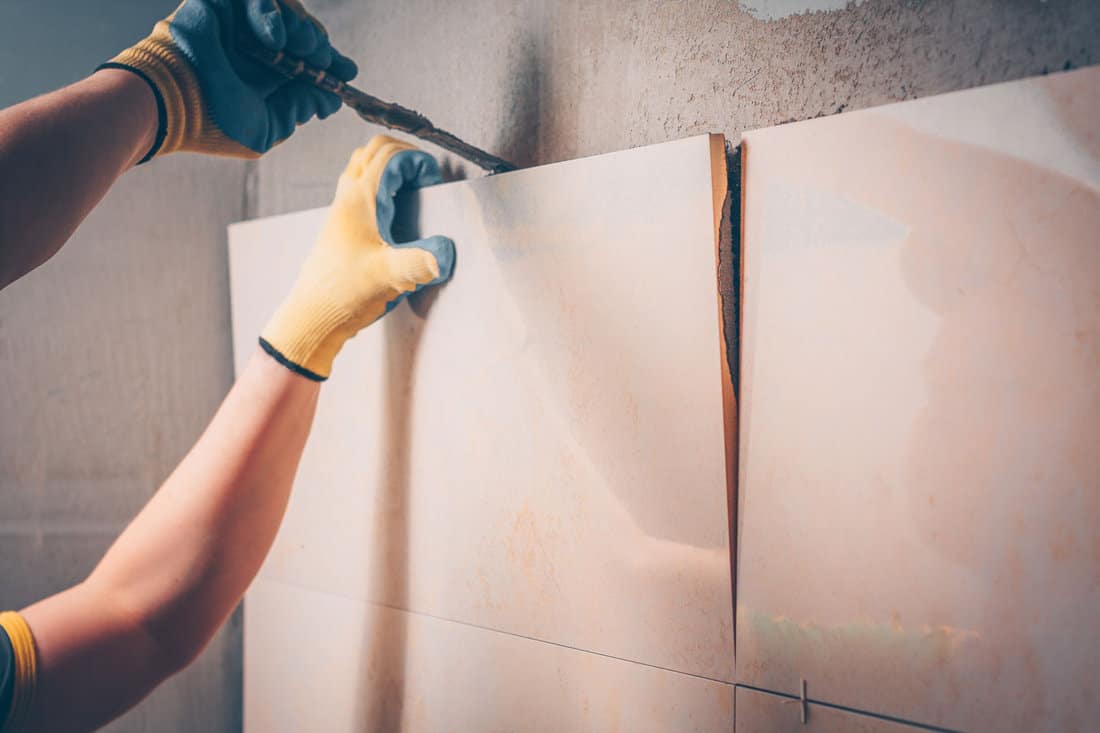
Step 3: Carefully Pry Away the Tiles
We may include affiliate links and curated AI content to highlight top design styles.
Once the grout has been removed, it's time to pry away the tiles from the surface.
It's essential to do this gently to avoid breaking the tiles.
You can use a putty knife or a flat-head screwdriver to lift the tiles away from the surface slowly.
Start at the edges of the tile and work your way inwards, applying even, gentle pressure to minimize the risk of tile damage.
Repeat the process for the rest of the tiles.
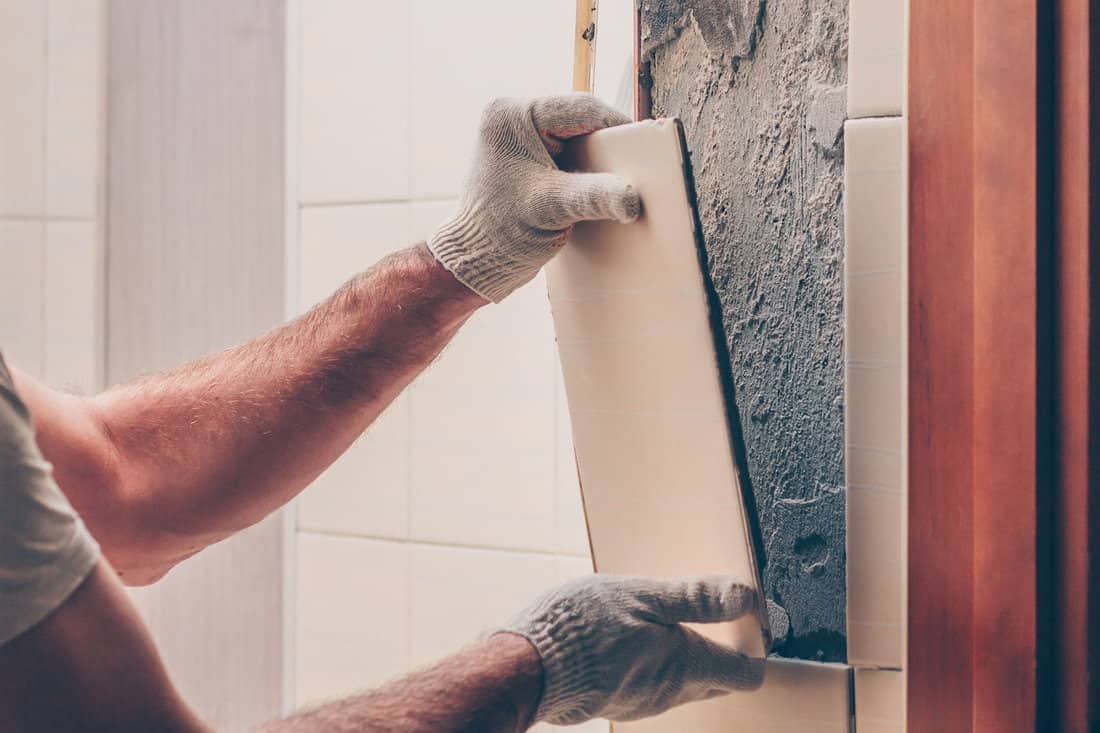
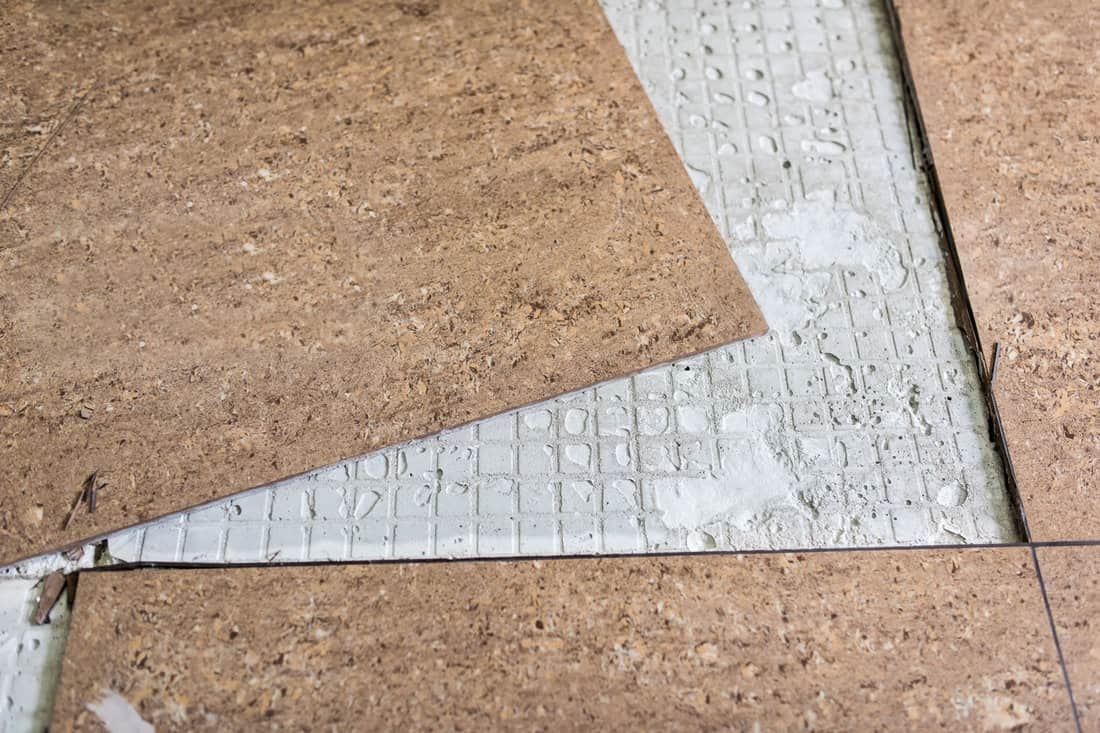
Step 4: Scrape Off the Mortar
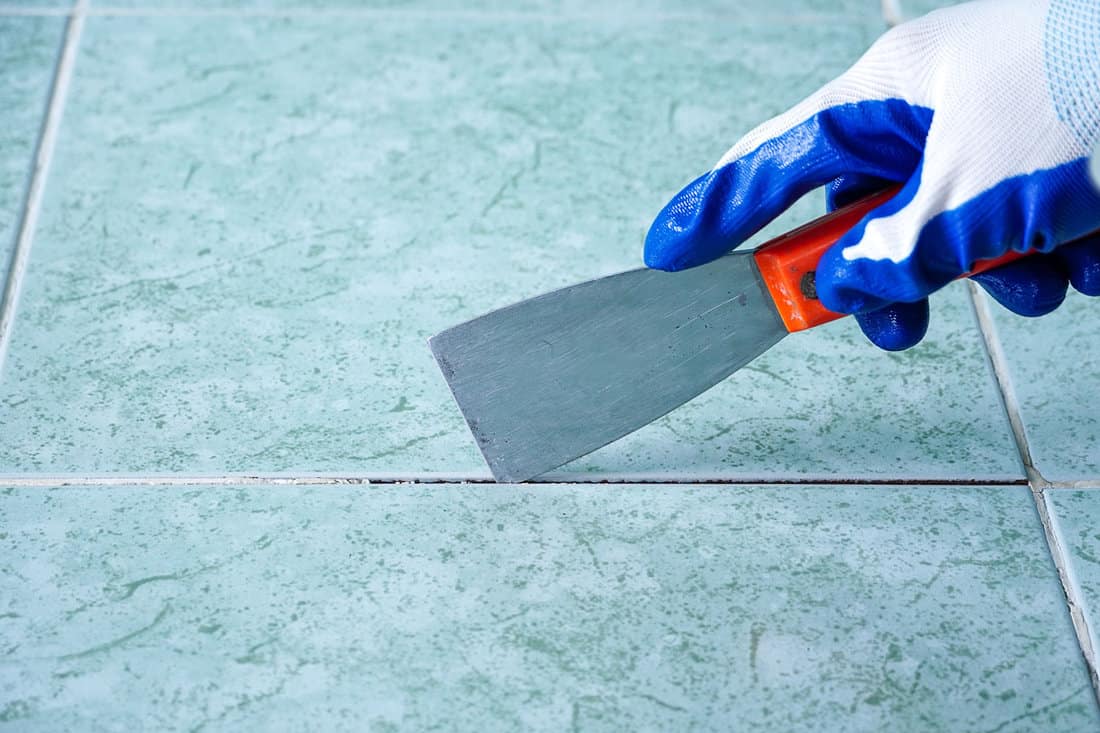
Next, carefully scrape off the remaining mortar using a chisel or grout scraper.
Hold the scraper at a shallow angle to avoid damaging the back tile, and gently work across the surface.
The process might require some patience, but ensuring the tile is cleaned properly for reuse is crucial.
Continue reading: How To Remove Thinset From Tile [2 Methods]
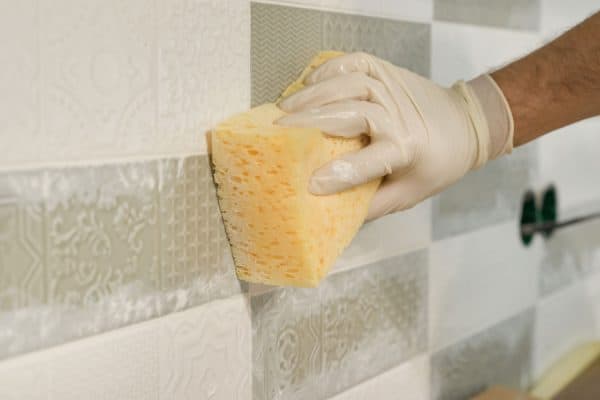
Step 5: Vacuum and Swipe Away the Area
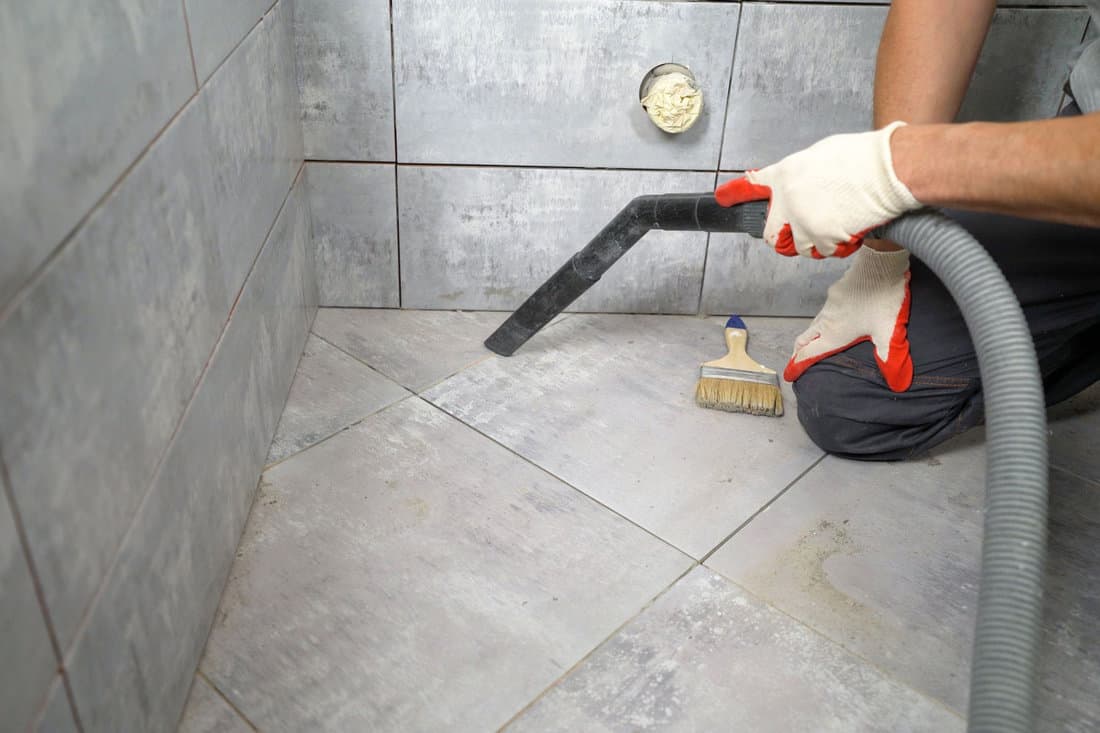
After sanding, use a vacuum cleaner to thoroughly remove any remaining dust or debris from the floor surface.
Follow this by wiping the area with a clean, damp cloth to ensure that all dust particles are removed, and the tile is cleaned to perfection.
Part II: Restoring the Salvaged Tile
Now come's the part you've been waiting for! You're now on your way to restoring your tile for reuse.
Here are the materials and tools you'll need to complete this step:
- Water
- Bucket
- Muriatic acid
- Gloves
- Scrub brush
- Mask
Step 1: Make a Muriatic Acid and Water Solution
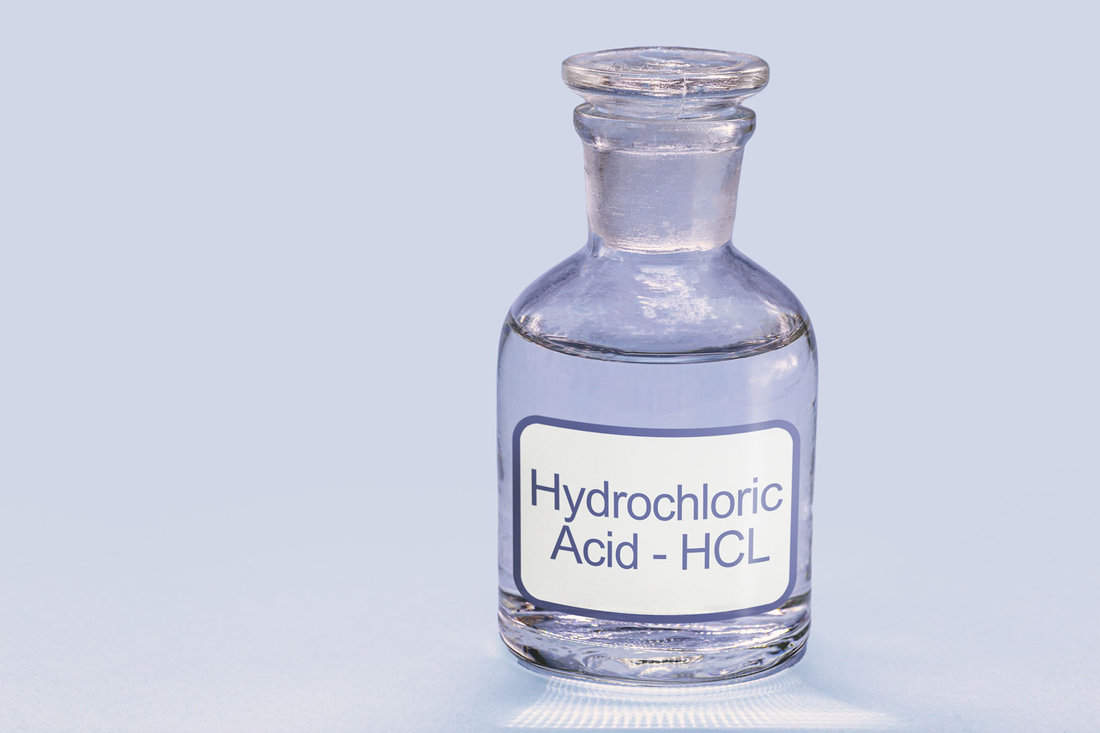
You'll need to make a muriatic acid and water solution to restore your salvaged tiles.
The solution will help loosen stubborn mortar from the tile backs, making removing it easier.
Mix a cup of muriatic acid with five gallons of water in a bucket.
Always remember to add the acid to the water, not the other way around, to prevent harmful chemical reactions.
Wear protective gloves, goggles, and a face mask while handling muriatic acid.
Step 2: Soak the Tiles

Carefully place the tiles into the container, ensuring they are completely submerged in the solution.
Allow the tiles to soak for at least five minutes or until the mortar residue has loosened.
Be sure to monitor the soaking process, and do not leave the tiles unattended.
Step 3: Polish the Tile Back
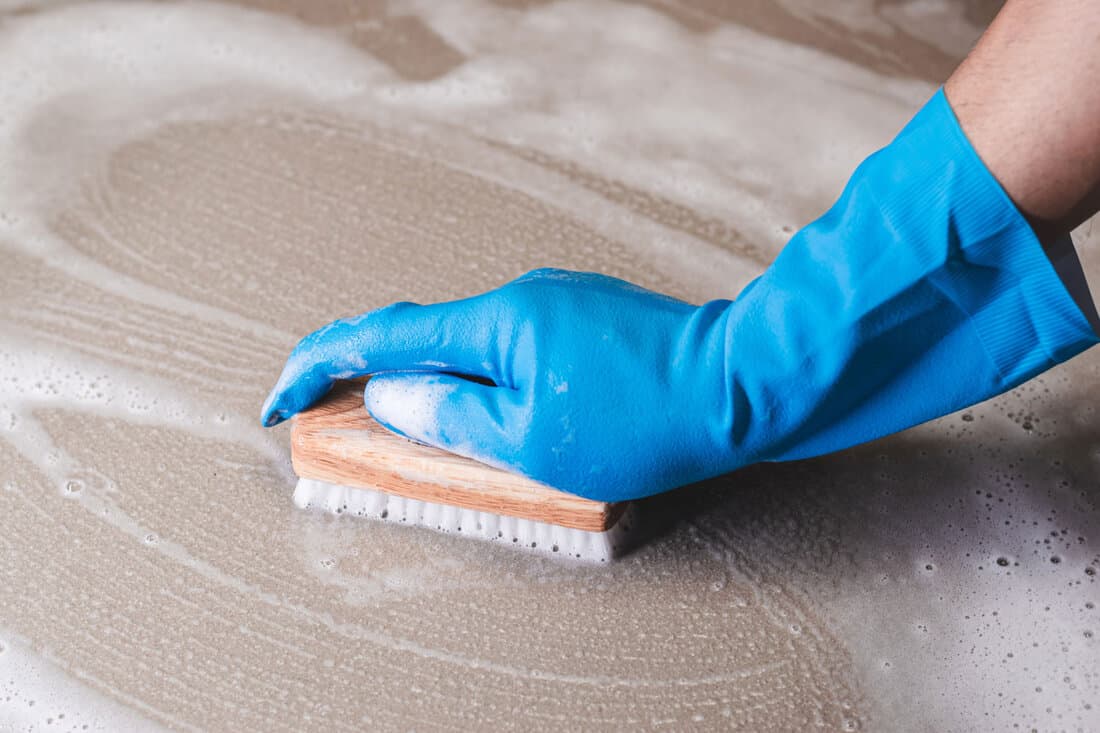
Once the tiles' mortar has softened, remove them from the solution individually.
Use a scrub brush to scrub loosened residues from the tile backs gently.
If there are areas with stubborn mortar elements, you can let them submerge for a few more minutes.
However, ensure not to leave them for hours as it will heavily damage the tiles.
Step 4: Rinse and Let Dry
After removing the mortar, rinse the tiles thoroughly with clean water to remove any remaining muriatic acid residues.
Make sure to dispose of the used acid solution according to local regulations.
Finally, lay the tiles flat and let them dry completely before using them in your project.
Step 5: Reuse Tile
Once the tiles are dry and mortar-free, you can reuse them in your home improvement projects.
That's it! Enjoy your newly restored tiles and the satisfaction of giving them a new lease on life.
If you're more of a visual learner, you can refer to this helpful video as a guide.
Can Muriatic Acid Damage Tile?
Muriatic acid can react harshly and cause permanent damage to the tiles.
Therefore, it is essential to exercise caution and follow instructions carefully when using this material.
It's recommended only to use muriatic acid when removing heavy-duty mortar from the tile back.
If you decide to use this acid, mix it with a large volume of water, as using it in its concentrated form can be harmful.
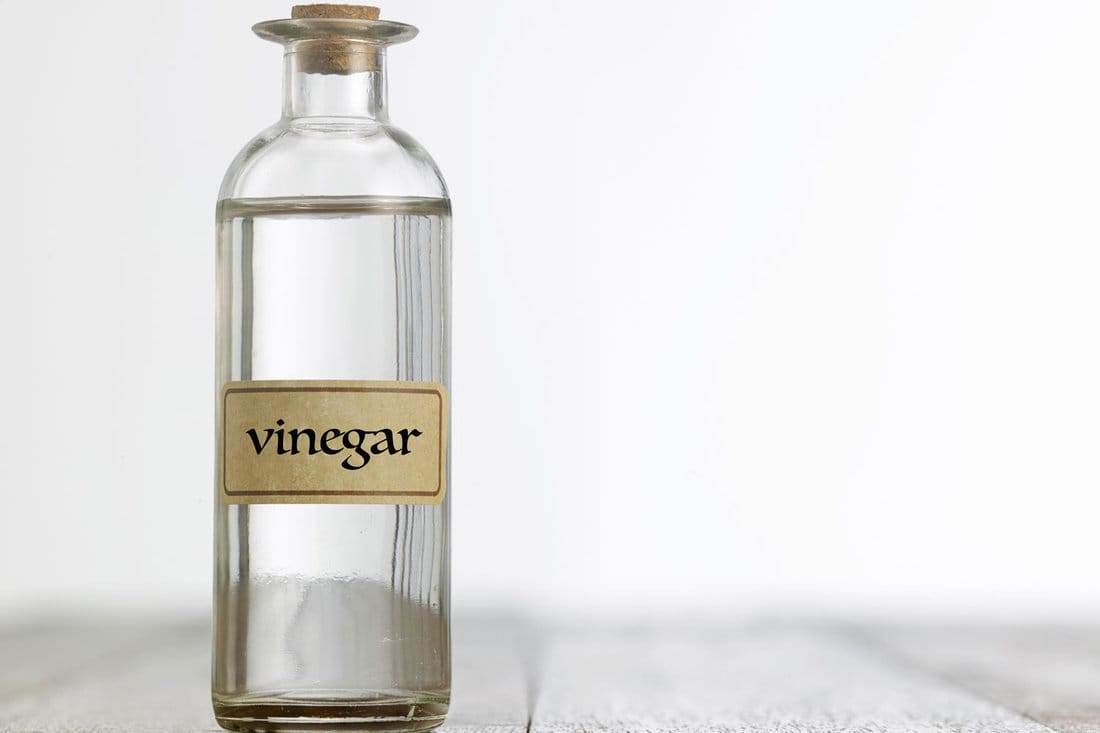
Alternative Option: Water and Vinegar
Alternatively, you can use a water and vinegar mixture.
First, gather the following materials:
- Vinegar
- Water
- Spray bottle
- Scrubbing sponge
Step 1: Combine Water and Vinegar Solution

In a bowl, mix equal parts of water and white vinegar.
The solution will help break down the mortar and make removing it easier without damaging the tiles.
When mixing the solution, be sure to stir it well to ensure the vinegar and water are evenly distributed.
It's essential to use white vinegar, as it is more effective in breaking down the mortar and is less likely to discolor the tiles.
Step 2: Apply the Solution

After your solution is ready, it's time to apply it to the tile backs.
You can use a spray bottle or a sponge to generously apply the solution to the areas where mortar is present.
Be sure to cover the entire surface, especially the parts with more substantial mortar deposits.
Allow the solution to sit on the tile backs for about 5 to 10 minutes, giving it enough time to soften the mortar.
After waiting, take a soft plastic or wooden scraper or an old toothbrush and gently remove the mortar from the tile backs.
As you continue scraping, periodically rinse the scraper or toothbrush in your water and vinegar mixture to help further dissolve the mortar.
Repeat the process until all the mortar has been removed from your tiles.
Be sure to read: Telltale Signs Of A Bad Tile Job [And How To Fix It]
Can Vinegar Damage My Porcelain Tile?
Generally speaking, porcelain and ceramic tiles can handle the acidity of vinegar.
Vinegar contains acetic acid and works well as a natural cleaner for many surfaces, including porcelain and ceramic tiles.
You might also like: How To Repair Cracked Ceramic Tile [5 Simple Steps]
Final Thoughts
Removing mortar from your old tiles properly can save you money and help reduce waste.
It's a great way to showcase your creativity and give your home a fresh, updated look on a budget.
So, gather your tools, roll up your sleeves, and let the transformation begin!

![Tile setter applying thinset to a single tile, Will Thinset Stick To Formica [Answered] - 1600x900](https://homedecorbliss.com/wp-content/uploads/2023/08/shutterstock_1734268679-600x338.jpg)