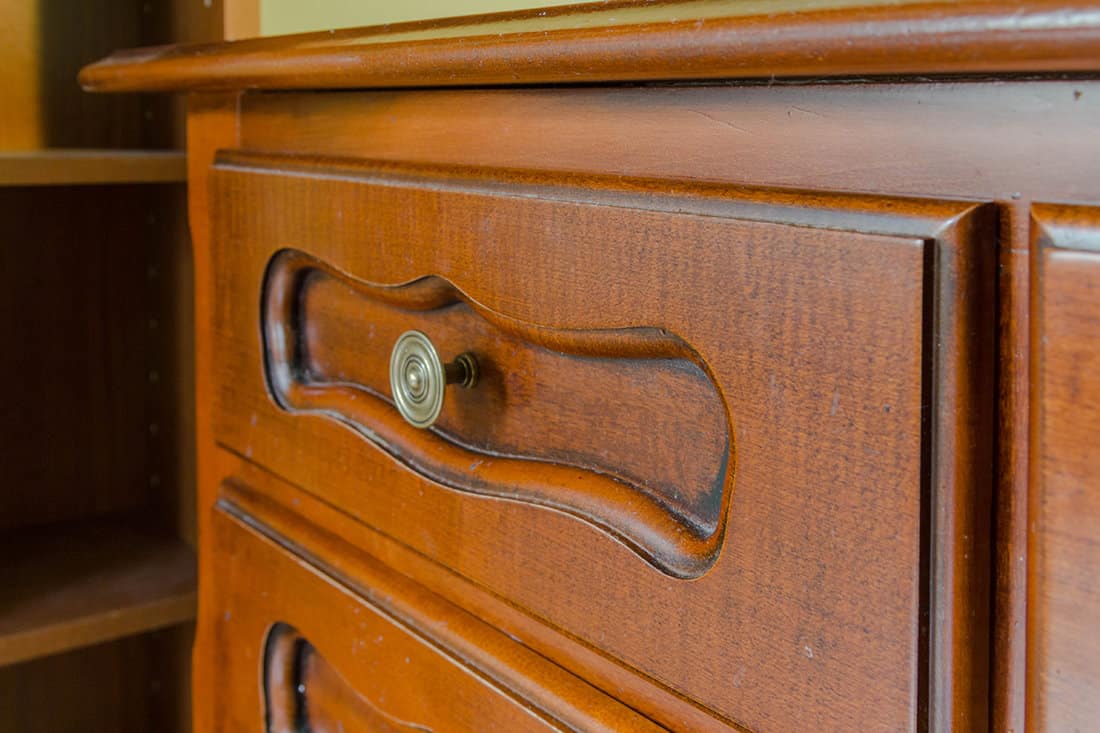
Painting your cabinets is a great way to update your home. Before you start working on the new look, you should know what grit sandpaper to use for preparing the surface before applying paint. We’ve researched this, so you'll get the right sandpaper grit level for cabinets.
Depending on the outcome you want, the sandpaper grit options, from coarse to fine, include:
- A grit between 290 and 360 is required for a polished look.
- For a smooth finish, a grit of 240 to 280 is suggested; this will provide a simple surface on which you can paint whenever you like.
- The ideal range for a vintage look is 150 to 220 grit.
You may be having trouble selecting the best grit to sand your cabinets, which is why you're here. Continue reading to learn everything you need to know about the best sandpaper grit to use on your cabinets.
What You Need to Know About Sandpaper Grit
Sandpaper is a thick, durable paper with sand or other abrasives adhered to it, typically used to polish or smooth woodwork and other surfaces. You can determine the abrasive material's size or coarseness by the sandpaper's labeled "grit" level.
Higher grit numbers produce smoother surfaces; lower grit numbers produce coarser finishes but with faster material removal rates. Grit grades range from 24 to 1,000; however, the majority of people will never use grits at either end of this spectrum.
Sandpaper Grit Sizes
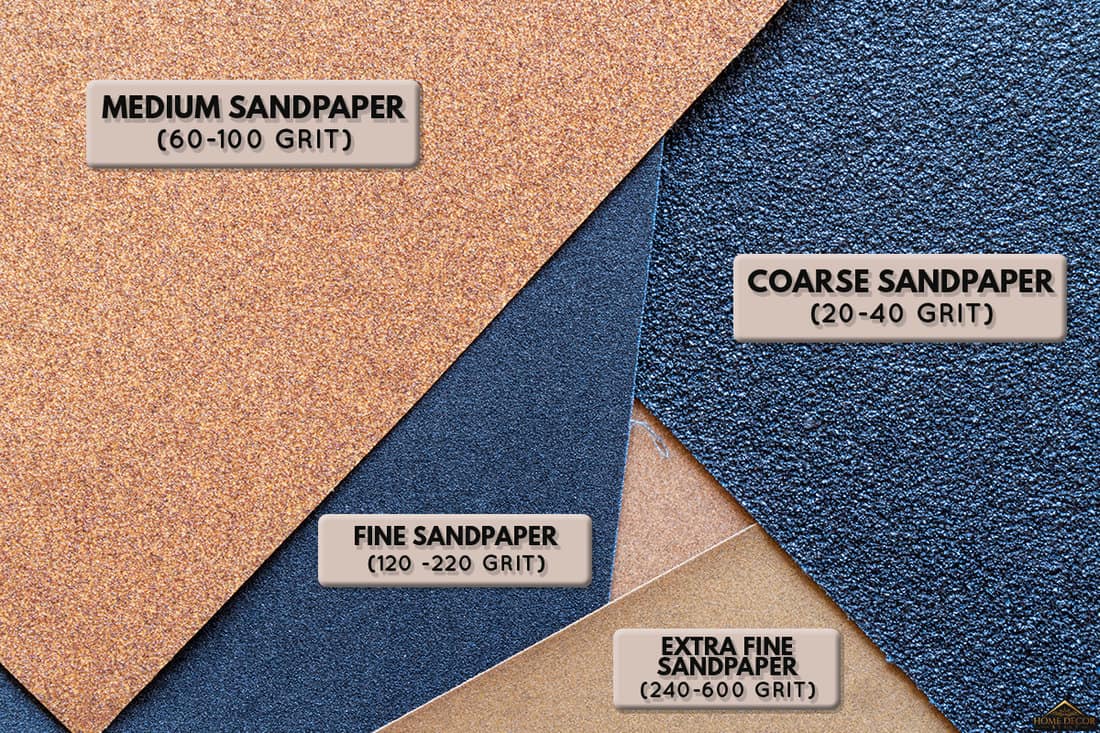
The outcomes of your work will vary depending on the type of sandpaper you use for your project because sandpapers come in various grits. The various grits to select from for your cabinets are listed below.
- Coarse Sandpaper: Coarse grits, such as 20-40, are frequently used for rough wood shaping and paint or varnish removal.
- Medium Sandpaper: Commonly used for some final shaping; grit ranges from 60 to 100. Medium-grit sandpaper is frequently the finest choice for the first sanding of rough wood and for erasing planning markings from wood.
- Fine Sandpaper: Between 120 and 220 grit. This sandpaper will be adequate for final sanding before the project is complete in the majority of home workshops.
- Extra Fine Sandpaper: Very fine grits are defined as 240, 320, and 400, while extra- or superfine sheets with grits of up to 600 are suitable for polishing tasks.
Sanding Cabinets
We may include affiliate links and curated AI content to highlight top design styles.
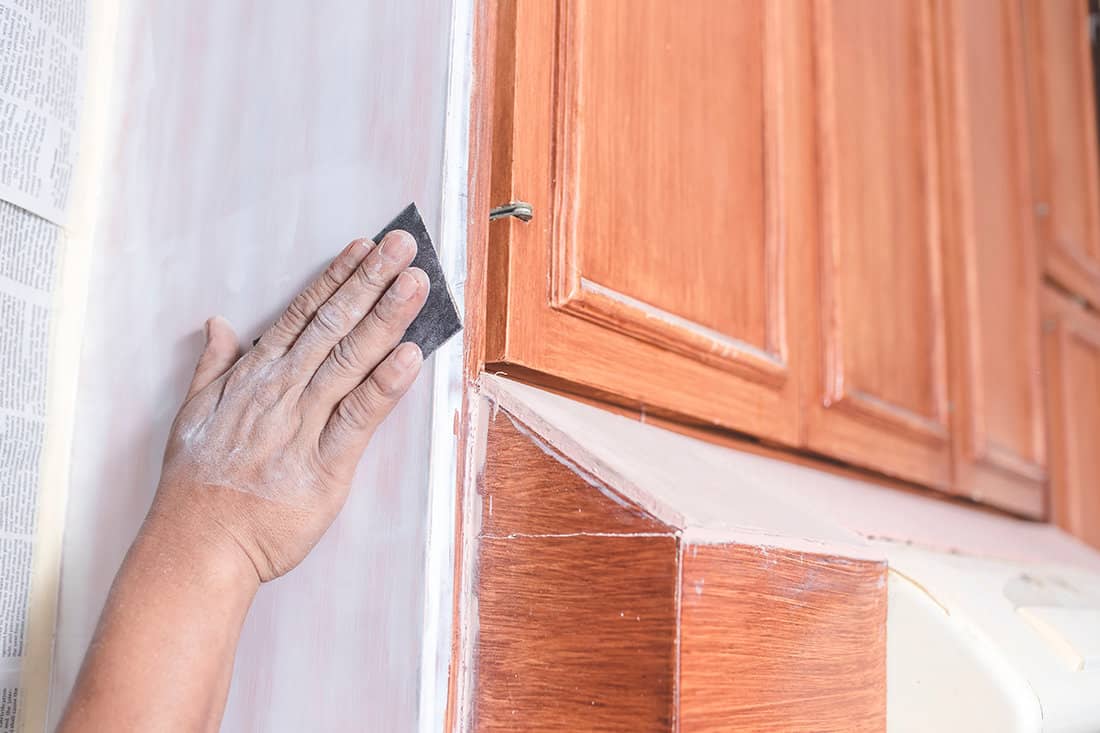
The surface of your cabinets should first be roughened up using sandpaper with a grit between 120 and 220 so that the primer will adhere to the surface of your cabinets if you want to paint them to have an attractive design.
Wait until the applied primer has dried before using an extra-fine sandpaper with 220 grit to smooth the surface. Only then can you begin painting your cabinet.
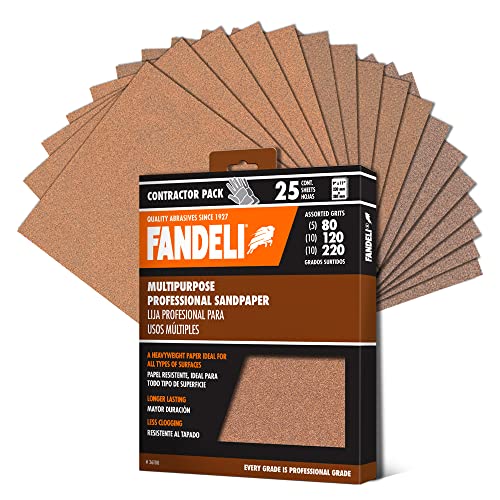
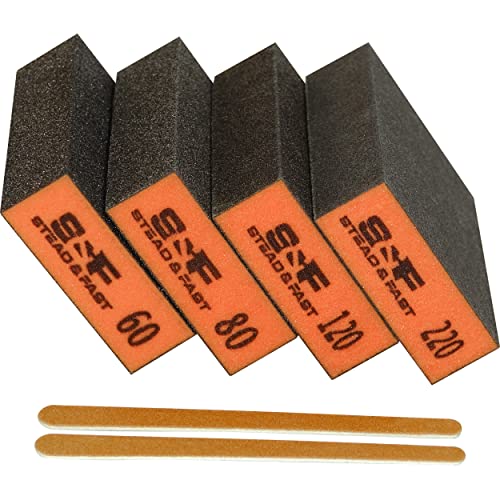
Sand from start to finish with this multi-pack from Amazon.
Advantages Sanding Before Applying Paint To Cabinets
Sandpaper should be used to erase flaws before painting in order to obtain a high-quality finished product. In addition to smoothing a surface's appearance and feel, sanding makes it more sticky, making it easier for primer, paint, or stain to cling to. The paint could eventually start to peel if you don't sand the surface before painting.
Should you use a sander or your hands to sand cabinets?
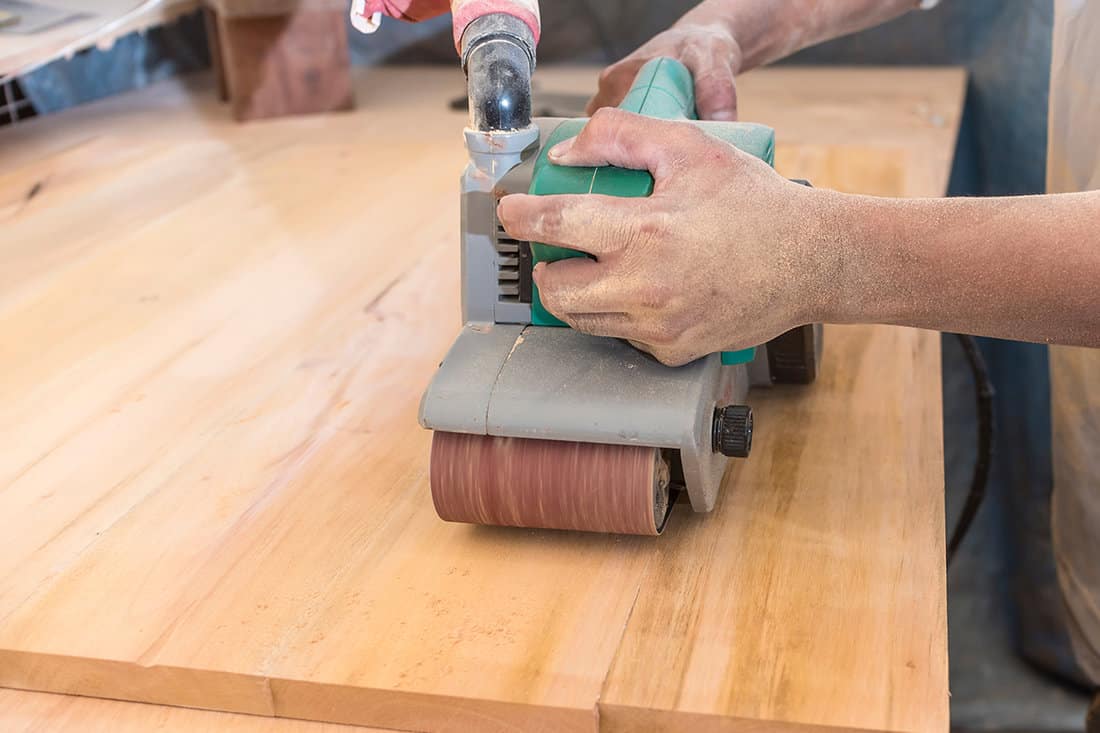
It is acceptable to sand your cabinets by hand, but doing so would be tedious and exhausting. Hand sanding would extend the time it takes to complete your task.
The ideal option for sanding your cabinet would be to use a sander tool, which will expedite the process and allow you to save time. Your task will be easier, and the surface of your cabinet will be smoother if you use a sander.
Combining hand sanding and your sanding tool will give you a completed product that is near perfect. After you've finished the bulk of the cabinet sanding process, you can add the finishing touches manually using sandpaper and sanding blocks.
How do I know if my cabinets are sanded enough?
If your cabinets are absolutely smooth and free of any imperfections or uneven areas, they have been sufficiently sanded. Draw a line before you begin sanding your cabinets if you want to be certain; the line should disappear once you've finished.
When you wet the cabinets, and there are no more sanding markings, your cabinets have been sufficiently sanded.
How do you check for sanding marks before staining?
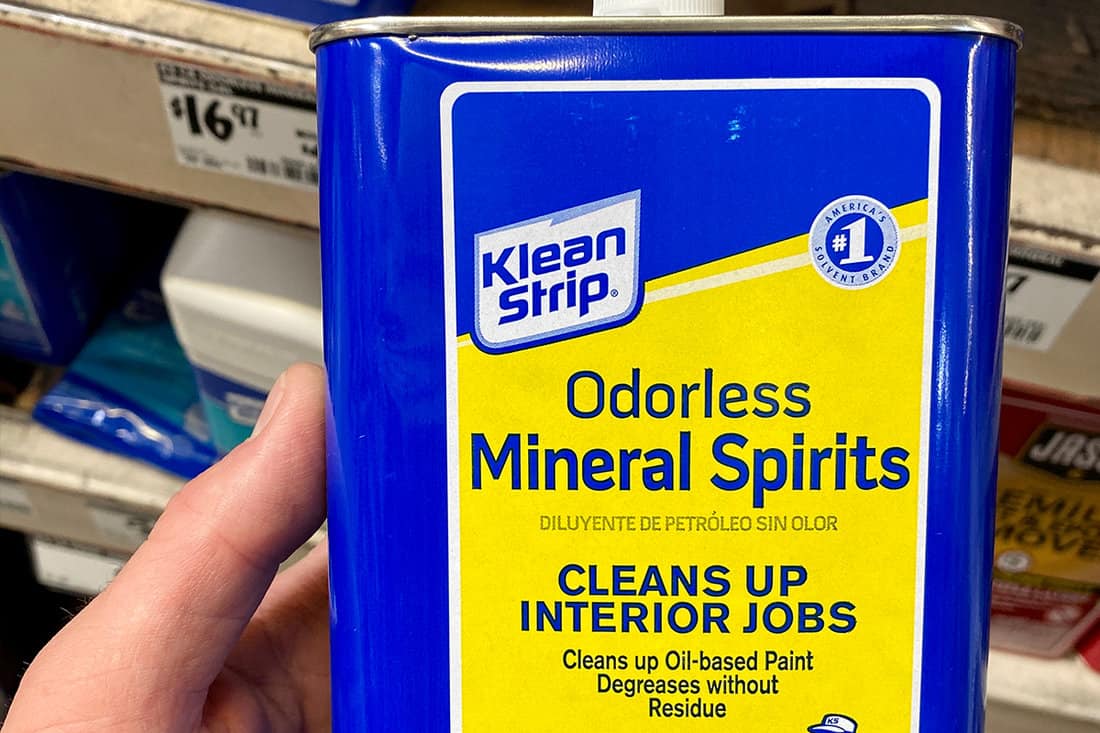
You must carefully inspect before applying stain or finish because sanding marks are often difficult to spot. Mineral spirits can be used to clean your cabinets, and sanding marks will be easy to see when the cabinet gets wet. Use the same grade of sandpaper to wipe out any sanding marks before attempting to remove them.
Before staining completely, you can also use a bright light to inspect sanding marks. To make the sanding mark stand out, hold it very close to your cabinets. A well-sanded surface will pass this final test using the raking light.
In Closing
Your cabinets would turn out better if you sanded them before painting. It is critical that you think carefully about selecting the appropriate grit of sandpaper. Before selecting the grit of sandpaper to use for your cabinets, it is vital to understand the many sorts of grits and their applications.
Before you begin your cabinet project, make sure you have a clear vision of the type of cabinet you want, from the surface to the paint color. This will enable you to create the ideal cabinet and paint it to suit your tastes.
Looking for more sanding tips? Check out our related articles:
What Grit Sandpaper For Wood? [Raw And Painted]
Should You Use Paint Thinner Before Sanding?