Whether your elderly parents are coming to live with you or you want to make shaving your legs easier, shower benches have a lot of utility. Adding one to your existing shower probably sounds complicated to you, but rest assured! We have researched the options on how to go about installing one in your home.
In order to add a bench to an existing shower, you must:
- Measure your shower to determine the size of the bench
- Decide if you're going to build a bench or purchase one.
- Mark off the area where the bench will sit
- Prep your shower wall
- Affix the bench
- Add the tile or ceramic.
Of course, if you don't trust yourself to do the installation, there are other ways. For example, you can hire a professional or even purchase a bench that can be set in or removed from your shower as needed. For help deciding which option is best for you and comprehensive installation instructions, read on.

Step One: Measuring
When it comes to projects involving construction or renovation, measuring is always the first step. You'll want to know the dimensions of your shower before starting. This will help you build or pick out a bench that will fit your space while leaving enough room for the shower to remain functional.
Have a tape measure handy, and be sure to write down the shower's length, width, and depth to reference as needed.
How Big Should A Shower Be To Have A Bench?
We may include affiliate links and curated AI content to highlight top design styles.
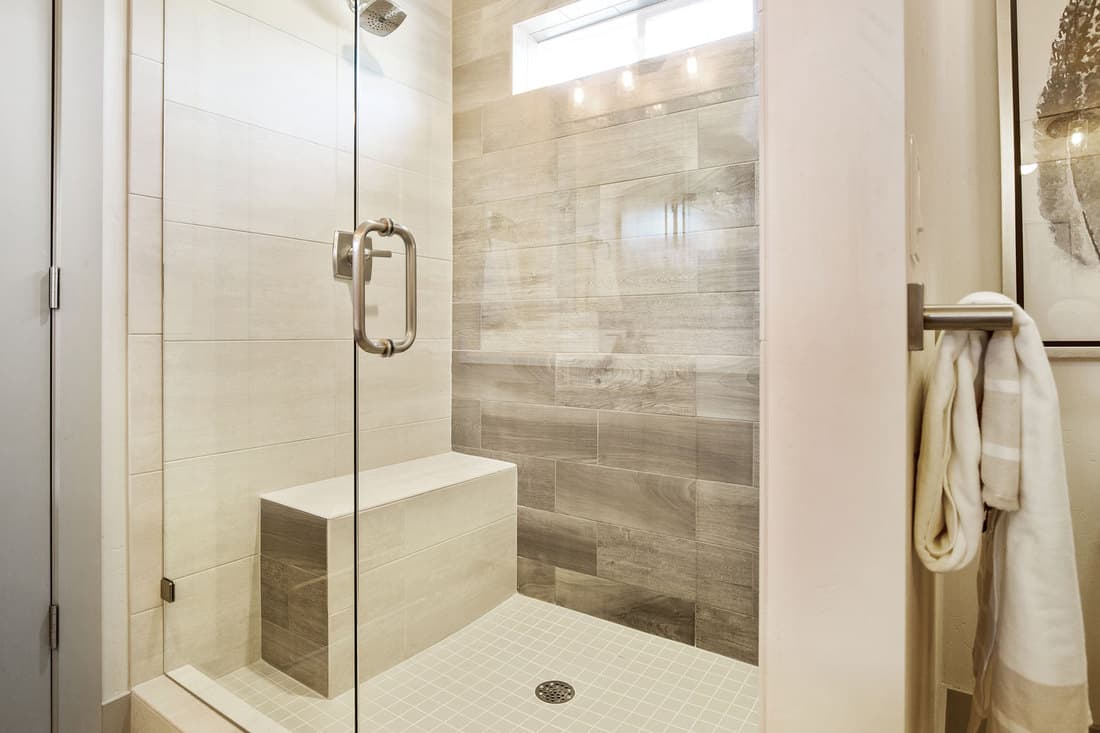
Should you even put a bench in your bathroom? It's true that not every shower can accommodate the feature. Plus, as is the case with any renovation project, there are safety rules and regulations to follow to keep your house up to code.
The smallest a shower can be while still meeting regulations is 900-square-feet. This is 30-inches by 30-inches. Many showers in modern homes are larger than that since most people prefer to have enough room to move around. For reference, 48-inches by 36-inches is considered an average shower size.
Knowing this, you can make the call as to whether or not your shower is too small to accommodate a bench. Just know that if it leaves less than 900-square-feet of space, you're likely to feel more hindered than helped by the bench's addition.
For tips on making a bench work in a small shower, check out our article discussing the best benches for small showers.
Step Two: Building a Bench
If you're handy, you can try constructing your shower bench from scratch. All you'll need is wood to build a frame, sealant to keep water from leaking into the bench, and whatever material the rest of your shower is made from, be it ceramic or tile.
Loosely, the process requires you to measure the space out in your shower, cut up the two-by-fours to construct the frame, build a sloped top for the bench so water doesn't pool on top of it, and then set the finished frame into the shower. Once it's in the shower, it's a matter of sealing the cracks and tiling over the wood, so the bench fits the rest of the room's aesthetic.
For more in-depth aid in constructing a shower bench from scratch, you can check out this guide.
Step Two, Part Two: Purchasing a Bench
Of course, if you're not a crafty person or if you don't have power tools or the time to spend on a DIY project, you have another option. Several companies sell dense foam-like substances or concrete already shaped into benches. All you have to do with these is affix them onto the desired wall of your shower.
How Do You Waterproof A Shower Bench?
One of the essential steps to installing a bench in an existing shower is waterproofing. There are many films available on the market that are easy to apply over your bench frame. All you have to do is pick one out and apply it before adding the tile or ceramic to the top of the bench.
If you found the above video helpful, you can check out this follow-up, which walks you through the process step-by-step.
Step Three: Marking
Now that you have either your constructed or pre-made frame, you need to get it inside your shower. To make room in your existing shower, you need to mark off the space the bench will take up with a pencil. This will help you avoid getting the rest of your shower too messy as you prepare to install the bench.
All you need to complete this step is a pencil and your frame. Set it inside the shower and use the pencil to mark the edges on the walls and the floor.
Step Three: Prep
To get your bench to stay, you may have to grind down the tiles on your shower walls to create a binding surface. Then you'll have to make sure the walls and floor are clean before applying mortar to the area you marked off where your bench will sit.
Step Four: Install
Once all the walls are prepared, you can fix the bench in place. The main part of this step requires sealing the edges around the bench to avoid water damage.
Step Five: Getting The Aesthetic
The fifth and final step is to add the tiles or the ceramic panes to keep your bench visually similar to the rest of the shower.
No matter which material you use, this step will involve some math to determine your bench's surface area, some cutting to make sure the materials are appropriately sized, and plenty of mortar to keep the panels in place.
How Much Does It Cost To Install A Shower Bench?
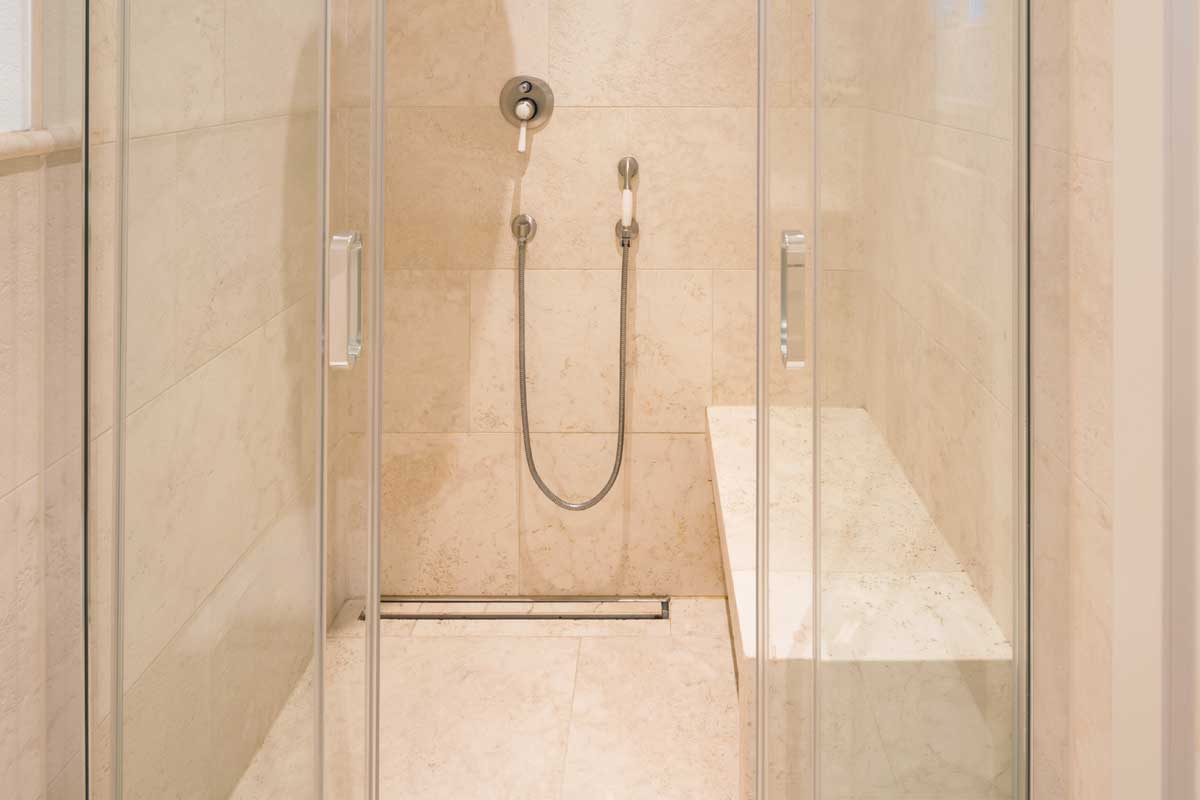
Whether you decide to hire a professional or make this a DIY project, you're either going to have to pay for labor or materials. The project's exact cost will depend on the size of the bench and the material of your shower.
For example, if you go for a premade bench, you'll end up paying somewhere between $200 and $500 for the product itself. Then you have to pay for the mortar, which is typically available at low-costs at any hardware store. Tile and ceramic panels vary a lot, costing anywhere from $2 to $5 per-square-foot of materials. The project as a whole will probably cost between $800 and $1,000.
If you decide to pay for labor, you'll either be looking at an hourly rate or a cost set based on square-feet. To get a better idea when you're budgeting, you can use your shower's full dimensions and calculate how much it would cost to tile the whole space. This extra bit of padding might come in handy when you're purchasing materials.
No matter if you're going to do the installation yourself or hire a professional, it's a good idea to call around and get quotes before you decide how to proceed. Be sure to weigh the potential cost against the guarantee of professional installation.
Easily Removed Benches
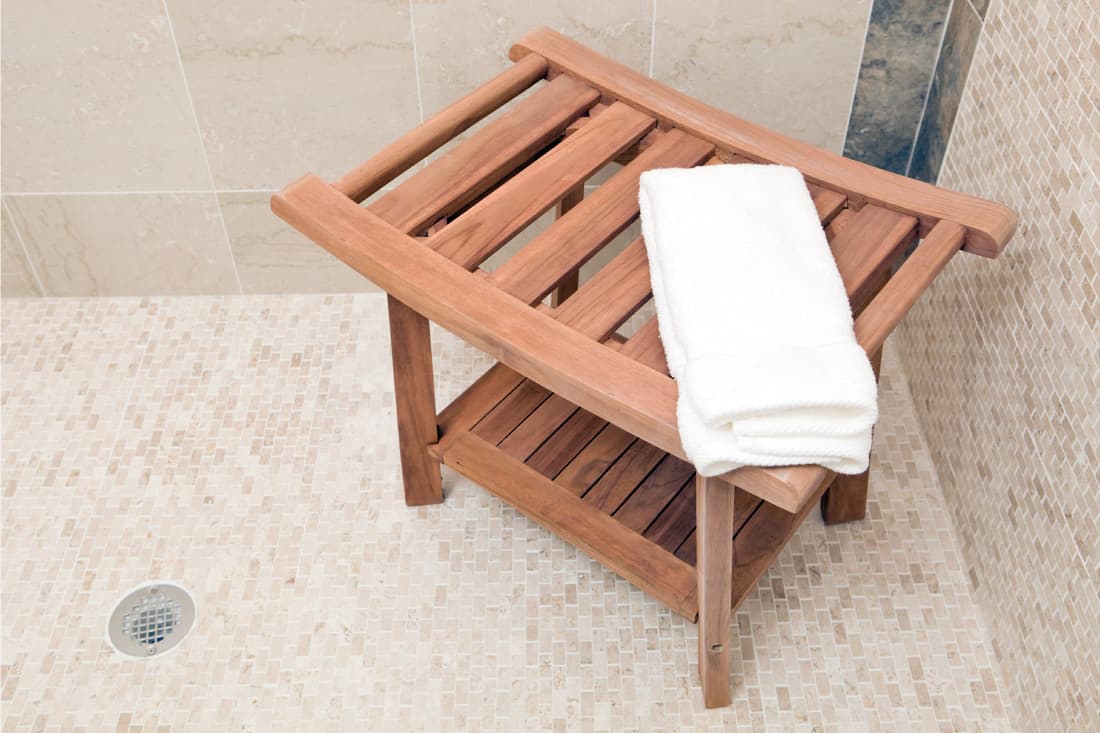
Of course, if you don't have the time or money to take on such a big home improvement project, you can still enjoy the convenience of a shower bench. There's a variety of products available on the market that you can set into your shower and take out of the shower at will.
Consider this piece.
The adjustable height makes it especially versatile.
Looking for something with back support? This model should do the trick.
If you want something less medically-oriented, this piece should suit you.
Click here to get it on Amazon.
Looking for something bigger?
Or possibly you need something smaller that tucks right into a corner. Fret not.
You don't even have to worry about how well a wood model will hold up in a wet, humid environment. Read our piece about how long teak lasts in showers for peace of mind.
Sitting Pretty
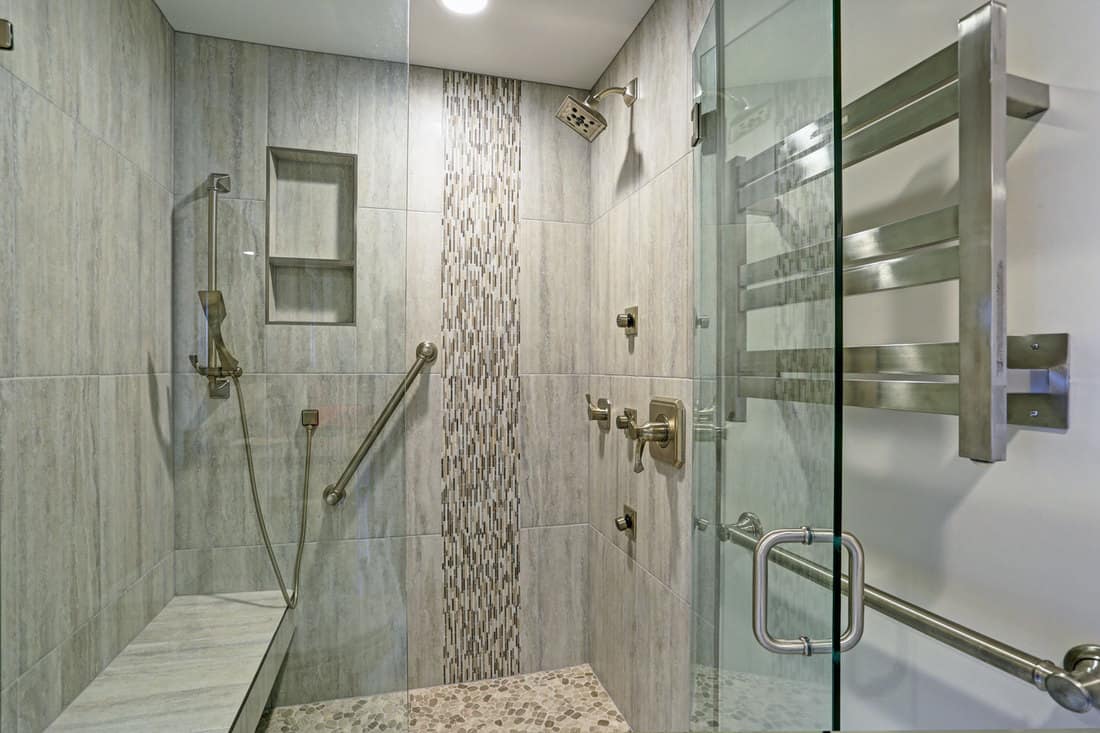
Now that shower time is more convenient than ever, your most relaxing shower yet is right around the corner. Enjoy!


![Marble walled shower wall, 5 Best Types Of Shower Wall Panels To Consider For Your Bathroom Renovation [The Ultimate Guide]](https://homedecorbliss.com/wp-content/uploads/2023/07/shutterstock_2138160219-600x400.jpg)
