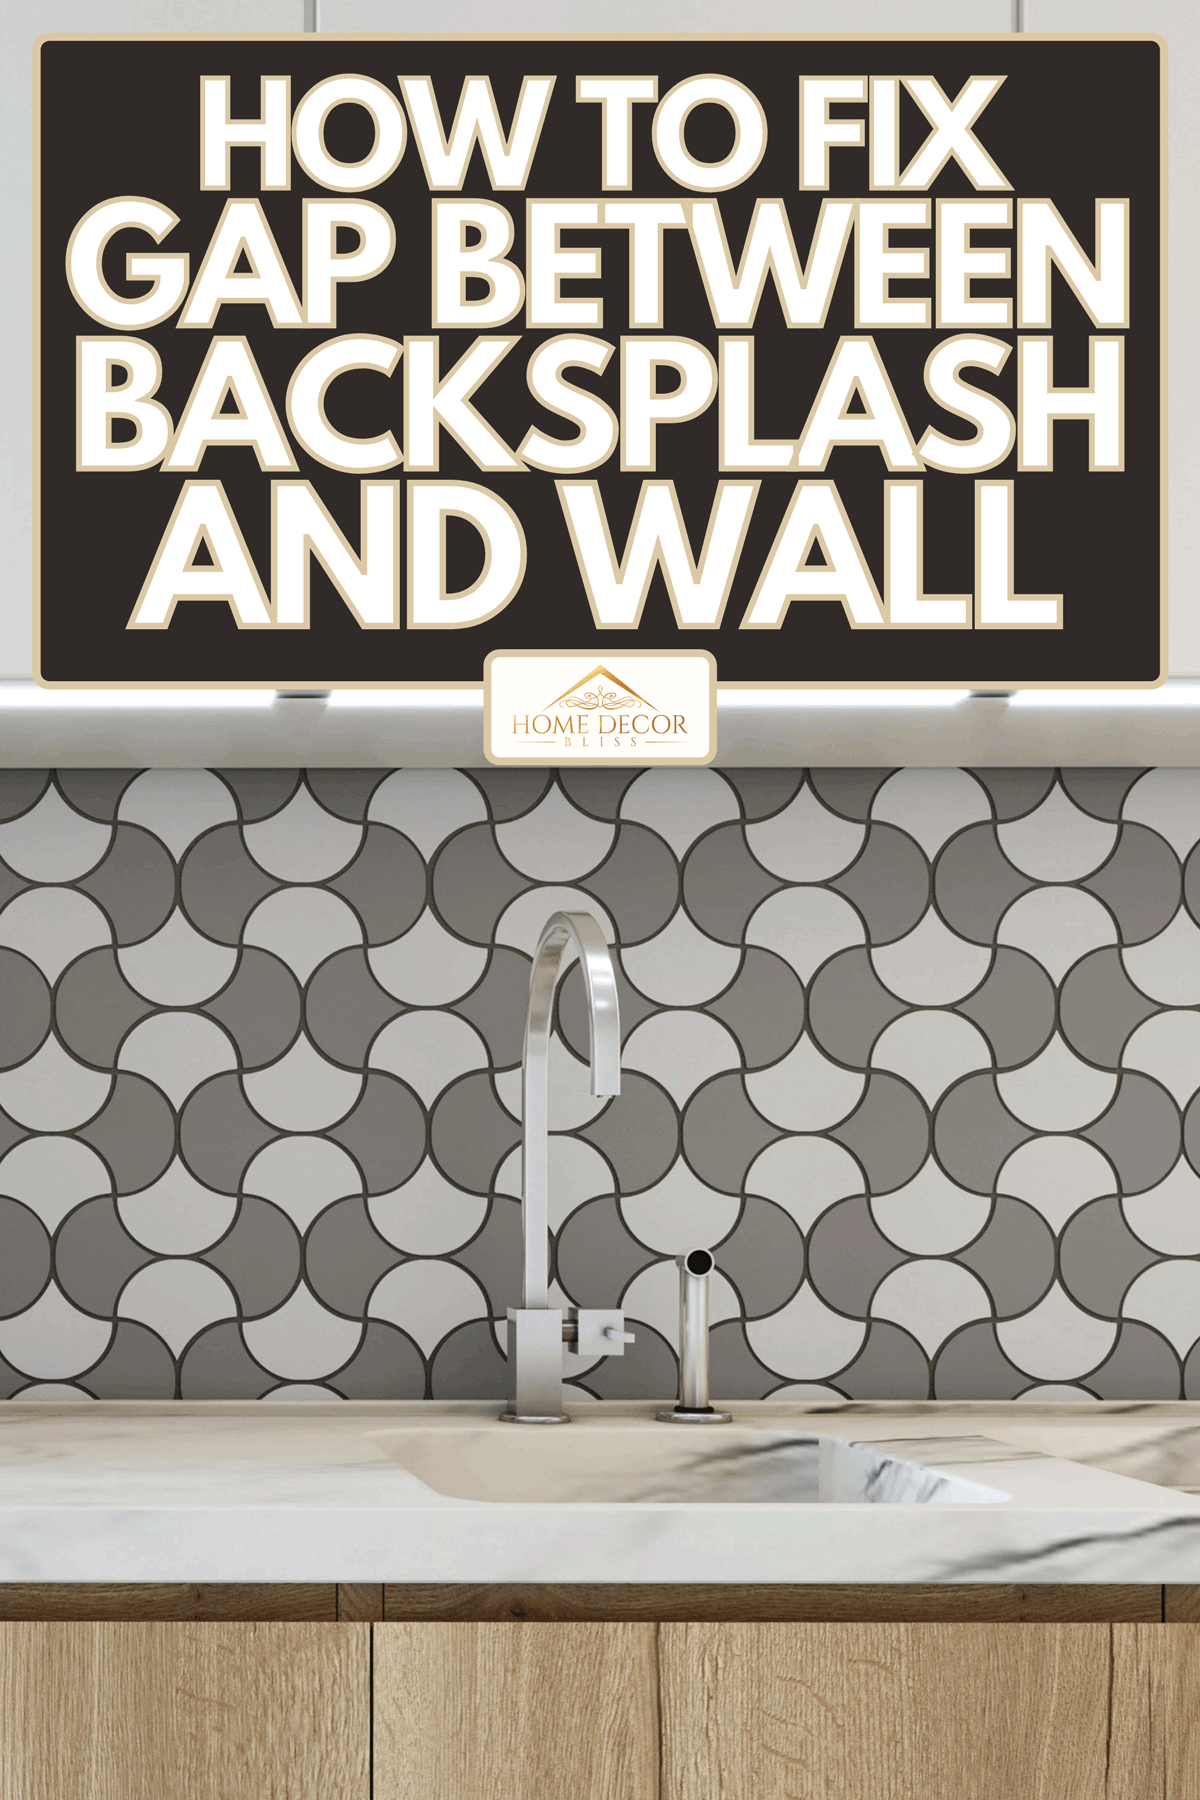
Many kitchens use a backsplash that covers the entire wall, but this may result in unwanted gaps on either end of the room. But using a backsplash of that size is still especially useful for kitchens that are smaller, as in apartments. So instead of replacing your backsplash, we have carefully researched how to fix the gap between the backsplash and your walls.
There are three common ways to fix a gap between your backsplash and the adjoining walls. One option may be more ideal than another based on your budget, home improvement skills, or the size of the gap that you need to fill:
- Caulk
- Expanding Foam
- Trim
Since the kitchen is used every day, fixing noticeable problems like unsightly gaps is important. Keep reading to learn how to properly add caulk, expand foam or trim, and which of these are more ideal for larger gaps.
Can you caulk between backsplash and wall?
Caulk is a joint sealer that should be applied to gaps that measure up to a quarter of an inch. So yes, it is typically possible to use caulk for gaps between the edges of your backsplash and the adjacent walls.

We may include affiliate links and curated AI content to highlight top design styles.
However, you will require more than just caulk if the gap is too large. Otherwise, the caulk will not seal properly. If you have determined that your gap is the ideal size for caulking, then there are some simple steps to follow if you apply it yourself.
Select the Caulk Material
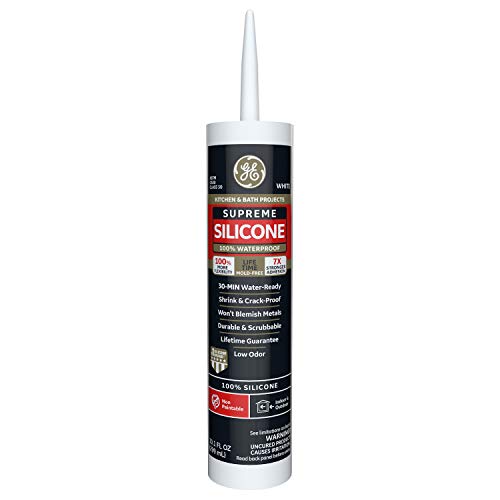
Click here to find this silicone caulk on Amazon.
The most common material for caulk is acrylic latex, which is not ideal for a kitchen or bathroom backsplash. Instead, you should find a silicone caulk.
This is because kitchens and bathrooms are prone to water damage and moisture. Using a silicone caulk would be waterproof, while this environment will weaken acrylic latex caulk.
You should also make sure that your caulk is clear or paintable. The backsplash will often have unique colors, so it is usually best for the caulk to go unnoticed in the room.
If you aren't working on the kitchen, you can also read our post, "7 Types Of Caulk For The Bathroom [And Which To Choose]" for tips on the right caulk for bathrooms.
Prepare the Caulk Gun
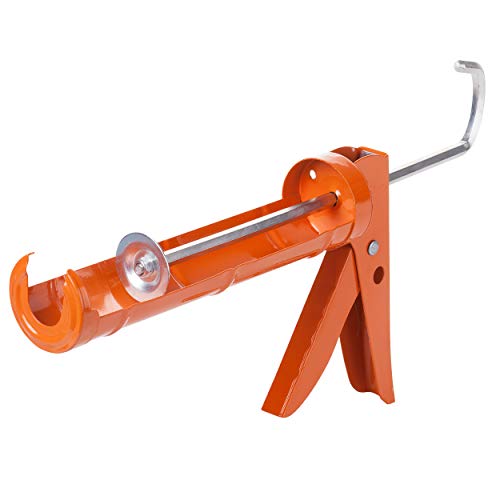
Click here to find this caulk gun on Amazon.
Caulk is typically sold in squeeze tubes, which can be applied by hand for smaller jobs. But if you have to apply long beads in the kitchen or bathroom, it may be best to use a caulk gun.
This tool will help you cut off the nozzle so that the resulting bead is the ideal thickness. Then, you can pierce the caulk tube or cartridge and secure it to the gun.
Apply the Caulk
If necessary, you may want to clean and dry the area so that you can fasten painter's tape to the edges beforehand. This can be handy if you need to protect a special backsplash.
Next, you only need to pull the caulk gun trigger, and an internal plunger will steadily push the caulk out as desired.
This will be much easier to apply, and the high degree of control may be essential if you are filling a vertical gap between your backsplash and walls.
Afterward, you will need to "tool" the caulk, which just means smoothing out the completed bead. This can be done using a finger or a scraper tool. But keeping the caulk level is crucial for it to bond correctly.
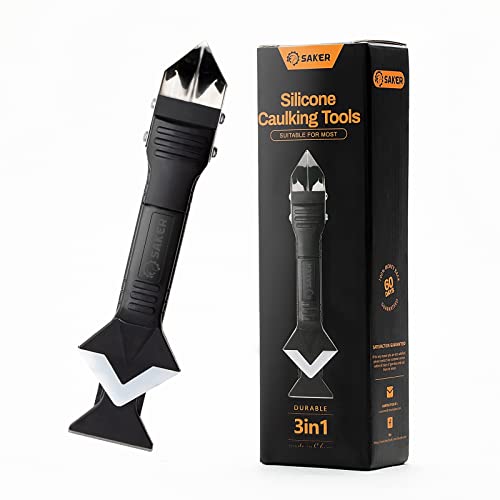
Click here to find this tooling tool on Amazon.
How do you fill a large gap between countertop and backsplash?
Sometimes, the gap can be too large for traditional caulking. In that case, you can still use caulk if you are willing to invest in foam backer rods.
However, you may also resort to alternative methods to fill the gaps, such as expanding foam or new trim.
Backer Rods and Caulk

Click here to find this foam backer rod on Amazon.
If silicone caulk is still the best approach for you, foam backer rods can help fill the gap right before applying any caulk.
Backer rods are just long, foam tubes that you can stuff into the unwanted gaps. This way, you won't need to use nearly as much caulk.
You can use backer rods to shrink the distance between each edge of the gap until it is within a quarter of an inch. This allows the caulk to bond correctly, even if the gap was too wide beforehand.
Expanding Foam

Click here to find this spray foam on Amazon.
Also known as spray foam, this can be used for significantly large gaps, often over an inch wide. Even better, it is typically strong against water damage or moisture.
That's because expanding foam is generally made of polyurethane, which is highly waterproof. Spray foam is also sold in cans, which are easy to use and typically inexpensive.
First, put on safety gloves and goggles. Then, you should only twist the nozzle into place until it feels snug. If you aren't careful, it will break.
To apply the foam, you'll need to shake the can for the manufacturer's suggested time and then gently pull the trigger.
However, make sure that you don't fill the gap between your backsplash and wall completely. Spray foam will expand, so only apply a bead that fills half of the opening or so. It will also need to be tooled after application, using a scraper tool.
Installing Trim

Click here to find this self-adhesive trim on Amazon.
Some trim can be stuck on. But genuine wood trim is the most expensive and challenging option for gaps between the backsplash and wall. Then again, it may also look the most stylish and unique.
Trimming refers to the long strips of wood that run along the top or bottom of your walls, called baseboards or crown moldings. Some trim, called casing, frames your doors and windows.
Aside from baseboards, there are also shoe or quarter round moldings for the feet of your walls. These types of trim are ideal for filling gaps because they are thinner and cheaper.
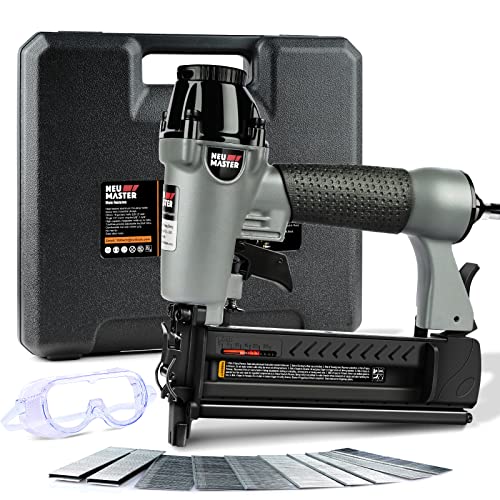
Click here to see this brad nailer on Amazon.
To install strips of wood that are so thin, you will need a brad nailer and the accompanying brad nails.
The brad nailer will allow you to fasten the trim to your drywall using specialized brad nails. These nails typically have no head, and they are also thinner.
This will ensure the wood doesn't crack but is still secured to the wall properly. Also, the absent heads will allow these nails to go unnoticed through the strips of wood.
Typically, brad nails are applied to the wall studs, which are just wooden support beams. Between a backsplash and wall, you are likely working in a corner and already have a stud. So, the brad nails should be spaced around twelve inches apart.
How do you hide gaps in a backsplash?
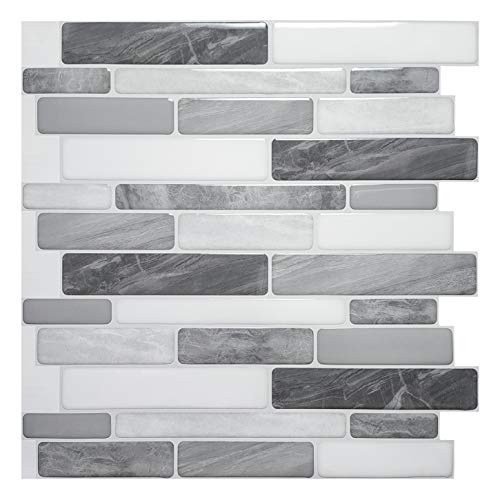
Click here to find this peel and stick backsplash on Amazon.
Sometimes, the backsplash can be sold as a simple roll of stick-on sheets. However, most of the time, a backsplash will be composed of actual tiles.
As such, experts like Lowes agree that tiles are held together by installing them with grout instead of caulk. Grout is a joint sealer designed for tiles, which can protect their edges without damaging the material.

Click here to see this grout colorant on Amazon.
To hide the gaps inside a backsplash, you will have to apply a grout type that can be painted. Not all grout can be painted, but you will need to make your grout the same color as the tiles.
This will allow the grout lines to disappear naturally. But if the color becomes overwhelming, you may still use a grout colorant two to three shades apart from the tiles.
You can check out our post, "11 Awesome Tile And Grout Color Combinations," for inspiration if you'd like the backsplash tiles to pop instead.
Summary
Gaps between your backsplash and your walls will be easily noticed and deserve to be filled. However, it's still important to find the best way to fix these gaps correctly since each option has both pros and cons. While caulk is the most common and effective way to fill small gaps, expanding foam and trim can successfully cover anything over an inch.