An aluminum patio or lanai is a huge selling point for a home. If you've just bought a new home with one or are just looking to spruce up your current one, you'll be looking into what it takes. Since it's outside and metal, deciding on what paint to use and how to apply it can bring you to a standstill. We've done all the research for you to give you an answer!
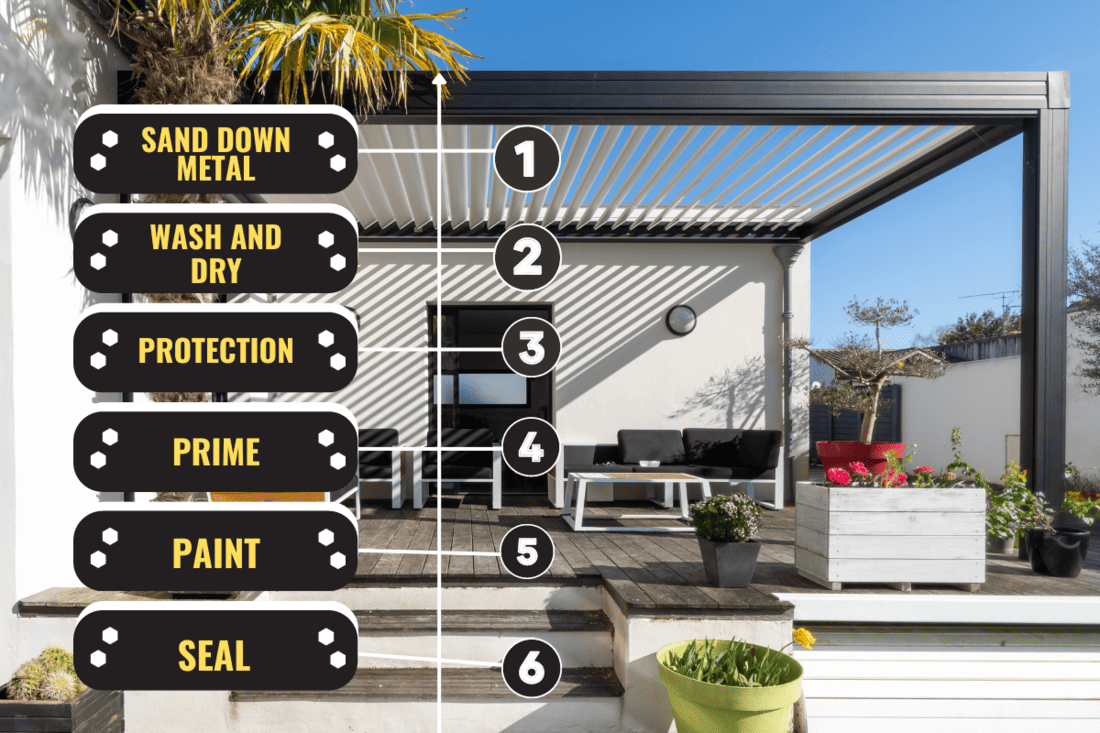
The biggest step in this whole process is the preparation of the aluminum. The overall project DIY will take 3-4 days, which is just about the same time a professional would take, but you'll save a lot more money. Below we've listed the steps to follow to paint your aluminum enclosure:
- Sand down metal
- Wash and dry
- Protection
- Prime
- Paint
- Seal
The steps are nice and easy to follow but will require some elbow grease. In the end, you'll have a new-looking enclosure to enjoy the outdoors. We'll go more in-depth about each step and talking about what types of paint to use. Keep reading to find out all this and more!
How To Paint An Aluminum Patio Enclosure Or Lanai
1. Sand down metal
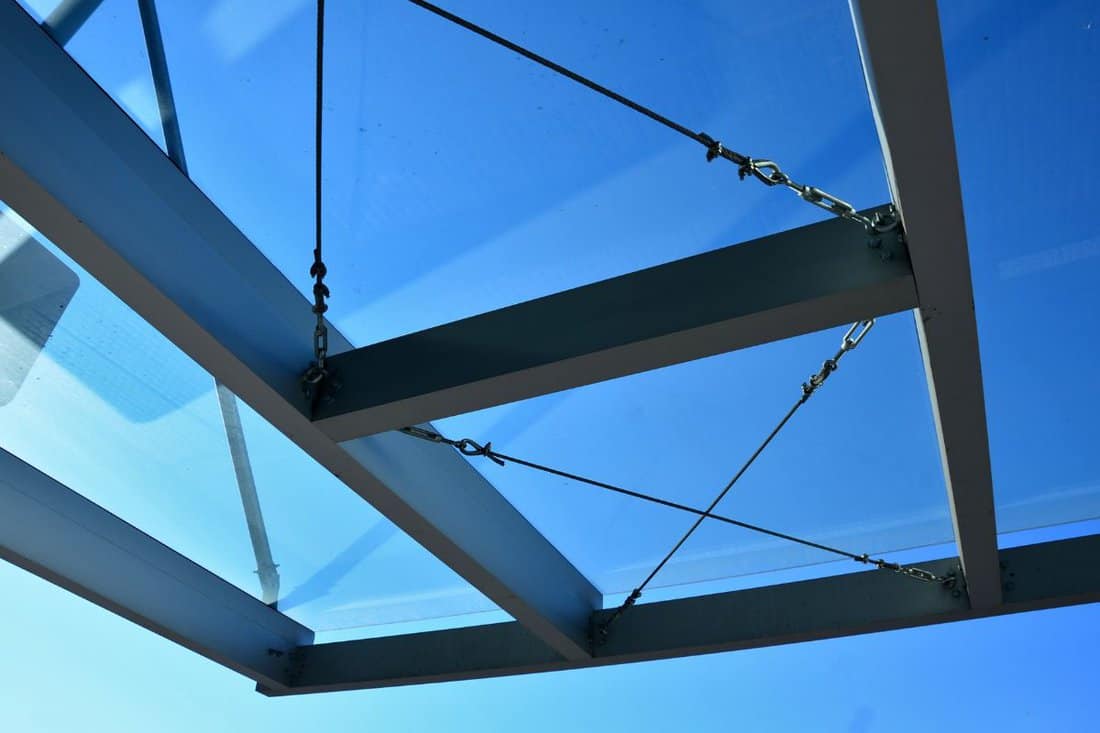
The most critical step to painting your patio or lanai enclosure, sanding down the old paint. Start by using a sander with silicone carbide strength paper and work over the previous paint. You'll want to sand down any sharp area and peeling spots.
Leaving the current paint as-is will not allow the new paint to stick as well. Also, the old paint is still chipped and rusted underneath, meaning that your new paint will chip with it. Sand down the aluminum until it is entirely smooth and free of rust.
Tip: wear a mask or ventilator for this step! There will be a lot of dust.
We may include affiliate links and curated AI content to highlight top design styles.
Click here to view this electric sander on Amazon.
2. Wash and dry
Next, you'll want to do a deep clean. Cleaning after sanding is picking up all the left behind dust from sanding. In addition to that, it will also be taking off any unseen dirt and grime. Having a clean surface means the primer will hold on to its max strength and make a more durable surface for the paint.
Use either a powered soap and warm water or mineral spirits. Wear protective gloves f0r whichever you prefer. Take a clean cloth and work from top to bottom. Then, you'll want the aluminum to completely dry. Give it at least a day if it isn't sunny or around 6-7 hours in direct sunlight.
3. Protection
Before you begin painting, it's time to cover up anything you don't want to get paint on! If your patio is screened or glassed-in, now is the time to break out the painter's tape and plastic sheets. Move any furniture you can out of the way or cover them with plastic sheets if you need to stay in the room.
4. Prime
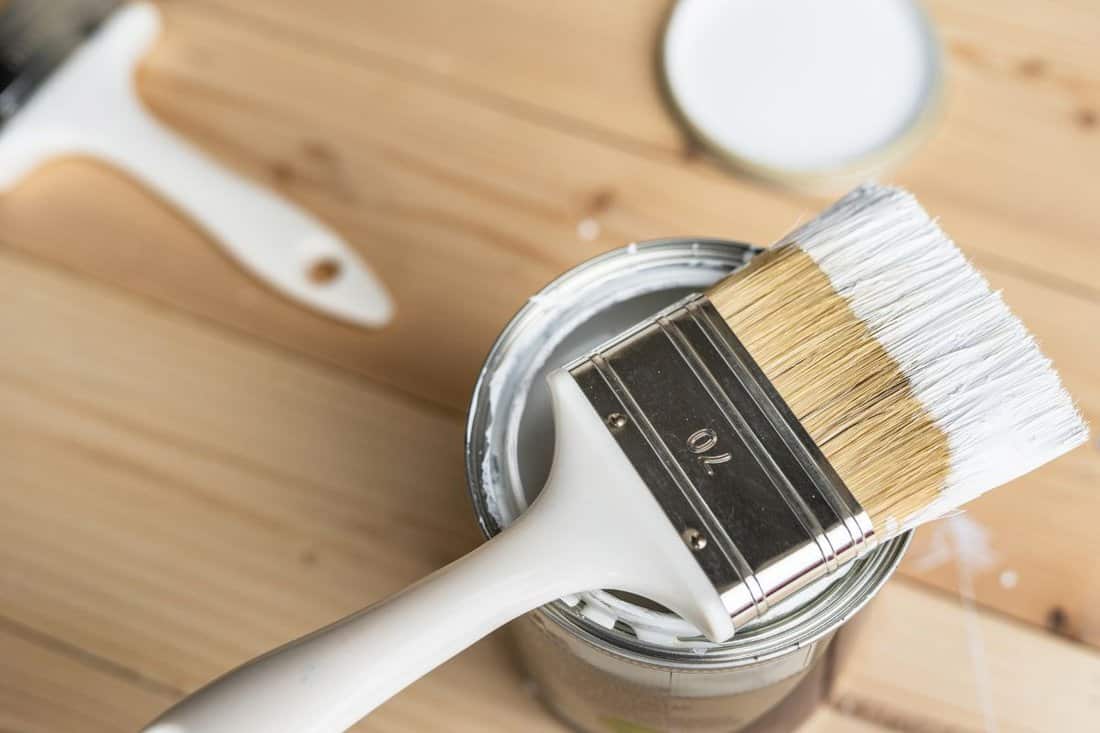
Now with everything sanded, cleaned, and protected, you'll move into the first part of painting. A self-etching primer works as an undercoat to better prepare the surface for you. Due to aluminum being a non-porous surface, you'll want as much grip as you can get.
Use either a sprayer or brush for this step. A sprayer will be faster and give you a more even coat. On the other hand, brushes still give you an even coat but will take longer to do. With both techniques, make sure it's not put on too thick and ends up dripping. Allow the primer to dry for either a day or the recommended amount of time by the manufacturer.
Click here to view this primer on Amazon.
5. Paint
Time to move onto the biggest step, painting! Now that your surfaces are clean, dry, and primed, you'll be able to coat them with your paint color of choice. Oil-based enamel paint is a great choice for patios that will be facing a lot of elements.
Oil-based paints are known for their durability and won't end up chipping on you. The only downside is that they often come in glossy finishes only.
There is also latex paint which is a close second for exterior paint. This is a good choice if you only have mild seasons and want more options for the type of finish. When you begin painting, start at the top and work your way down using a side-to-side motion. This will make sure you're getting an even coat and can line up the different sections.
Tip: Give your paint a day to dry before putting a second coat on.
6. Seal
Finally, it's time to wrap your project up! Sealing your new paint is just as important as priming the surface. Sealants work to protect the new surface from rust and chipping. It will work with the primer to properly adhere the paint to the aluminum for years to come.
Click here to view this sealing spray on Amazon.
How much does it cost to paint a lanai?
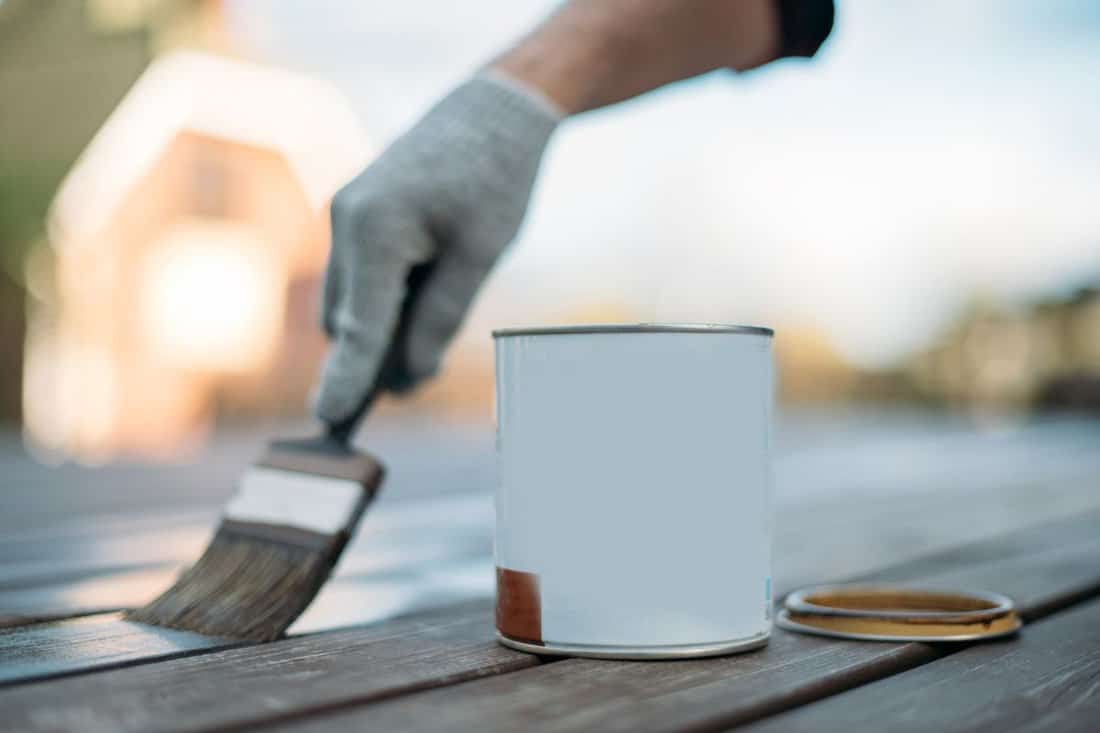
You can paint your lanai yourself or hire a professional. While you save more money doing it yourself, it could be in your best interest to hire a contractor if you have a large enclosure. On average, per square footage, it will cost between $1.15-$2.50. For example, if your space is 125sq ft, it will roughly cost $312.
Find out your square footage by multiplying the length by the width of the room. You'll be able to get quotes from contractors based on the square footage and compare them to the price of buying the materials yourself. All and all, doing it yourself in a smaller space can save money and expect to spend anywhere between $180-$230.
Will paint stay on aluminum?
When correctly primed, the paint will stay on aluminum. Aluminum naturally oxidizes over time, and using a primer will greatly slow this process down. If the paint is sprayed or painted over current paint, even with a sealer, it will still chip since the base is too weak.

How do you paint a metal patio cover?
Closing following the previous steps, you'll want to sand, deep clean, dry, prime, paint, and seal. Using a cordless sander will be a huge plus as you won't have to worry about tripping over cords. If you're painting metal awnings, you can also have someone help you detach them and paint them at ground level.
Use an exterior primer and paint for this project, as your patio cover will be seeing a lot of action. To pick a color, either match your roof color or the trimming. If you'd like to get a little funky, make it any color you'd like! Only watch out which color you pick if you have an HOA.
Click here to view this paint sprayer on Amazon.
What type of paint do you use on an aluminum awning?
For aluminum awnings and other top coverings, you'll want to use either 100% acrylic paint or oil-based enamel paint. Both of these paints are built to last against the elements for years. One gallon of paint should cover 350sq ft. A sprayer will cover this space easily, or it can be brushed on.
Be careful when using a paintbrush or roller that no brush marks are leftover. Any uneven rolls will cause paint to build up and be noticeable the next time you need to go up there. Then, as with the other parts of the enclosure, top it off with a sealer to protect it from dirt and peeling.
Click here to view this enamel paint on Amazon.
In Closing
To paint an aluminum enclosure, you'll need to prep, prime, paint, and seal. For smaller patios, you'll save more money doing it yourself but will need to spend a few days on it. For long-lasting paint, ensure that you prime, use exterior approved paint, and seal. Now you can move on picking colors and maybe even new patio furniture! Check out these other posts before you go:
18 Enclosed And Screened-In Porch Ideas [Photo Inspiration]
