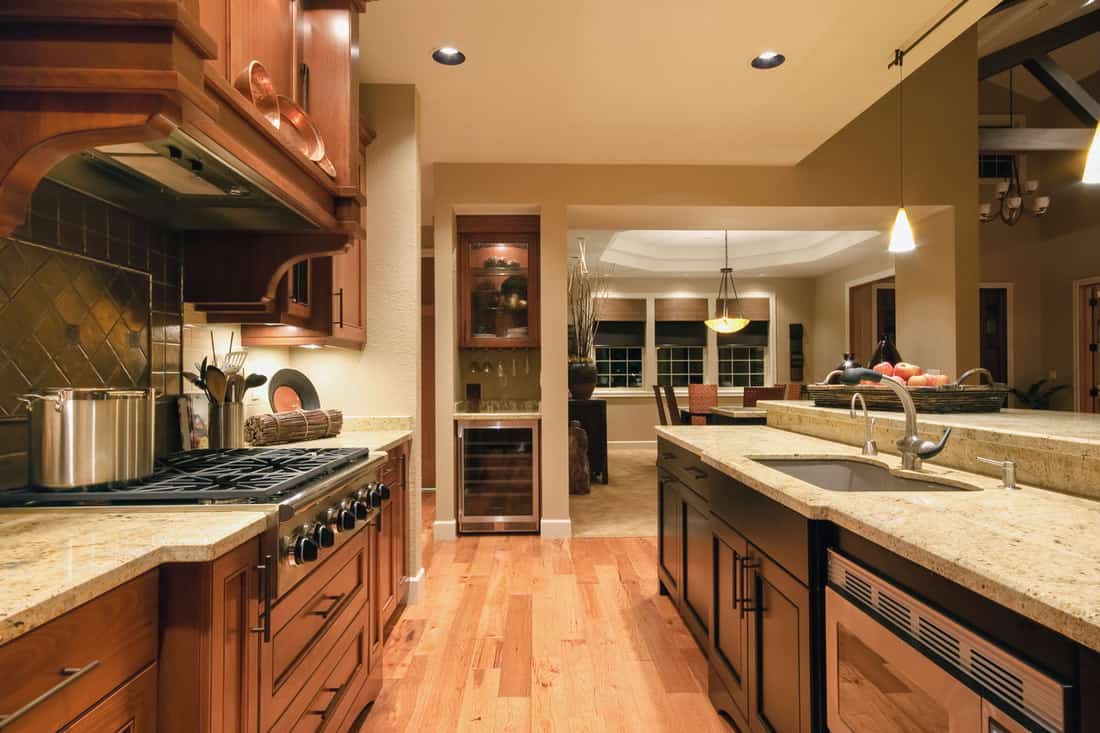
Restoring old or worn oak cabinets can give an entire room a facelift. Cabinets and drawers are constantly being opened and closed as you and the rest of your household go about your day. As the months and years pass, your beautiful cabinets can become stained with smudge marks and scratches, giving them a worn and old appearance--but there's hope with restoration. In this post, we will discuss how to restore your oak cabinets and bring them back to life.
Here are the steps to restore your oak cabinets:
- Prep the work area and cabinets
- Apply chemical stripper
- Sand the cabinets
- Apply a stain and finish
- Re-assemble and re-hang the cabinet
While many homeowners may choose to restore their own oak cabinets, it's important to know that a certain level of skill and patience is necessary to complete this DIY project. Continue reading to learn more about the steps involved in completing this project.
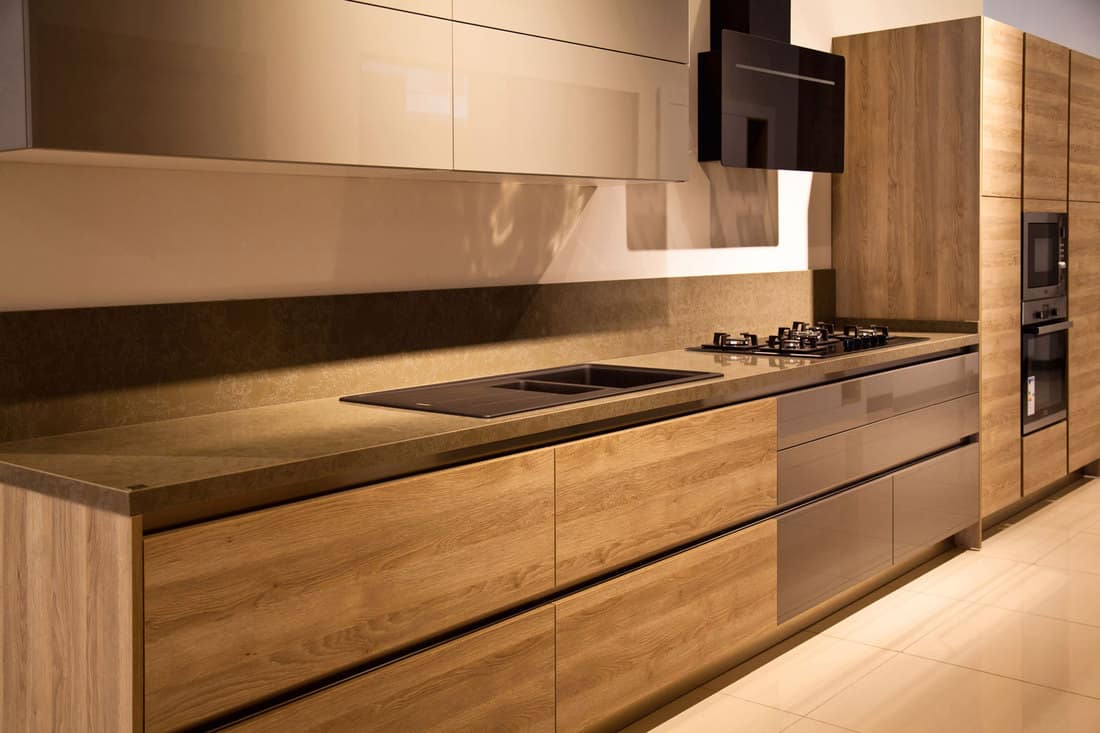
![a beautiful kitchen in a modern apartment with oak fitted cupboards and drawers and cream coloured granite work top, How To Restore Oak Cabinets [5 Steps]](https://homedecorbliss.com/wp-content/uploads/2021/01/How-To-Restore-Oak-Cabinets-5-Steps.png)
Steps To Restore Oak Cabinets
We may include affiliate links and curated AI content to highlight top design styles.
For this method, we will cover how to restore oak cabinets using a chemical stripper and a stain to get them back to their original color. It's worth noting that you can also restore the cabinets without using a stripper and you can opt for painting them as opposed to applying a stain.
Things you'll need:
- Wood stain
- Wood finish or polyurethane
- Plastic tarps
- Dish soap
- Cleaning cloths or rags
- 1-inch and 4-inch paint brushes
- Orbital sander or sanding block
- Chemical stripper
- Goo-gone (for spills)
1. Prepare the workspace and cabinets

Lay plastic tarps or drop cloths in the area where the cabinets will be restored. Cover any existing furniture and be sure to wear gloves, a dust mask, and goggles to keep from breathing in the harmful fumes from the chemicals that you'll be working with.
Remove the doors from the cabinets and lay them on the floor. Also, if your cabinets have any fixtures, be sure to remove them at this time as well. Clear out any personal items from the cabinets.
Next, take a mildly damp rag and run it over the cabinet doors as well as the interior to remove any dust or debris that may have accumulated on the surface of the cabinets--the less grime that you have to scrape away during the stripping process, the better.
2. Apply chemical stripper
Next, after dipping your paintbrush into the chemical stripper, paint the left and right sides of the cabinet with the stripper. Then paint the top and bottom of the cabinet as well. Lastly, paint the interior of the cabinet with the chemical stripper and let it sit for about 15 to 20 minutes until it gels.
Once the chemical stripper gels, use a razor scraper to remove the gel from the cabinets. Start with the sides of the cabinets and scrape down from top to bottom (in straight lines) until all of the chemical stripper is removed.
Once you have removed the stripping from the cabinets, start the same process on the cabinet doors. Apply the chemical stripper to the cabinet doors, letting them dry on one side before applying it to the other side.
When the chemical stripper begins to gel on the cabinet doors (after 15-20 minutes), scrape it away with your scraping tool, and set the doors aside. Remember to scrape from the top of the cabinet doors to the bottom using a straight line.

See this chemical stripper on Amazon.
3. Sand the cabinets
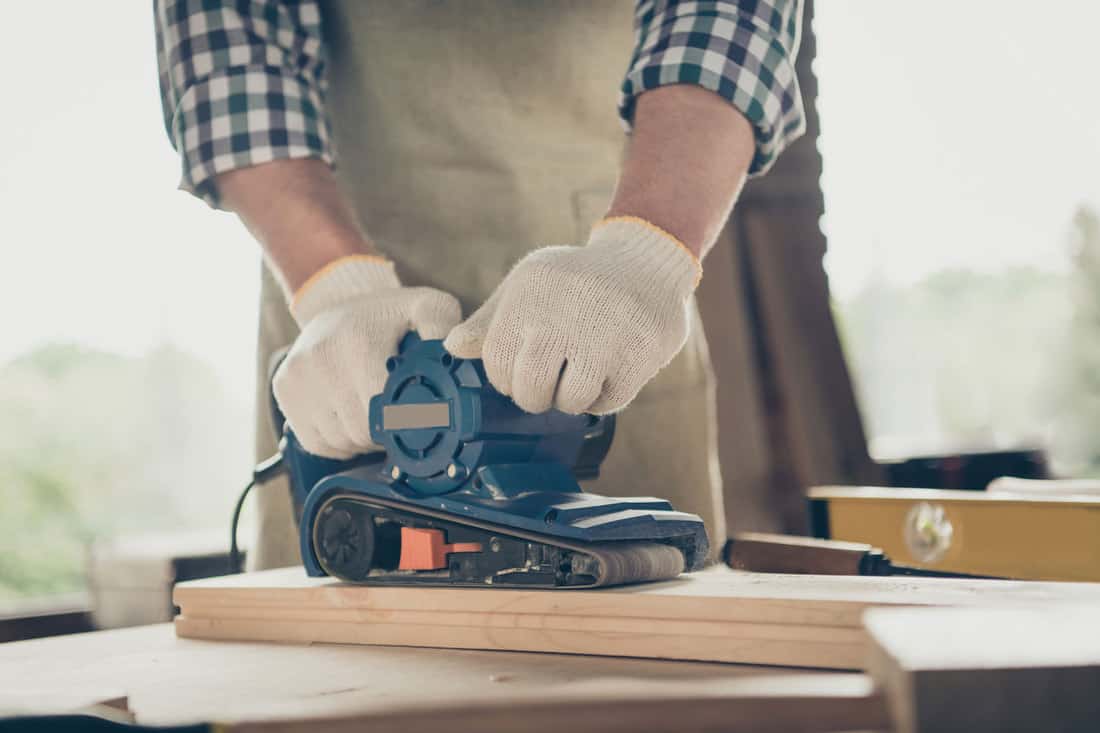
After you have removed the chemical stripper from the cabinets and the doors, it is now time to sand the oak cabinets. For this, it is best to use medium-grit sandpaper between 80-grit and 120-grit to ensure a smooth finish. Start on the cabinets and run your sandpaper block or orbital sander on the sides of the cabinets.
Next, sand the interior of the cabinets starting at the top then working on the sides and the bottom interior. When sanding the cabinets, be sure to go in the same direction as the grain.
After you have sanded the cabinets, repeat the same process for the doors. Run your bare hand over the cabinets and doors to ensure that the surfaces are smooth before continuing further--you shouldn't feel any grooves or bumps in the grain.

See this sanding block on Amazon.
4. Apply a stain and then a finish
Take your wood stain and gently agitate it before removing the top. Wood stains tend to settle at the bottom when not in use and agitating them helps to blend the solution. Take a paintbrush, and after dipping it lightly in the stain, apply it to the sides of the cabinet. Next, go over the top and bottom of the cabinet with the stain.
Lastly, stain the interior of the cabinet starting with the top. After you have stained the cabinets, apply the stain to the cabinet doors. Let the stain dry for about 30 minutes to an hour (or the recommended time on the stain can).
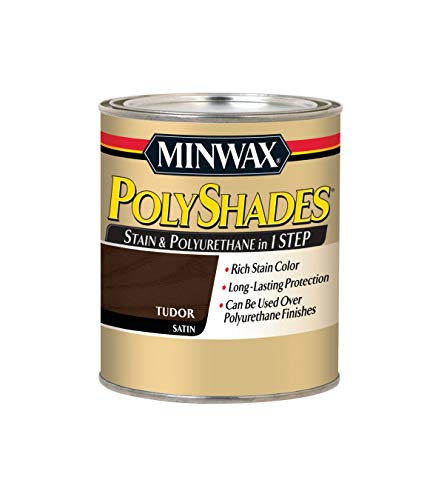
See this wood stain on Amazon.
You're almost at the home stretch. Now it's time to apply a final finish to the cabinets to help protect them from scratches, dents, and water stains. Dip your paintbrush in the wood finish and apply it liberally to the left and right sides of the cabinet. Then cover the interior of the cabinet starting with the top. When applying the finish, use long vertical strokes to ensure that the finish dries evenly.
After you have applied the finish to the cabinets, use the same method to apply it to the doors as well. The finish can take anywhere from 15 to 45 minutes to dry. However, it's best to let it dry for at least 24 hours before reassembling the cabinets, as it needs time to set.

See this wood finish on Amazon.
5. Re-assemble and re-hang the cabinets
After the finish has set, reassemble the cabinets, place the doors back on, and re-attach any fixtures that were removed. And you're all set!
Can You Paint Over Oak Cabinets?
Yes, you can paint over oak cabinets. The most important thing to remember when painting over oak cabinets is that they will most likely need to be sanded and primed before you can apply the paint. However, you can use a paint that has a primer already in it.
If your cabinets are already painted, a latex primer should work well. However, if you are painting over a cabinet that has a stain, it's better to use an oil-based primer as it will seal the surface. Sanding the cabinets before applying paint will help to ensure that the paint adheres to the surface and will reduce the likelihood of it peeling away from the grain.
How Do You Fix Discolored Cabinets?
It depends on the type of stain or scratch that the cabinet contains. For most light spots and scratches, Old English furniture polish tends to be a well-received stain remover. Its application is fairly straightforward, as you simply apply it to a cloth or rag and use it to buff out the stain.

Buy Old English furniture polish on Amazon.
You can also use a product called Restore, which is what most furniture and antique dealers use to repair damaged wood furniture. Other common surface cleaners include Mr. Clean Eraser, Scrubber Cleanz, and Scrub Daddy. All of these are soft and non-abrasive, which means that they won't add any additional scratches to the wood while in use.

Buy Mr. Clean Magic Eraser on Amazon.
Is Murphy Oil Soap Good For Kitchen Cabinets?
Yes. Murphy oil soap can be used to clean kitchen cabinets--it's a very effective degreaser. To apply the solution, put it on a soft cloth or rag then wipe the soiled area using a circular motion. Next, wipe the area again with a dry cloth to remove the soap.

See this Murphy oil soap on Amazon.
What Colors Go With Oak Cabinets?
When deciding what colors to coordinate with your oak cabinets, it's best to determine whether you want the cabinets to stand out or to evenly blend with the rest of the decor.
Typically, warm and cool colors that are a few shades lighter or darker than the cabinets help to accent it more than colors that are of a similar hue. For example, if you really want the cabinets to pop out, you don't want to have too many gray tones surrounding them as they will blend in too much with the wood.
If you want the cabinets to stand out, consider yellow, red, and orange tones. Red and orange tones can help to add a bit of depth to the room, as well as open it up a bit if there is a lot of natural lighting. Or if you prefer colors on the opposite end of the spectrum, you can go with cool greens, blues, and even shades of purple.
Wrapping Things Up
![a beautiful kitchen in a modern apartment with oak fitted cupboards and drawers and cream coloured granite work top, How To Restore Oak Cabinets [5 Steps]](https://homedecorbliss.com/wp-content/uploads/2021/01/a-beautiful-kitchen-in-a-modern-apartment-with-oak-fitted-cupboards-cabinets-and-drawers-and-cream-coloured-granite-work-top.jpg)
Overall, you will find that wood restoration is a fairly inexpensive and simple DIY project, though it's not the fastest process. However, you will be amazed at how big of an impact a restored cabinet set can have on your kitchen, bathroom, or living room--it's absolutely worth it.
We hope that this post has provided you with all of the information that you need to restore your oak cabinets quickly and with minimal issues. Before you go, be sure to check out some of our other posts: