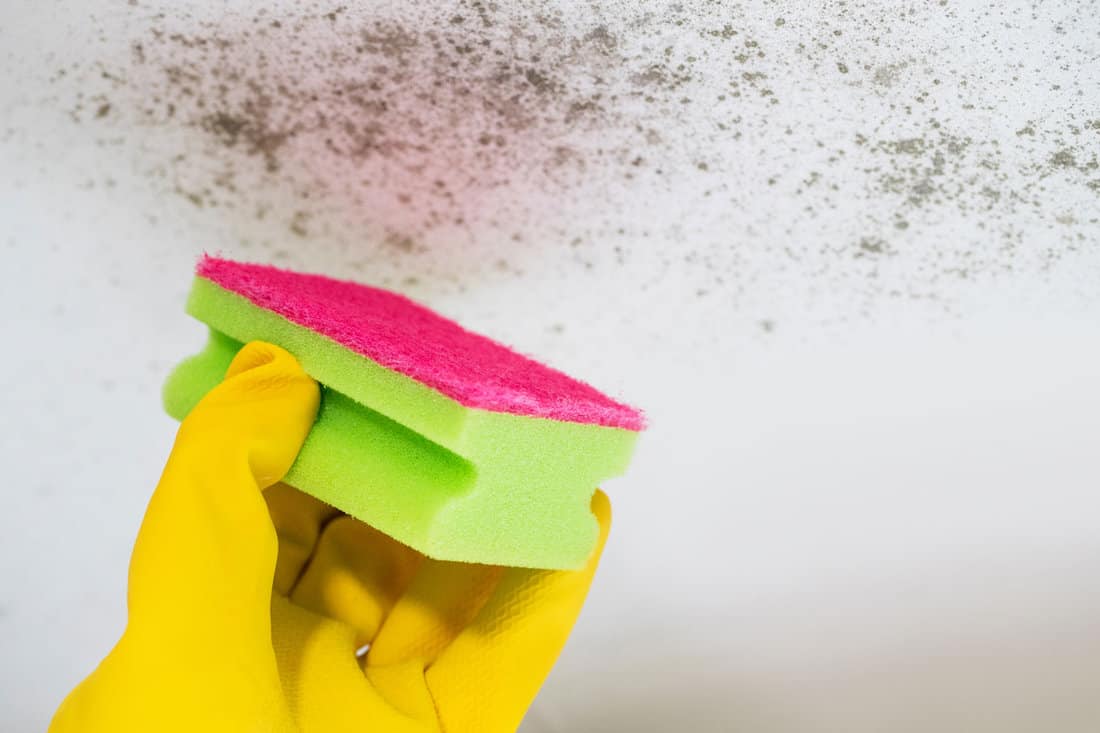
Popcorn ceilings, also known as acoustic or textured ceilings, can be a source of frustration for homeowners.
Their outdated appearance, difficulty in cleaning, and potential health hazards make them less desirable.
If you want to transform your popcorn ceiling, we have a solution for you.
Mudding over a popcorn ceiling offers a cost-effective method to give your space a modern, updated look.
This guide will provide step-by-step instructions and valuable tips to help you complete the mudding process. Let's bid farewell to your popcorn ceiling woes.
Can You Mud Over a Popcorn Ceiling?
The answer is yes, but there are some essential things to consider before doing so.
Instead of removing the popcorn texture altogether, some homeowners use mud as a cost-effective and less messy alternative.
However, before mudding over a popcorn ceiling, it's essential to determine whether or not the texture contains asbestos.
Homeowners should have the texture tested by a professional before removing or covering it.
Popcorn Ceilings: Characteristics, Challenges, and Safe Handling
Popcorn ceilings were popular in the mid-20th century for their acoustic and hiding properties.
They have a bumpy, cottage cheese-like texture created by spraying a mixture of water and popcorn-like material onto the ceiling.
While they were once considered stylish, popcorn ceilings are now considered outdated and can decrease the value of a home.
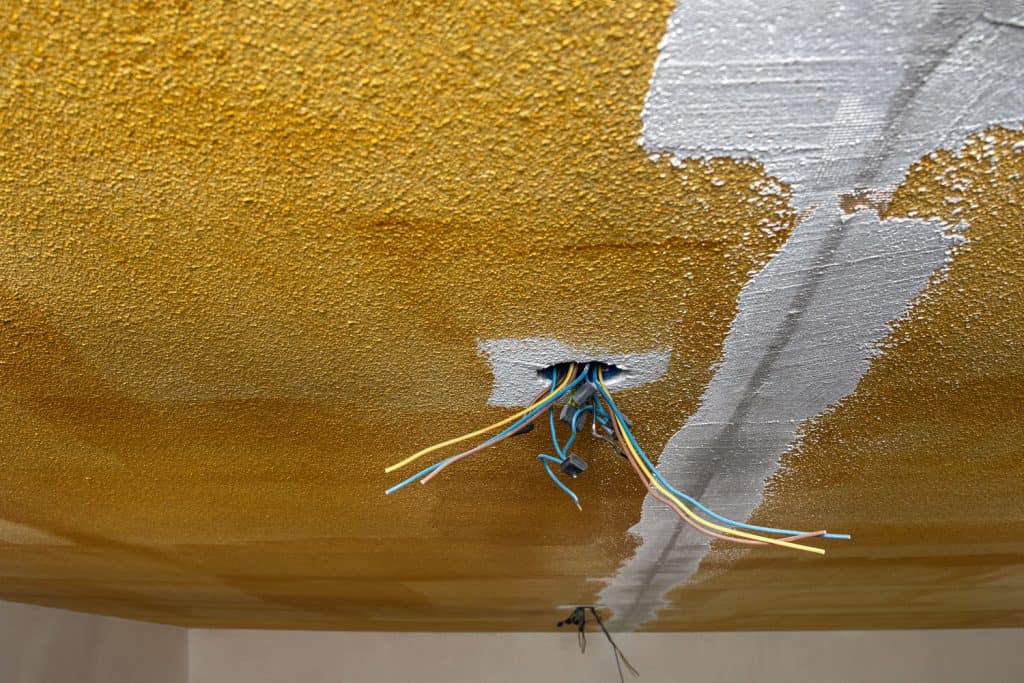
They can also be challenging to clean and may contain asbestos, a hazardous material commonly used in construction until the 1970s.
Removing a popcorn ceiling can be a messy and time-consuming process involving scraping off the texture and repairing any damage to the ceiling.
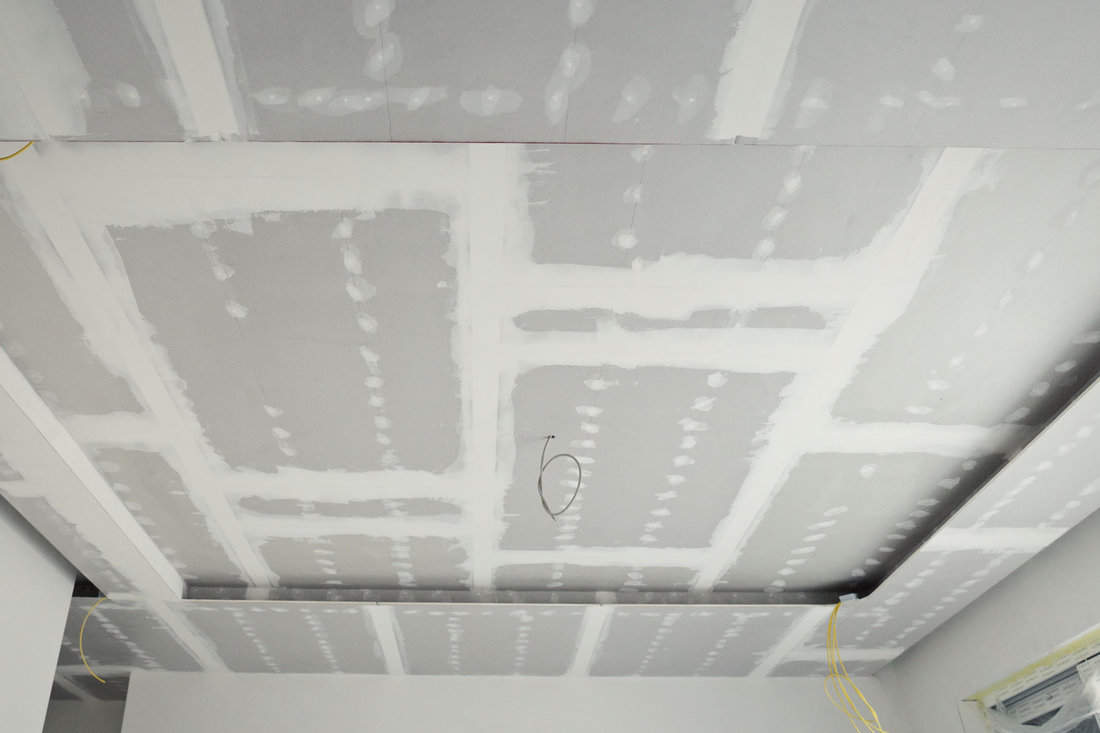
However, there are also options for covering or updating a popcorn ceiling without removing it, such as painting or applying a new layer of drywall.
Before attempting any work on a popcorn ceiling, it is important to determine whether or not it contains asbestos.
If it does, it should only be removed by a licensed professional who can safely dispose of the hazardous material.
Also read: Popcorn Ceiling Patch vs. Spray: Which One is Right for You?
Step-by-Step Checklist for Mudding Over a Popcorn Ceiling
Step 1: Test for asbestos
Before starting any work, have the popcorn ceiling tested for asbestos by a professional. If asbestos is present, hire a licensed professional for safe removal.
Step 2: Gather materials
Ensure you have all the necessary materials, including joint compound or mud, taping knife, sandpaper, primer, paint, drop cloths, and protective gear.
Step 3: Prepare the room
Clear the room of furniture and cover the floor with drop cloths to protect it from any splatters or drips.
Step 4: Clean the ceiling
Thoroughly clean the popcorn ceiling using a vacuum cleaner or soft-bristle brush to remove dirt, dust, or debris.
Step 5: Repair any damage
Inspect the ceiling for cracks, holes, or loose texture. Use joint compound to patch and repair these areas, ensuring a smooth surface.
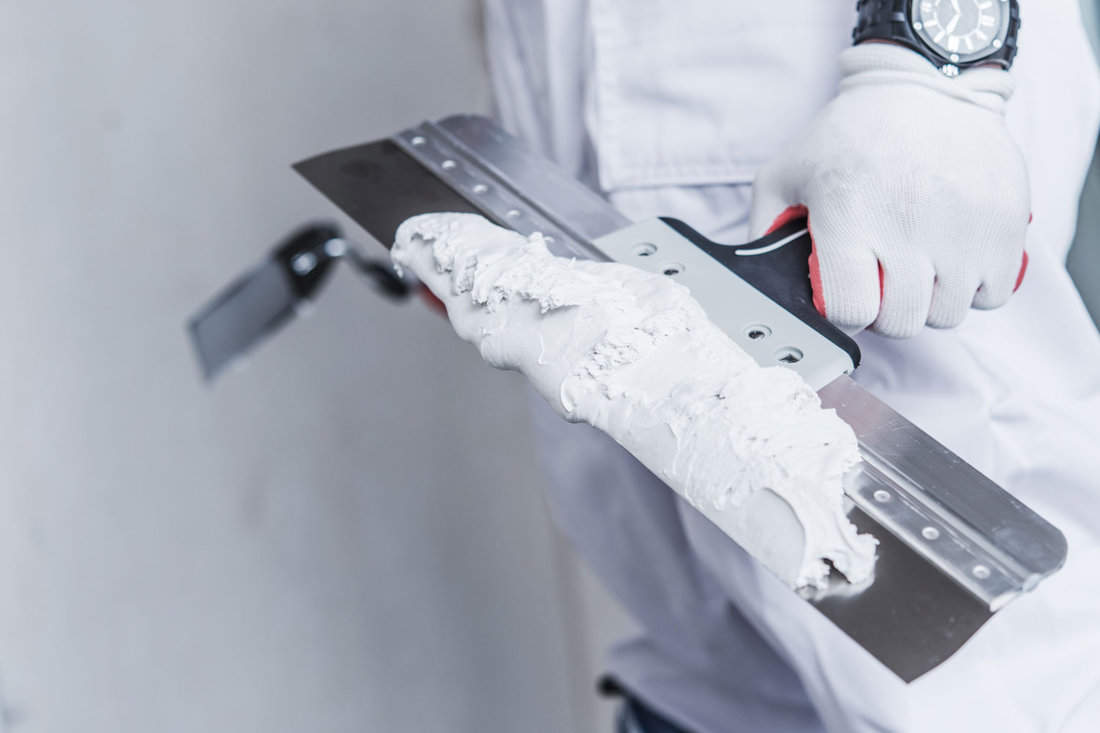
Step 6: Apply the first coat of mud
Using a taping knife, apply a thin layer of joint compound or mud over the popcorn ceiling, feathering the edges to blend it smoothly.
Step 7: Allow drying time
Follow the manufacturer's instructions for drying time. It may take 24 to 48 hours for the first coat of mud to dry completely.
Step 8: Sand the surface
Once the first coat is dry, lightly sand the surface with fine-grit sandpaper to create a smooth and even texture.
Step 9: Apply subsequent coats
Repeat the process of applying thin coats of joint compound, allowing each layer to dry and sand in between until you achieve the desired smoothness.
Step 10: Prime and paint
After the final coat is dry and sanded, apply a coat of primer to the entire ceiling to ensure adhesion. Once the primer is dry, apply your chosen paint color.
Step 11: Clean up
Remove drop cloths, clean your tools, and return furniture to the room once the paint is dry.
Remember, this checklist serves as a general guide. Refer to the detailed instructions in the article for a more comprehensive understanding of each step.
Materials Needed for Mudding
Mudding over a popcorn ceiling requires specific materials to ensure a successful outcome.
Here are the materials needed for mudding over a popcorn ceiling:
1. Joint Compound
We may include affiliate links and curated AI content to highlight top design styles.
Joint compound, also known as mud, is the primary material used for mudding over a popcorn ceiling.
It is a versatile material that can smooth out imperfections, fill in gaps, and create a new surface for painting or texturing.
When selecting a joint compound, choosing a product specifically designed for ceilings is essential.
This will have a thicker consistency that is better suited for overhead applications.
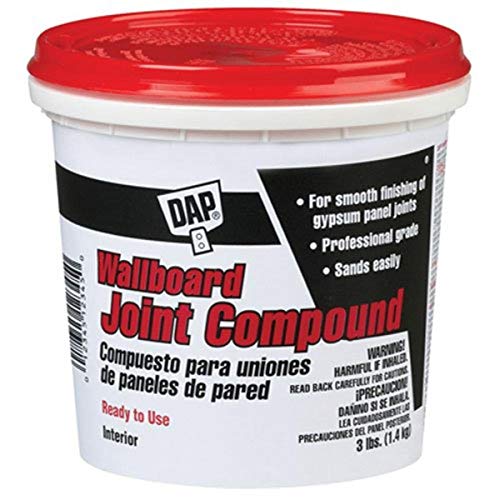
Check out this joint compound on Amazon.
2. Drywall Tape
Drywall tape reinforces the joints between the ceiling panels and prevents cracking.
It is made of a paper or fiberglass mesh embedded in the joint compound to create a strong, seamless surface.
When mudding over a popcorn ceiling, it is important to use self-adhesive drywall tape, as it will stick to the textured surface without the need for screws or nails.

Check out this drywall tape on Amazon.
3. Sandpaper
Sandpaper is used to smooth out the joint compound after it has dried.
It comes in various grits, ranging from coarse to fine, and should be selected based on the level of smoothing required.
When sanding a popcorn ceiling, it is important to use fine-grit sandpaper to avoid damaging the texture.
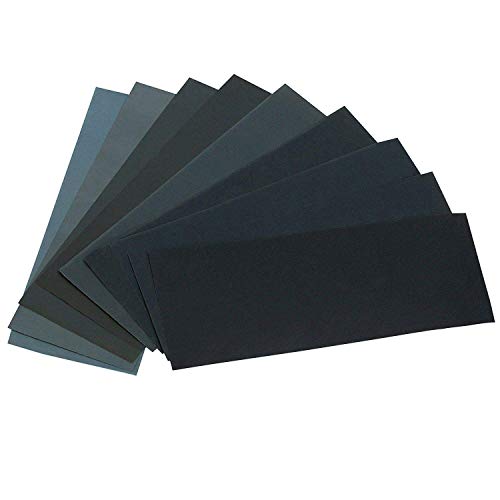
Check out this sandpaper on Amazon.
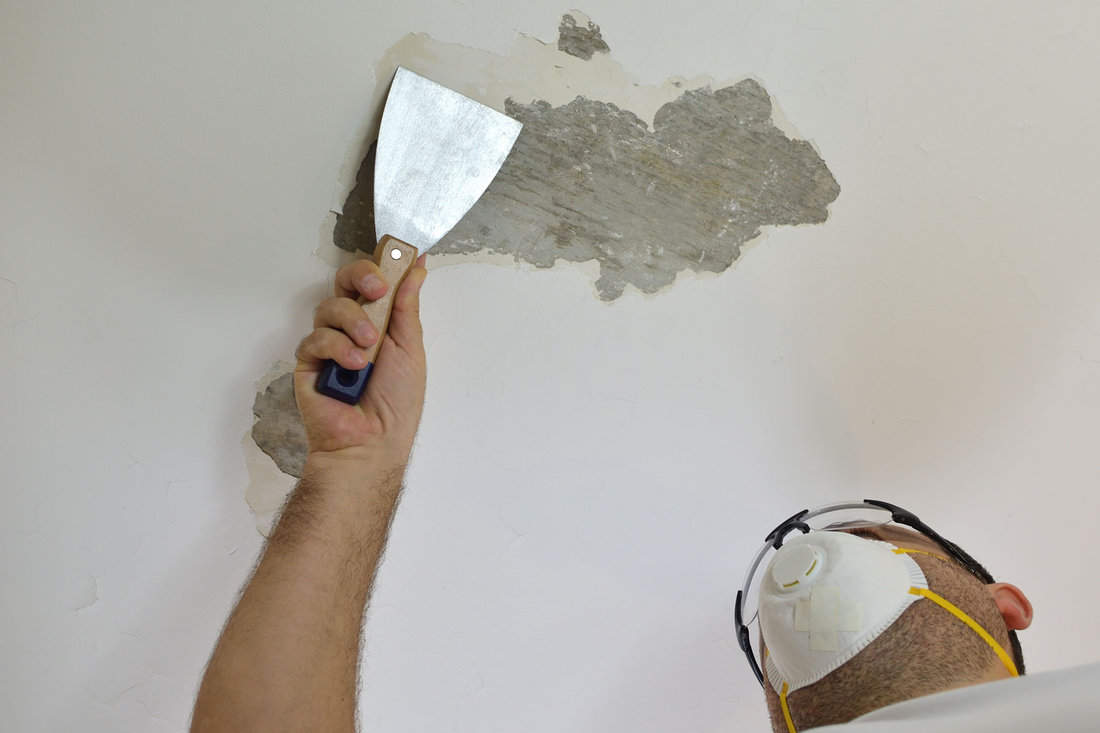
4. Taping Knife
A taping knife, or a drywall knife, is used to apply and smooth out the joint compound.
It is a long, flat blade with a handle allowing easy control and precision.
Use a wider taping knife, such as a 12-inch or 14-inch blade, to cover a larger area and create a smoother finish.

Check out this taping knife on Amazon.
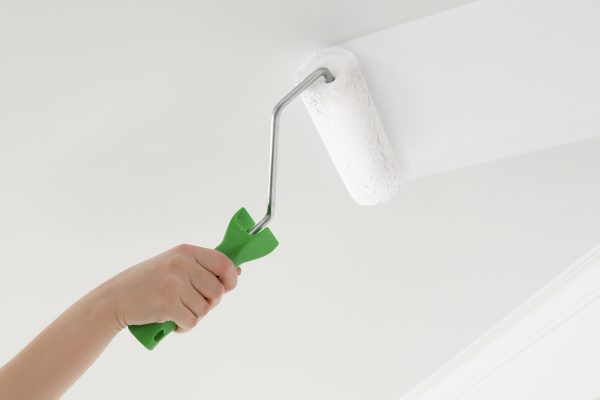
5. Paint and Paintbrush
Choose a paint specifically designed for ceilings, as it will have a flat finish that hides imperfections and does not reflect light.
A paintbrush is used to apply the paint to the ceiling and should be selected based on the size of the area being painted.

Check out this paint brush on Amazon.
Preparation Before Mudding
Prepare the surface before mudding over a popcorn ceiling to ensure the mud adheres well.
Here are some steps to follow before starting the mudding process:
1. Clean the surface
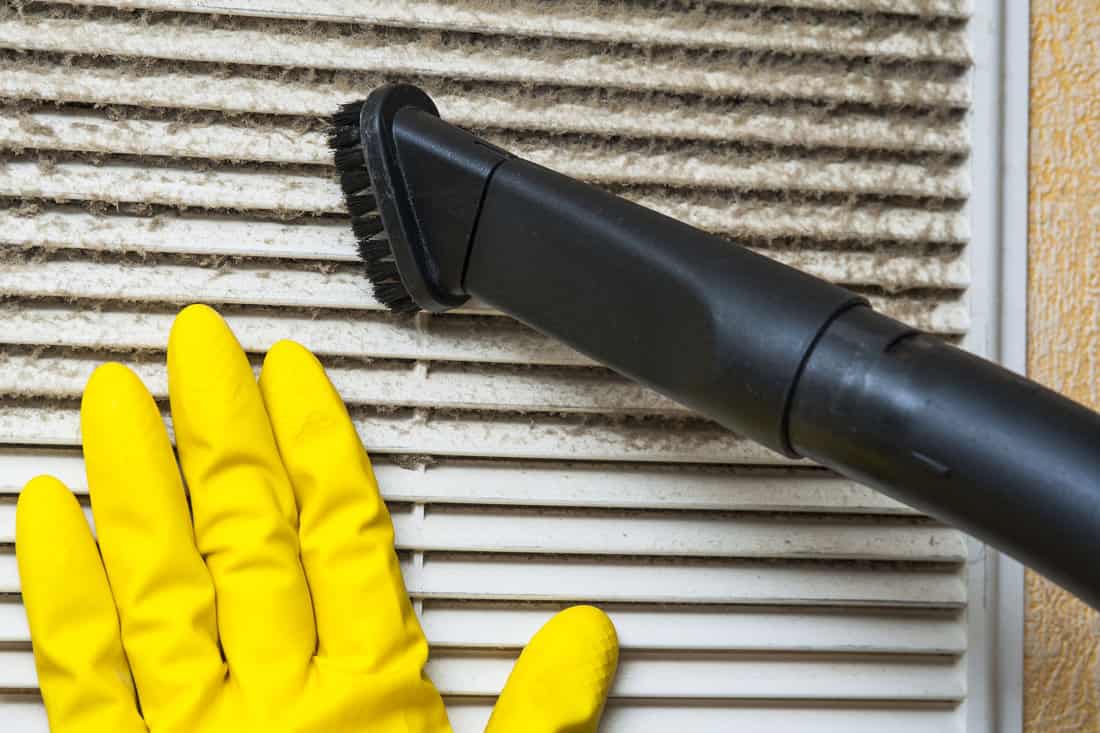
First, use a vacuum cleaner with a brush attachment to thoroughly clean the popcorn ceiling.
This will help remove loose particles, dust, and cobwebs. If there are any stains or marks on the ceiling, use a damp cloth to wipe them off gently.
Allow the ceiling to dry completely before proceeding to the next step.
2. Scrape off loose popcorn
If the popcorn texture is loose or flaking off, it's recommended to scrape it off before applying the mud.
This will prevent issues such as cracking or peeling in the future. Use a putty knife or scraper to remove the loose popcorn texture gently.
Be careful not to damage the underlying drywall while doing so. Take your time and ensure that the surface is even and smooth after the scraping process.
3. Sand the surface

After scraping off the loose popcorn, sanding the surface is necessary to create a smooth base for the mud.
Use fine-grit sandpaper and a sanding pole to reach high-ceiling areas. Sand in a circular motion, applying light pressure until the surface is even and free of bumps or ridges.
Once the sanding is complete, vacuum the surface again to remove dust particles.
4. Apply primer
Before mudding, applying a coat of primer to the surface is important. This will help the mud adhere better and prevent any stains or discoloration from showing through.
Use a roller or brush to apply the primer evenly on the entire ceiling. Allow the primer to dry completely before proceeding with the mudding process.
The Mudding Process
Now that the surface is properly prepared, it's time to move on to the mudding process. Here are the detailed steps to follow:
1. Prepare the room.
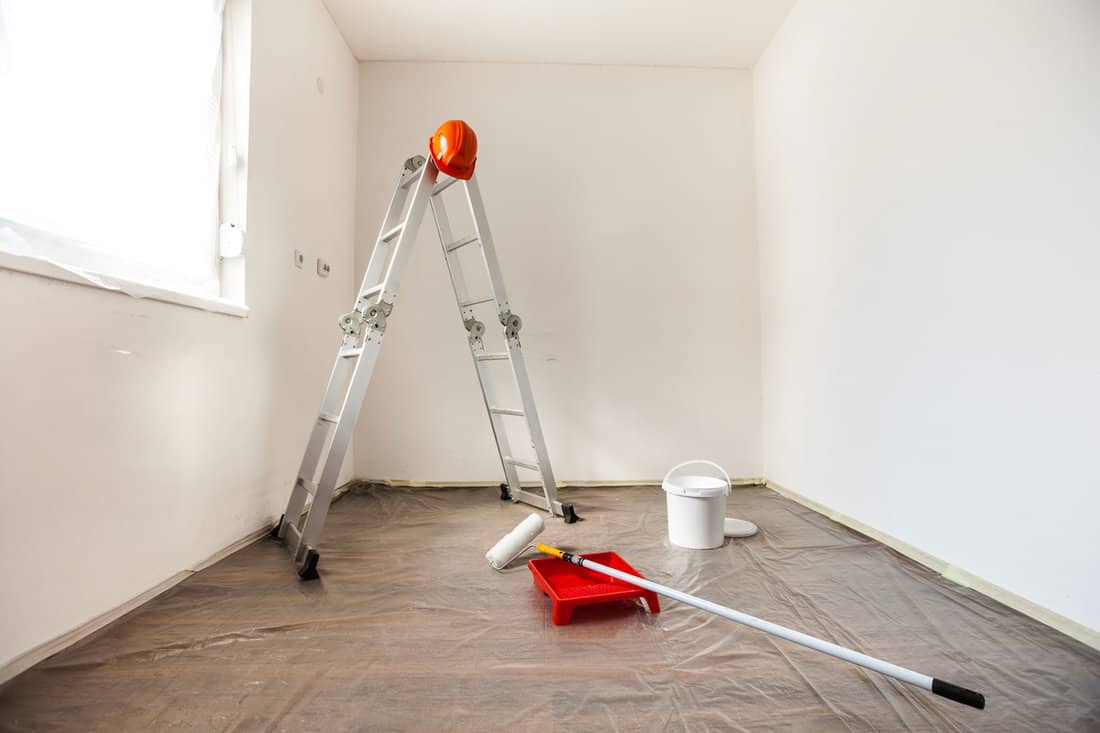
To avoid messing, cover the floors and furniture with plastic sheeting or drop cloths to protect them from dust and debris.
This will make the cleanup process easier once you're done mudding.
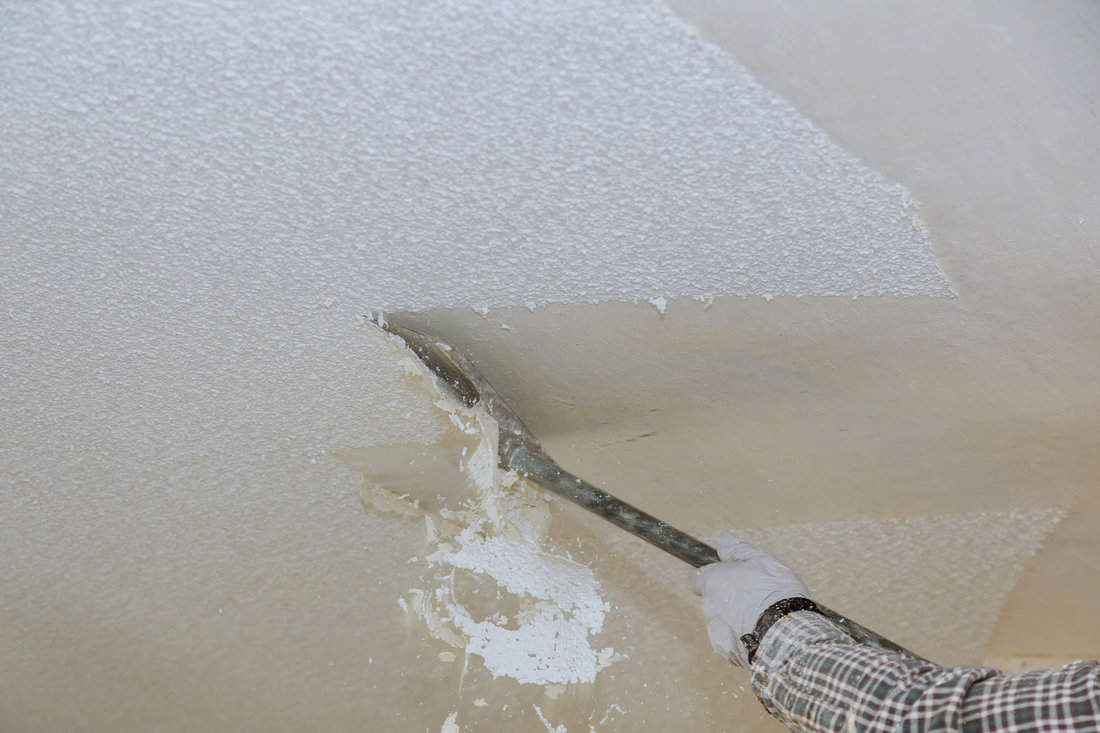
2. Remove loose or peeling popcorn texture.
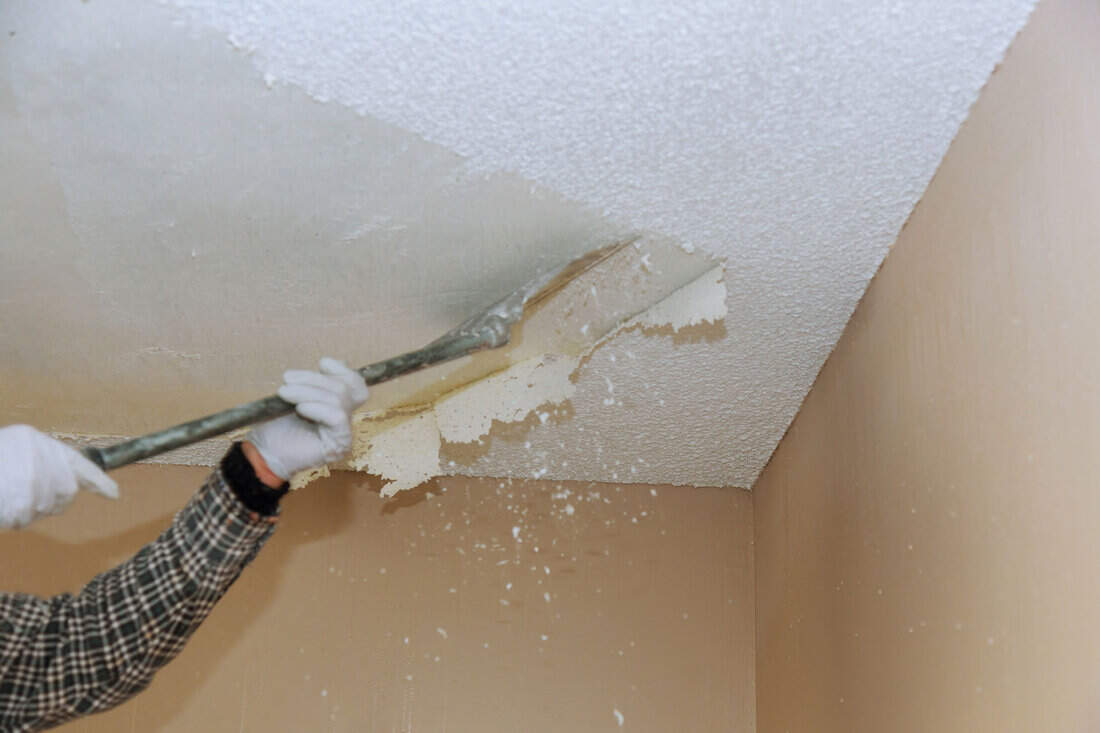
Using a scraper or putty knife, carefully remove any remaining loose or peeling popcorn texture from the ceiling.
It's important to wear appropriate personal protective equipment (PPE) during this step, as some popcorn ceilings may contain asbestos.
Take your time and ensure the surface is smooth and free of any loose texture.
3. Clean the ceiling.
After removing the loose texture, clean the ceiling using a damp cloth or sponge.
This will remove any remaining dust or debris, providing a clean surface for the mud to adhere to.
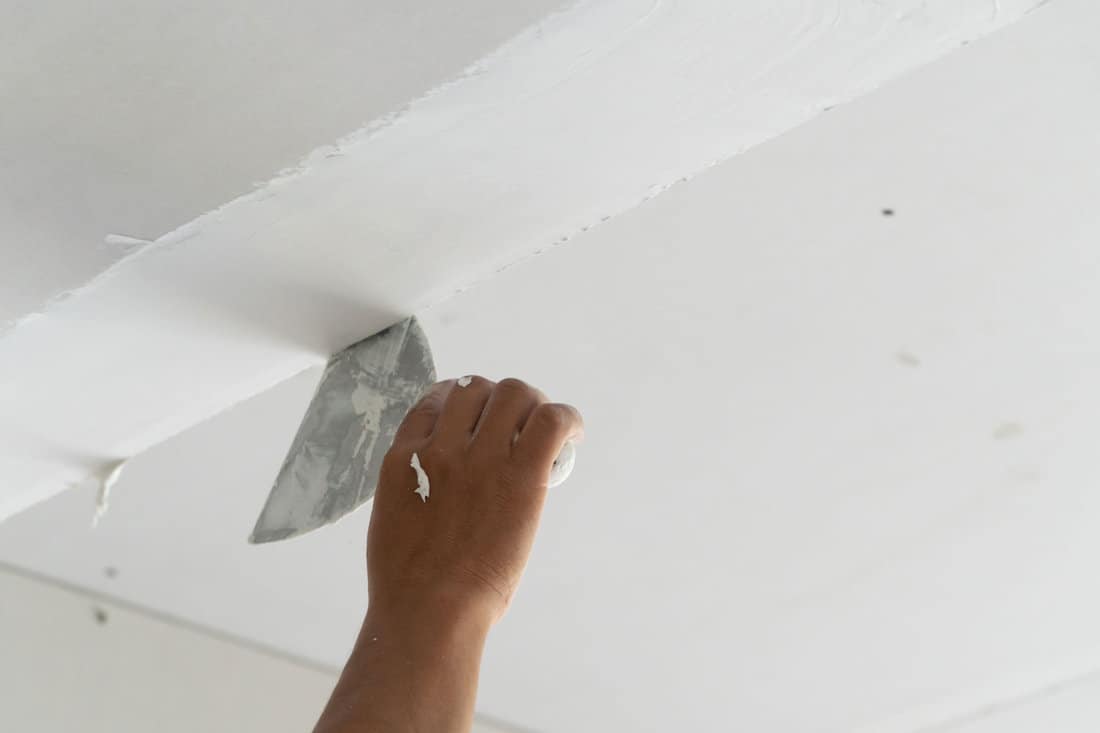
4. Apply the joint compound.

Apply a thin layer of joint compound or mud over the entire ceiling using a trowel or drywall knife. Work in small sections at a time, spreading the mud evenly and smoothly.
Feather the edges of each section to create a seamless transition between them. Take care to avoid applying too much mud at once, as it can lead to sagging or cracking.
Continue this process until the entire ceiling is covered with a thin layer of mud.
5. Allow the mud to dry completely.
Once the mud is applied, allow it to dry completely according to the manufacturer's instructions.
The drying time may vary depending on the type of mud used and the environmental conditions.
It's important to be patient and ensure that the mud is fully dry before proceeding to the next step.
Step 6: Sand the dried mud
After the mud has dried completely, use a sanding pole or sanding block to sand the surface gently.
This will help create a smooth and even texture. Be careful not to sand too aggressively, as it can damage the mud or the underlying surface.
Aim for a smooth finish, ensuring any imperfections or ridges are smoothed during the sanding process.
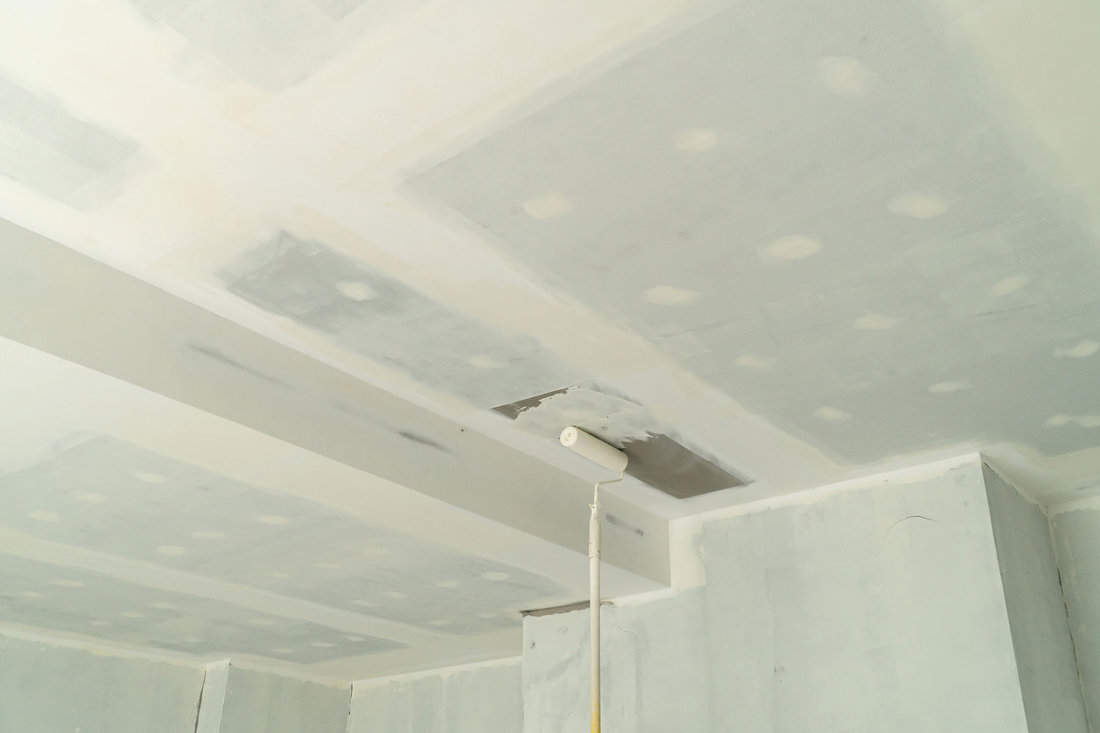
7. Apply a second coat of mud if necessary.
After sanding, inspect the ceiling for any remaining imperfections, such as uneven areas or visible seams. Apply a second thin coat of mud to these areas and feather the edges for a seamless blend.
Allow the second coat to dry completely, and repeat the sanding process to achieve a smooth and uniform surface.
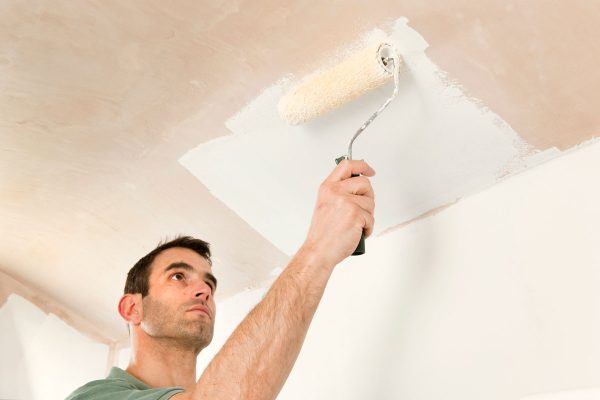
8. Prime and paint the ceiling.
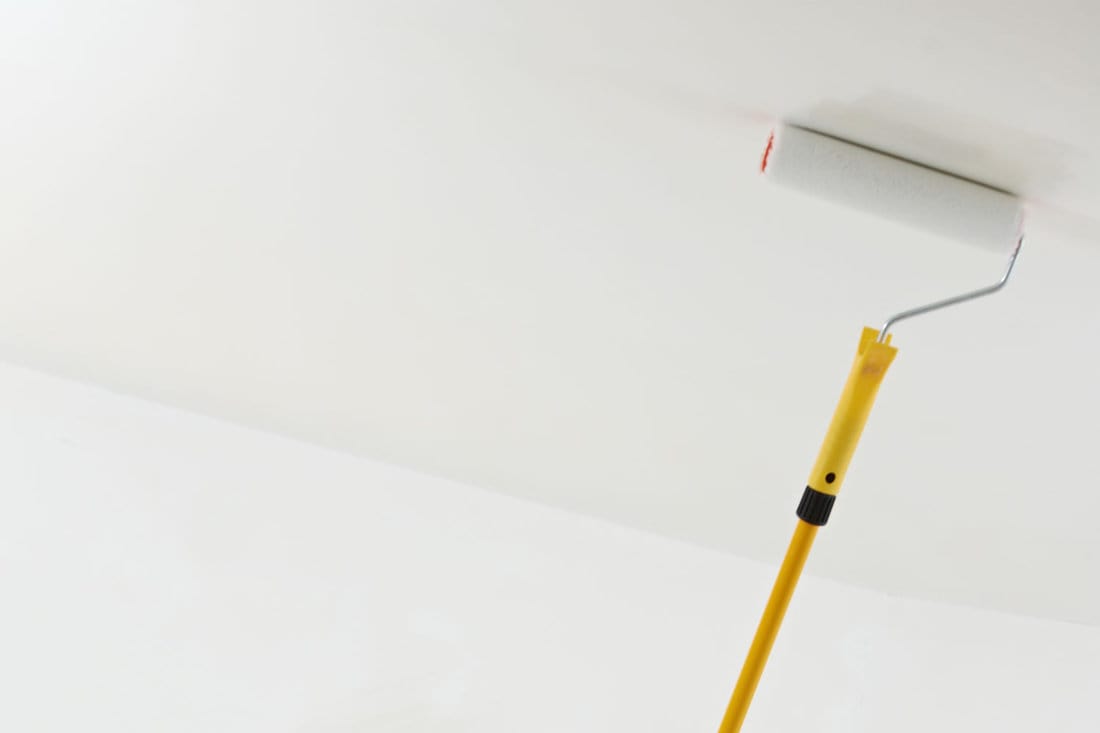
Once the final coat of mud is dry and the surface smooths, it's time to prime and paint the ceiling.
Apply a coat of primer to the entire ceiling using a roller or brush. This will provide a good base for the paint and ensure proper adhesion.
After the primer has dried, apply your chosen paint color to complete the transformation of your popcorn ceiling.
Also read: How To Blend Ceiling Paint To Match Existing Shade
You can watch the whole mudding process in the video below:
Remember to follow the manufacturer's instructions for drying times, which can vary based on the specific products used.
Hiring a Professional vs. DIY
When it comes to removing or updating a popcorn ceiling, homeowners have two options: hire a professional or do it themselves.
Both options have their advantages and disadvantages.
Hiring a Professional
Hiring a professional to remove or update a popcorn ceiling can save homeowners time and effort.
Professionals have the necessary tools and experience to complete the job quickly and efficiently.
Additionally, professionals are trained to handle hazardous materials like asbestos, which may be present in older popcorn ceilings. They can test for asbestos and safely remove it if necessary.
However, hiring a professional can be expensive.
Popcorn ceiling removal can cost anywhere from $800 to $1500, depending on the size of the room and the complexity of the job.
Homeowners should also be wary of contractors who offer very low prices, as they may not be properly licensed or insured.
DIY
Removing or updating a popcorn ceiling yourself can save you money, but it requires more time and effort.
Homeowners must purchase or rent equipment like a scraper, sander, and vacuum.
They will also need to test for asbestos and take appropriate safety precautions if it is present.
The cost of DIY popcorn ceiling removal depends on the size of the room and the cost of materials. DIY materials generally run around $0.50 - $1 per square foot.
However, homeowners should know that removing a popcorn ceiling is messy and time-consuming.
It can also be physically demanding, requiring standing on a ladder and reaching overhead for extended periods.
Furthermore, if asbestos is present, homeowners may need to hire a professional to remove it safely.
Ultimately, the decision to hire a professional or do it yourself depends on the homeowner's budget, time, and comfort level with DIY projects.
You can transform an outdated popcorn ceiling into a smooth, modern surface with proper preparation, materials, and techniques.
Take your time, research, and don't be afraid to ask for help when needed.
Be patient as you apply the mud, allowing it to dry fully between coats.
The finished results can surely bring a fresh, clean look to your room!
Also read: Does A Popcorn Ceiling Reduce Noise: Uncovering the Acoustic Truth
Final Thoughts on Transforming Your Popcorn Ceiling
Popcorn ceilings, though once a popular design choice, have become outdated in many homes.
Whether you embark on a DIY project or hire a professional, you must be well informed about the process, potential hazards like asbestos, and the materials required.
Mudding over a popcorn ceiling can be a cost-effective solution that transforms your living space, giving it a modern and refreshed appearance.
Whatever path you choose, prioritize safety and quality, ensuring that your revamped ceiling will stand the test of time.