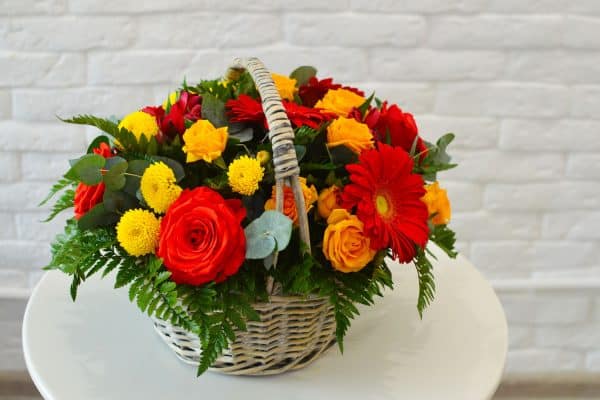
Fall is in the air, and what better way to embrace the season than with a unique pumpkin centerpiece?
Pumpkins aren't just for carving anymore! Join us on a creative journey as a humble pumpkin becomes a stunning floral arrangement. We'll guide you through the process with pictures that show each step!
Step #1: Gather Your Materials
Begin by collecting all the necessary materials.
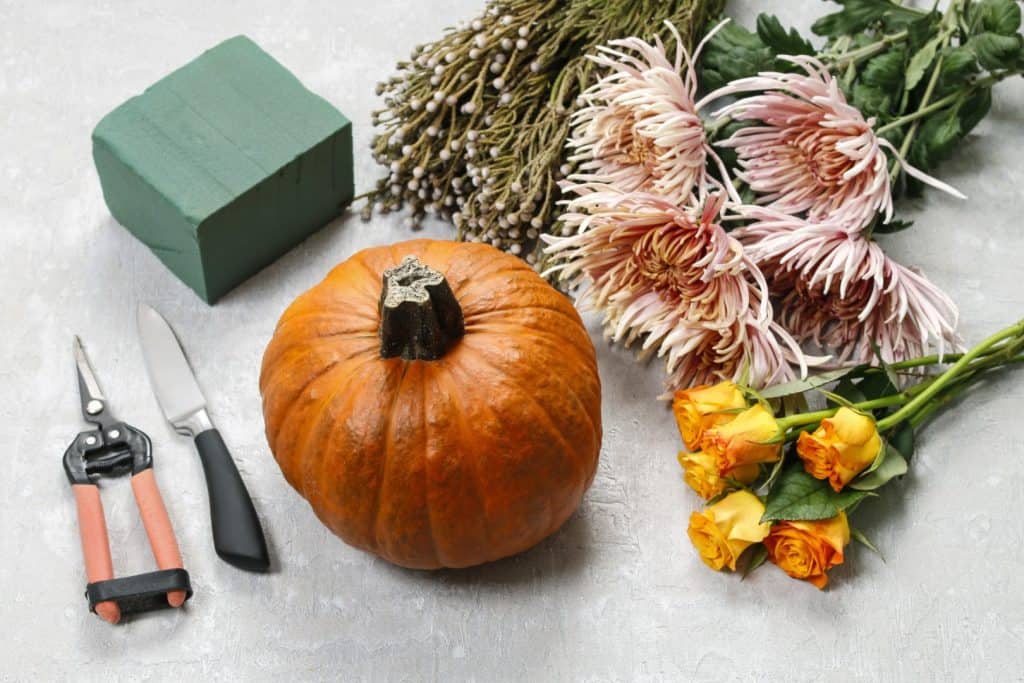
This includes a fresh pumpkin, a floral foam block, assorted flowers like chrysanthemums and roses, some decorative branches, and essential tools like a knife and pruning shears. Lay everything out on a clean surface for easy access.
Step #2: Cutting the Pumpkin
Carefully position your knife at the top of the pumpkin near the stem. With a steady hand, begin to cut a circular opening around the stem.
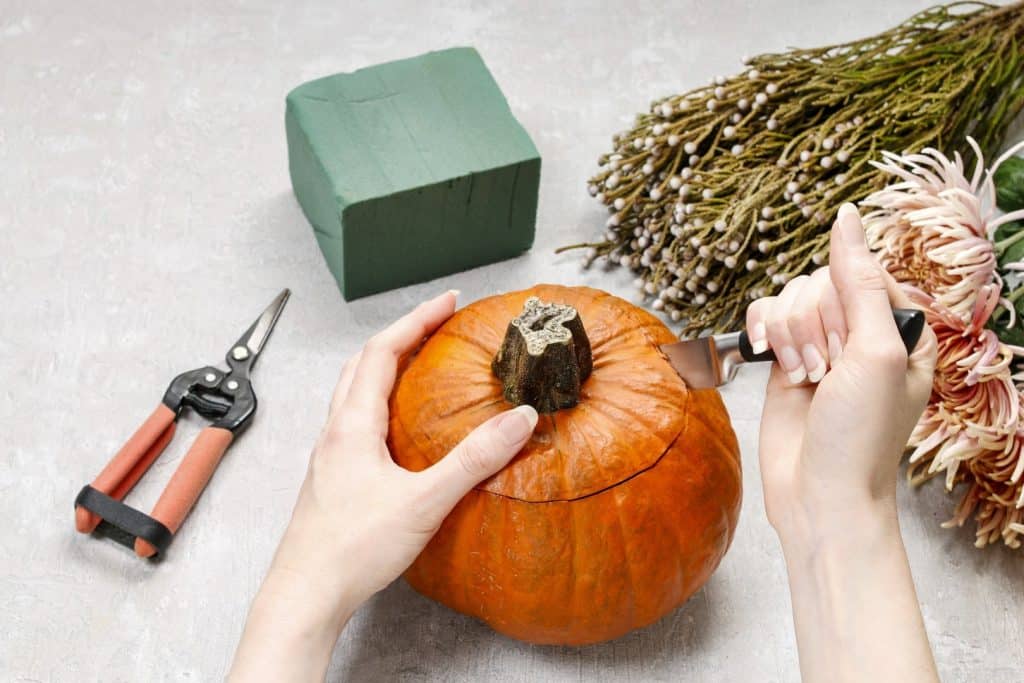
This will allow you to access the interior of the pumpkin for hollowing. Make sure to hold the pumpkin securely with one hand while cutting with the other.
Step #3: Removing the Top and Seeds
Once the circular cut is complete, gently lift the lid off the pumpkin. You'll notice the pumpkin seeds and fibrous strands attached to the underside of the lid.
We may include affiliate links and curated AI content to highlight top design styles.
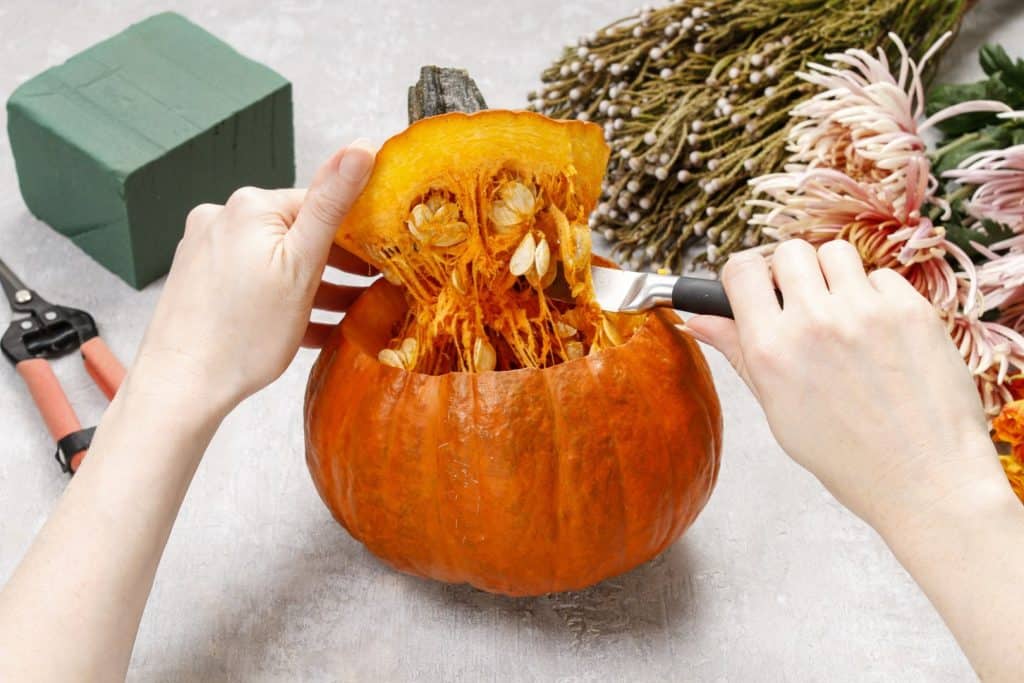
Be cautious when handling the lid, especially around the edges, as it can be sharp from the cuts.
Step #4: Hollowing Out the Pumpkin
Now that the top of the pumpkin is removed, it's time to thoroughly hollow it out. Using a spoon or a specialized pumpkin scraper, start scooping out the seeds and the stringy, fibrous insides.
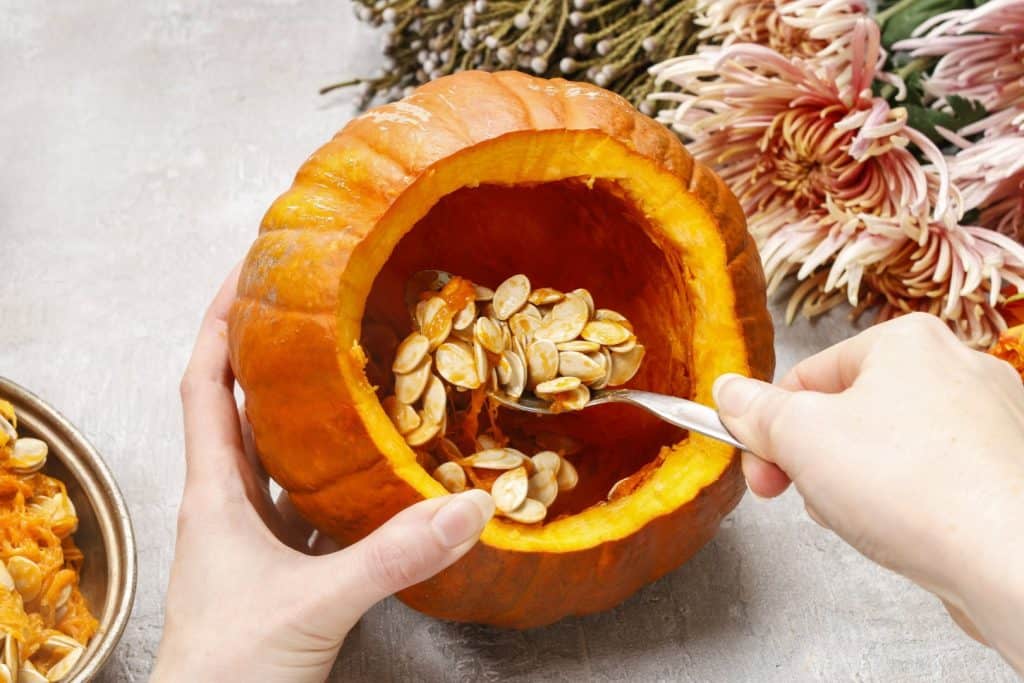
Make sure to scrape the inner walls of the pumpkin to remove any excess fibrous strands. This not only makes carving easier but also helps in extending the life of the pumpkin once carved. The inner surface should be relatively smooth and free from major bumps.
Step #5: Lining the Pumpkin
Unroll clear cellophane, which you can find at local craft stores or online marketplaces like Amazon. Cut a section that's ample enough to cover the interior of the pumpkin.
Click here to see this on Amazon
Push the cellophane inside, making sure it adheres to the walls. This will act as a protective barrier, especially if you're considering placing fresh flowers inside, preventing moisture from softening or rotting the pumpkin prematurely.
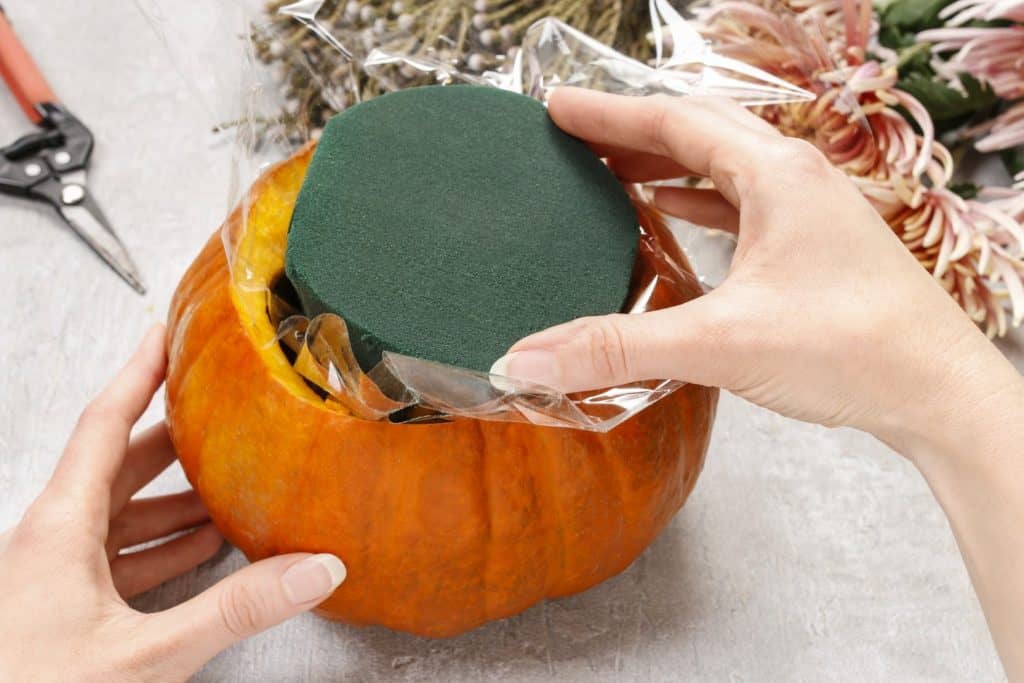
Step #6: Cutting the Foam to Fit the Pumpkin
Take the floral foam and place it atop the pumpkin's opening, marking the circumference. Using a sharp knife, carefully carve the foam into the shape of the pumpkin's interior.
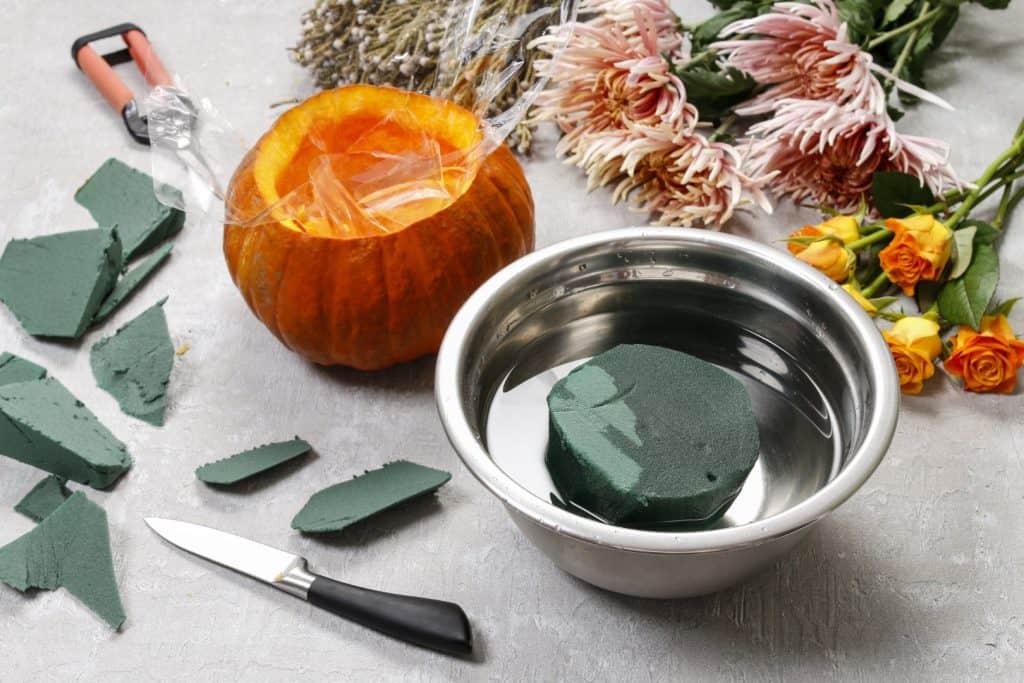
The foam should fit snugly within the pumpkin, ensuring it's secure. Once fitted, this foam will serve as the base for arranging your flowers, allowing them to stay hydrated and fresh for longer periods.
Step #7: Securing the Foam Inside the Pumpkin
Gently push the foam into the pumpkin, ensuring it sits snugly on the cellophane. Make sure the foam is slightly below the rim, creating a seamless appearance and allowing ample space for flower arrangements.
Having the foam secure and firm is crucial, as this will be the foundation for your flower arrangement. T
he foam not only helps hold the flowers in place but also provides them with hydration, especially if you're using wet floral foam.
Step #8: Trimming Excess Cellophane
Gently pull out the protruding cellophane, holding it taut, and use a pair of floral shears or scissors to trim off the excess. Cut as close to the pumpkin's rim as possible for a polished look.
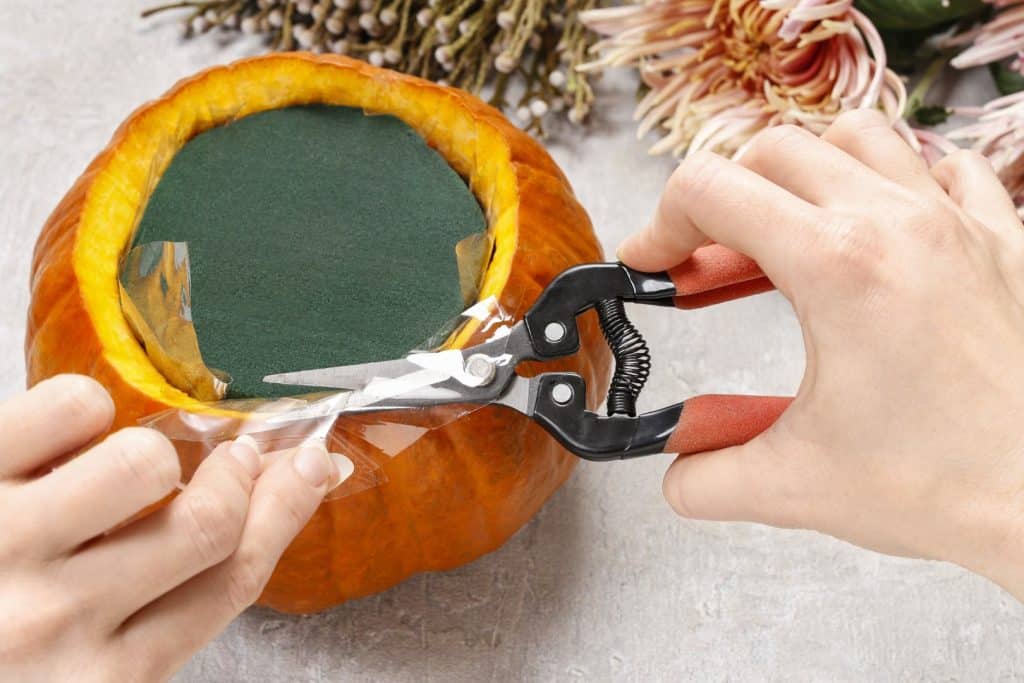
Exercise caution during this step to prevent accidentally cutting the pumpkin itself or compromising the foam's position inside.
Step #9: Flower Arrangement
Begin with your primary flowers, such as the pale pink spider chrysanthemums. Insert them into the foam, focusing on creating a balanced look.
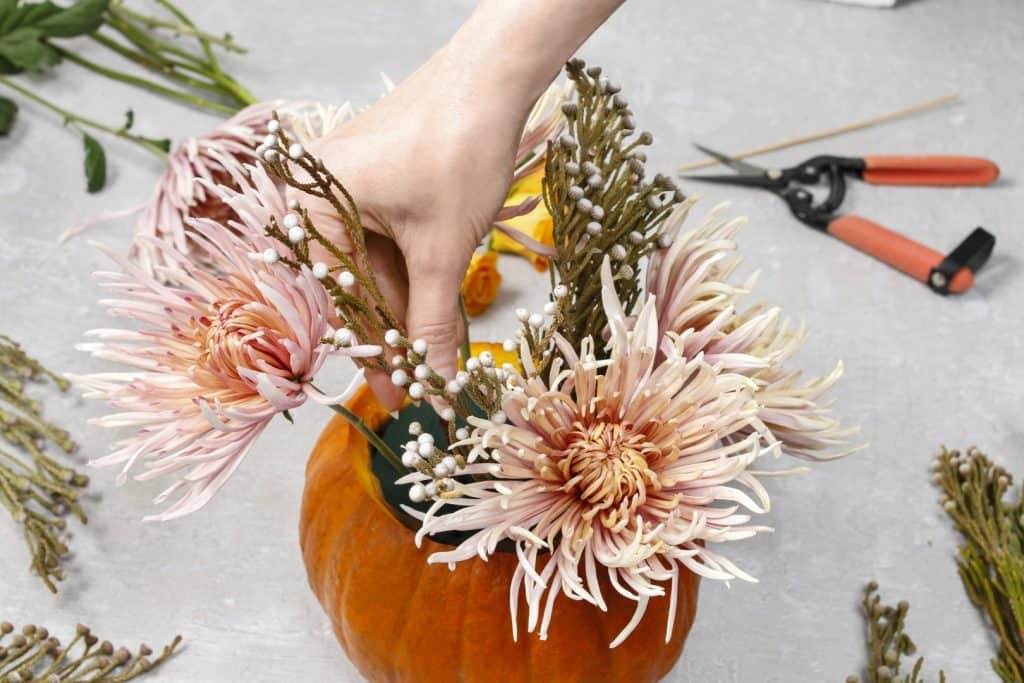
Next, add fillers and greenery to enhance the density and richness of the display. Make sure each element is securely anchored in the foam for stability.
Step #10: Finalizing Your Display
Position the finished arrangement on a flat surface, like a wooden table or counter. To enhance the festive vibe, you can place smaller gourds or decorative elements nearby.
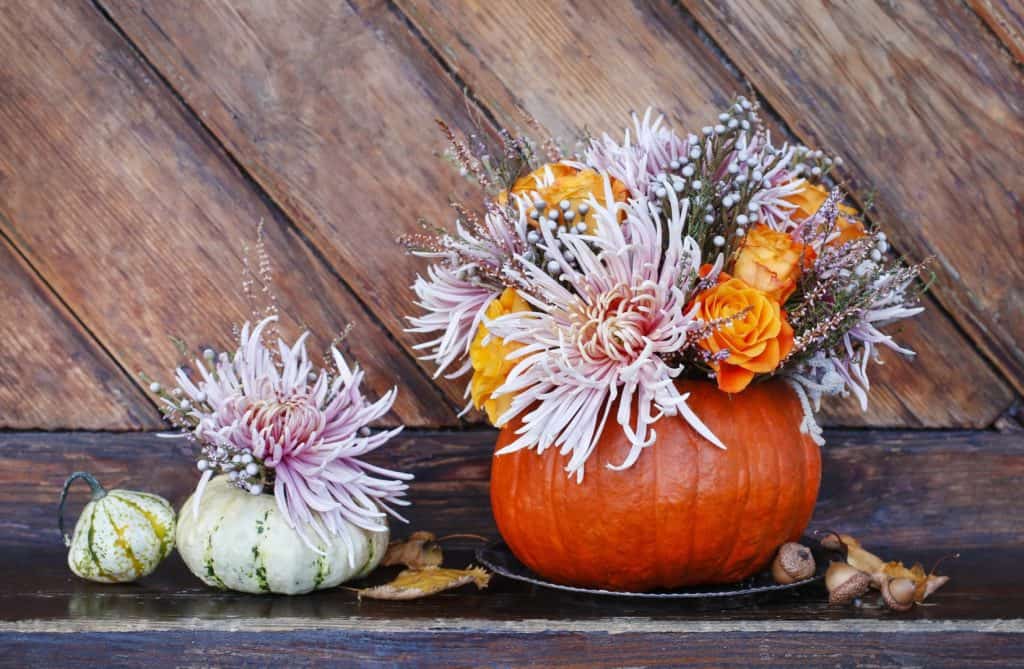
The bright orange roses complement the spider chrysanthemums, while the silver brunia balls and greenery provide texture and contrast.
You can also sprinkle a few autumn leaves and acorns around the base to tie in the season's essence. Adjust the overall display to achieve the perfect fall centerpiece!
Photo Contributor: Agnes Kantaruk