Over the years, your deck may start splintering without prolonged no maintenance. Good thing you can repair them to be smooth again. We looked into how that can be done. Here is what we found!
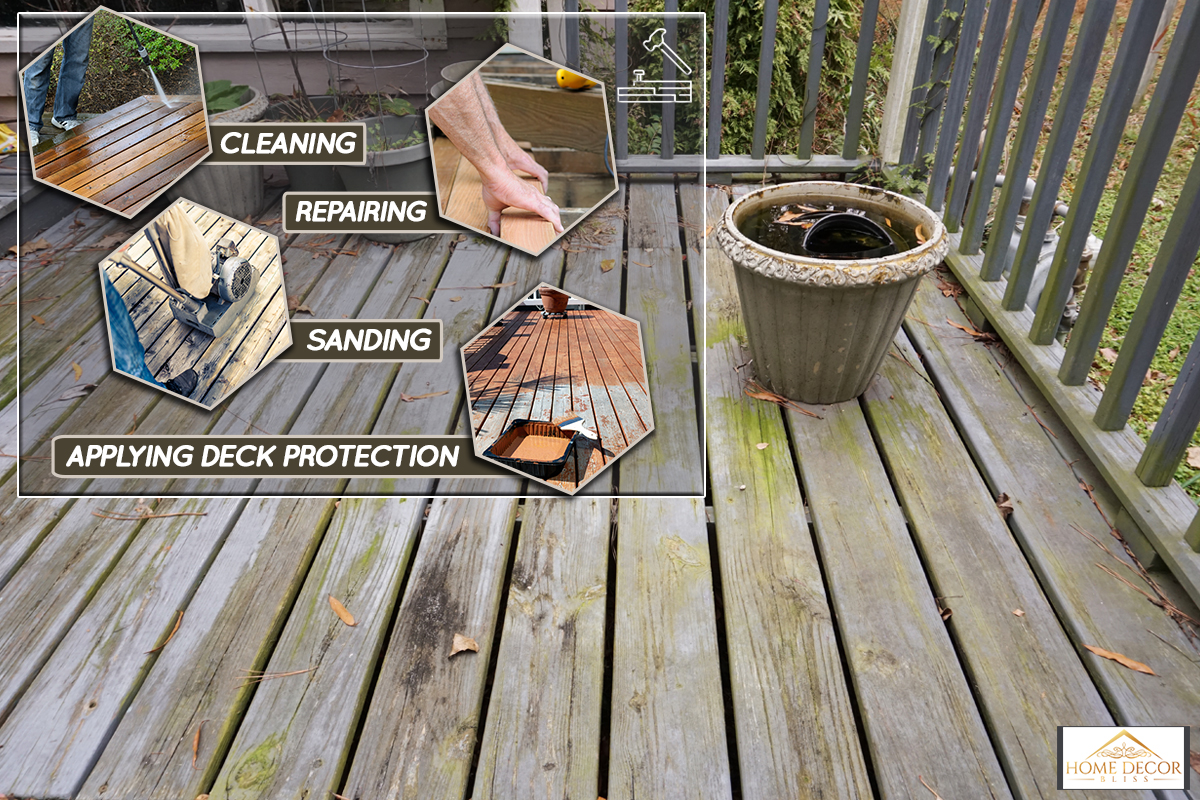
Repairing a splintered wood deck requires a few stages to accomplish. These include cleaning, repairing, sanding, and applying for deck protection.
We will discuss the procedure in detail in a little while for more accurate instruction. Aside from that, we will tackle some related information regarding your deck. That way, you will have to doubt that you can do this task by yourself. With that said, let's dive right in!
Repairing A Splintered Wood Deck
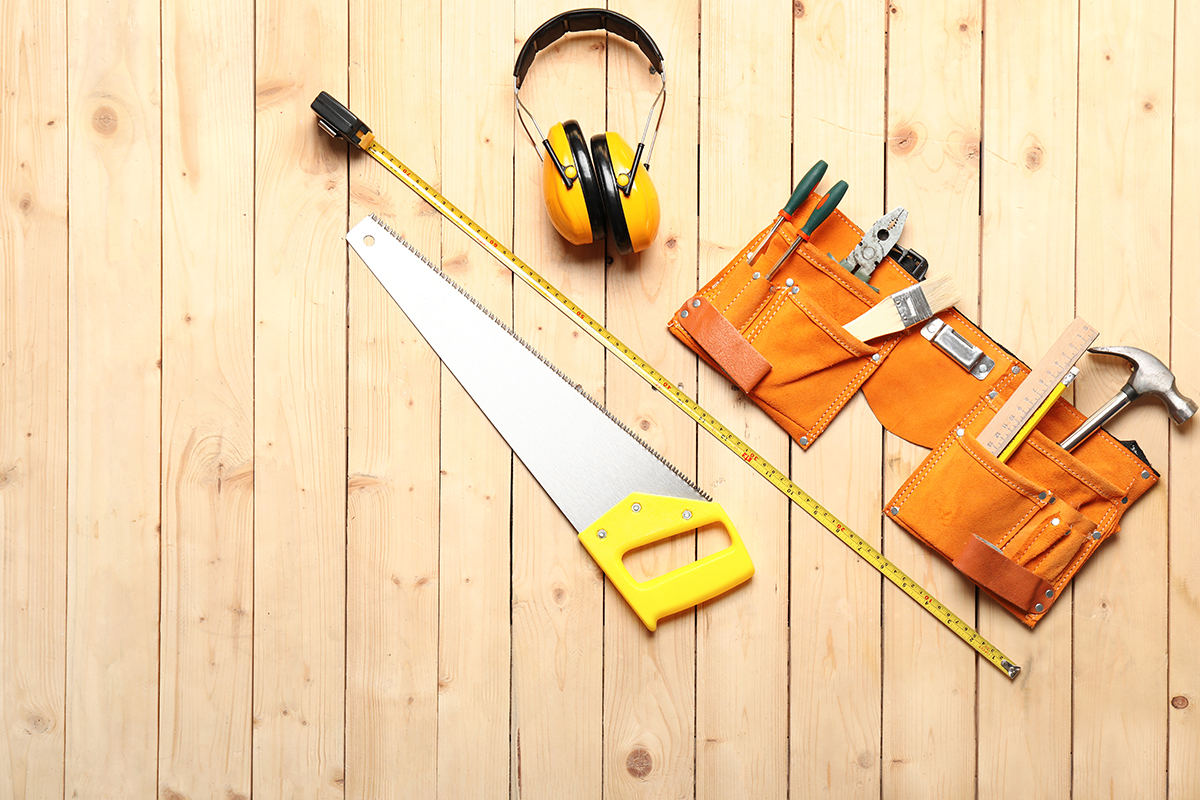
Before we proceed, you will need to wear protective gloves, eyeglasses, and boots first. Once you are geared up, gather the tools and materials you will need throughout the task.
Once gathered, you can set them aside where they will be accessed easily when you will use them.
You will learn about the tools and materials as you pass the procedure.
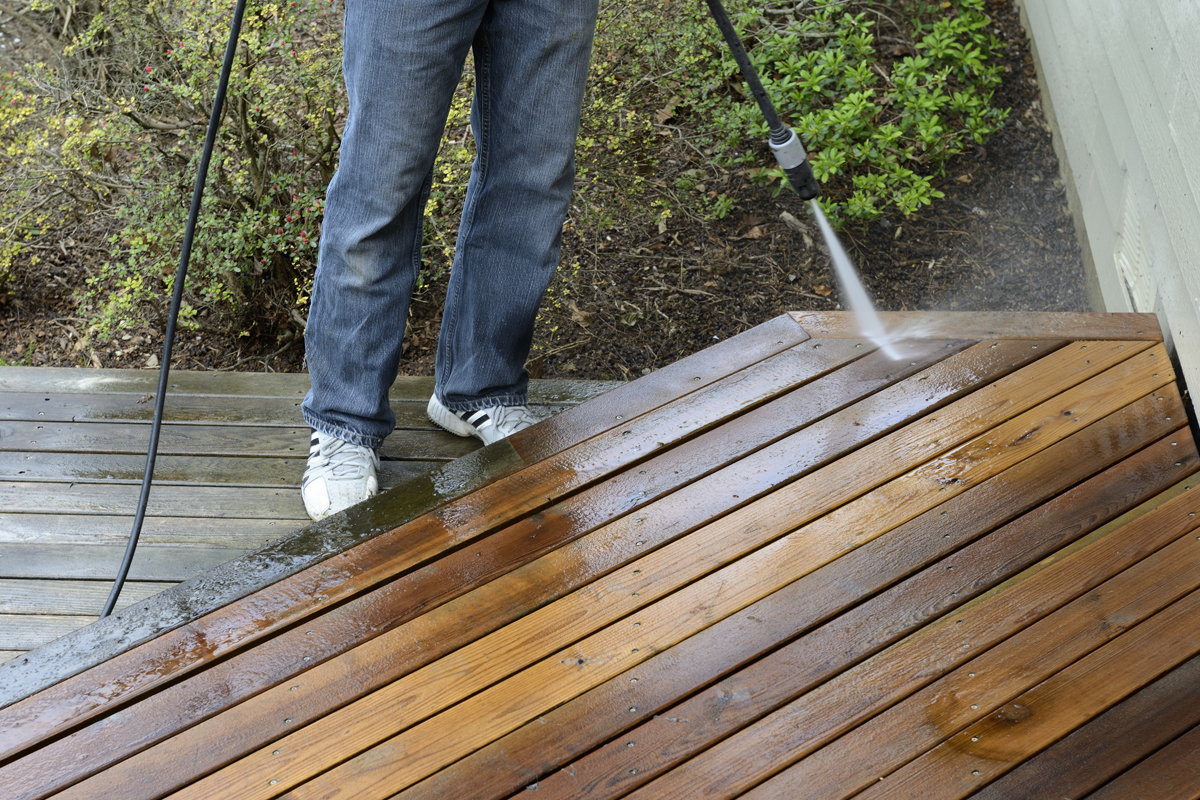
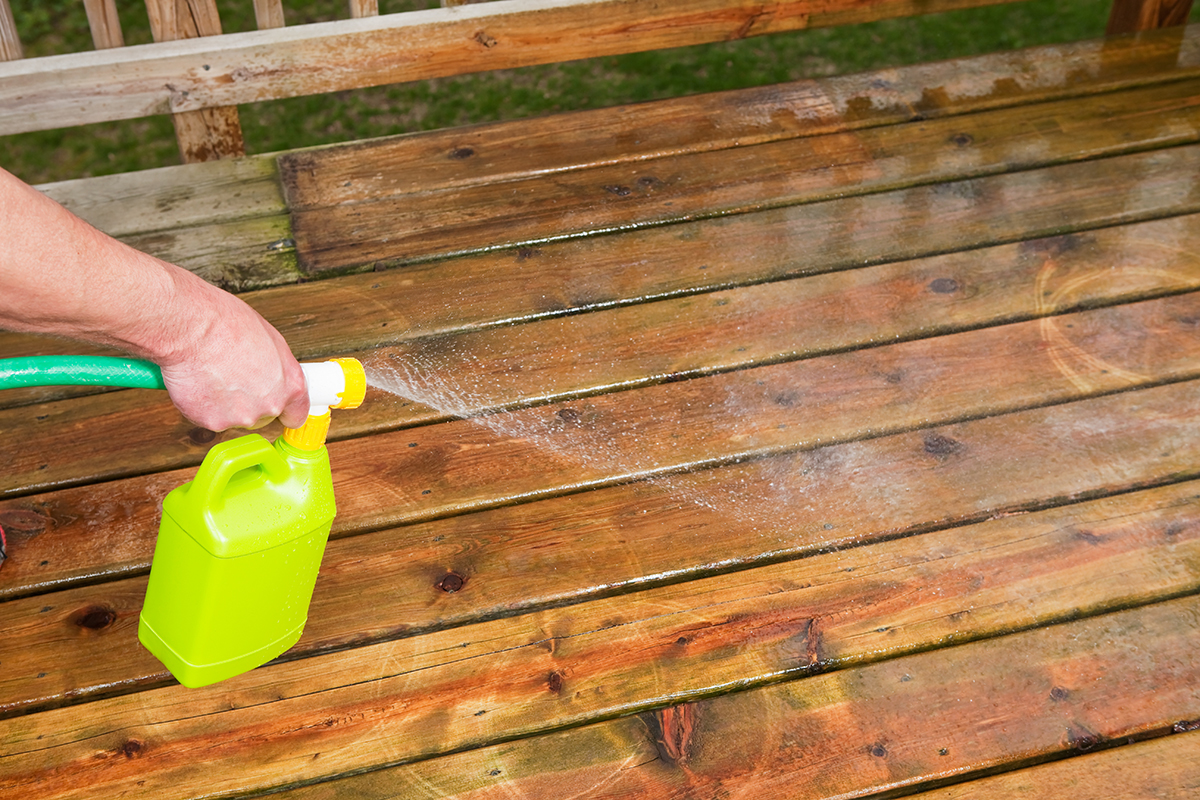
Stage 1: Cleaning
We may include affiliate links and curated AI content to highlight top design styles.
Materials needed:
- Bleach
- Water
Tools:
- Scrub brush
- Garden pump sprayer (optional)
- Power washer (optional)
- Pipe hose (optional)
We will first prepare the solution. The first thing we will do is to decide where we will store it.
If you have a power washer, it is much better since the pressure and forces it creates help eliminate the mildews and mold. However, if you do not have one, you can use a garden pump sprayer or a pipe hose with an attachment instead.
Another alternative if you are short in budget or time to buy either of the two is a spray bottle. However, you will spend more time sprinkling all over the deck area.
Once you have decided where to put the solution, you can fill it with an equal amount of clean water and bleach. The household bleach you have can do.
If you are wondering why we will use it, this is because bleach can help remove stains from the wood without harming its natural color. Another is that it helps kill the mold that is present.
After mixing the solution, start spraying and brushing the deck area.
Especially the mold, mildew, or stained spots. Once they are all brushed off the surface, wait for the deck to dry completely before proceeding to the next part.
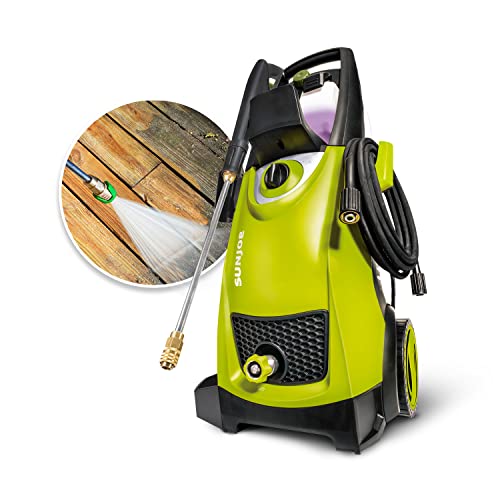
Check out this pressure washer on Amazon.
Stage 2: Repairing
Materials needed:
- Wood filler (depends)
Tools included:
- Hammer
- Nail
- Drill
- Screw
- Chisel
- Pry bar
- Jigsaw
Inspect the deck for any part that needs to be repaired. Here are some of the things you should look for and their solution:
- Protruding nails - Hammer them back down.
- Rusty or deformed nail - Replace with a new one.
- Lifted deck board -Drill them back down with a new set of screws.
- Rotting deck board - Replace the board. Cut the damaged area with a jigsaw or lift them using a pry bar. Please measure the length of the removed board and identify its kind. After you purchase new deck boards, cut them according to the size needed. Attach them down with either a nail or a screw.
- Spiky splinter - chisel them out.
If any cracks or gaps are during the repair, fill them with epoxy wood filler.
To spread them in and evenly, use a putty knife. Make sure to repair everything you need to. This will make the next step easier for you.

Check out this wood filler on Amazon.
Don't know how many screws there should be in a deck board? Learn here: How Many Screws Per Deck Board?
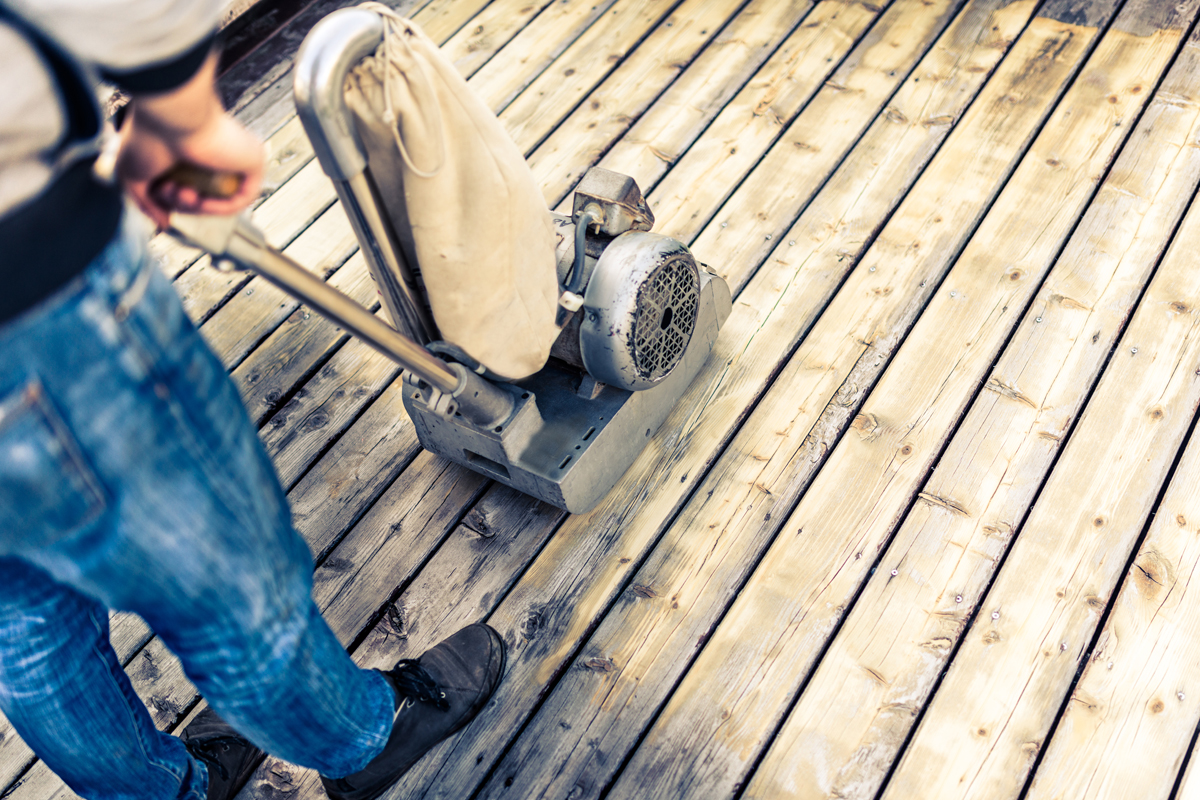
Stage 3: Sanding
Tools needed:
- Sandpaper
- Large floor sander
- Power washer (optional)
- Pipe hose (optional)
Once you are all done with the repair, it is time to sand the splintered deck. If you do not own one yet, rent an orbital floor sander available in your area. The rental usually costs $55 a day.
You will have to do the sanding twice—the first is with 100-grit sandpaper, and the second is 120-fine grit. This is because the low grit number works for scraping materials; thus, the 100-grit.
Followed by a higher number (120-grit) which smoothens the surface more.
We will show you how if you do not know how to attach the sandpaper to the orbital sander. First, lay the item on its side. The sand plate should be accessible from an angle.
Also, clean the dirt on its surface if ever there is one. Then, remove the cover of the sandpaper's adhesive. Carefully stick that to the plate. Press them together and flatten the sandpaper evenly.
Manually sand the areas the sander cannot reach to ensure no spot is missed. Once the deck's smooth and splint-free, remove the dust on its surface using the power washer or a pipe hose.
Wait for the deck to be completely dry. Drying might take a day or two.
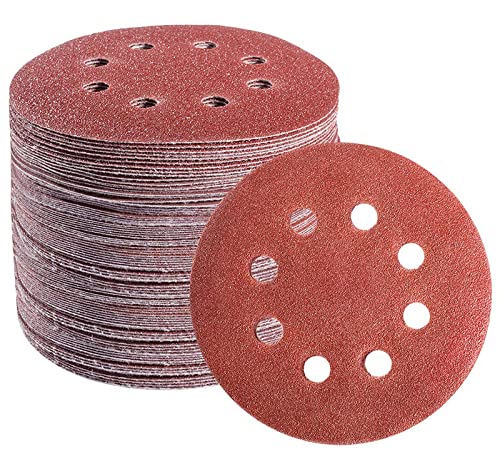
Check out this disc sandpaper on Amazon.
Read more about cleaning up after sanding in this post: Should You Wash Deck After Sanding?
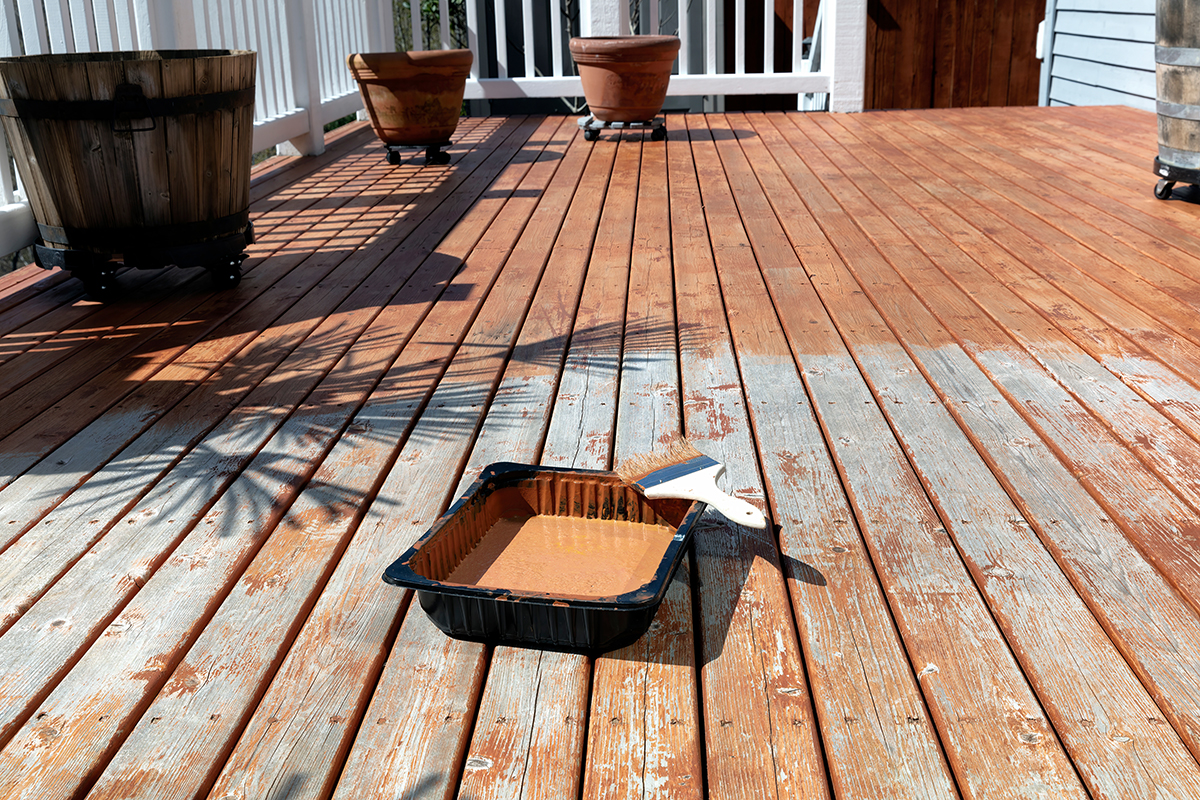
Stage 4: Applying Deck Protection
Materials:
- Deck Stain
- Deck Sealer
Tools:
- Roller
- Paintbrush
To protect your newly furnished deck, stain it either semi-transparent or colored. Carefully apply the deck stain with the roller and a paintbrush to create brushstroke marks.
Staining helps protect the deck from water and sun damage.
Then, the color highly depends on how you want the result to look. You have a lot of palettes to choose from. Pick the one that suits your style or compliments your house's exterior.
Once you are done, wait for the paint to be completely dry before walking on the deck.
Wondering what deck color compliments your house? Read this: What Color Should I Paint My Deck?
How Much To Repair Splintered Deck
You can hire a professional if you do not have the time to go through the splintered deck's repair. The repair price of a wood deck ranges from $10-$55 per square foot.
To give you a more detailed breakdown of this estimation, here are the repair cost depending on the wood type:
- Pressure-treated - $10 to $30
- Redwood - $12 to $35
- Ipe - $15 to $45
- Mahogany - $25 to $55
- Cedar - $25 to $55
If you want a more specific repair service, we will present some to you below:
- Rotting deck board - $300 to $5,000
- Molds - $200 to $600
- Holes - $150 to $500
- Cracks - $150 to $500
Also, here are some of the other service's prices:
- Patching up cracks and holes - $150 to $500
- Power washing - $150 to $500
- Deck sealing - $550 to $850
- Deck staining - $550 to $850
Can You Put Sealer Over Stain On A Deck?
Putting a deck sealer over the stain you applied is not advisable.
This is because the stain is already acting as the barrier against water and UV light that promotes warping, cupping, and cracking of the deck board.
So, adding a layer of sealer won't able to be absorbed by the wood.
How To Prevent Splinters On Wood Deck
To save yourself or your pocket from repairing a splintered wood deck, you must take action to maintain it constantly. One effective tip for doing that is by cleaning it annually.
To do so, follow these easy steps:
- Set aside everything that is on the deck.
- Sweep the floor to remove the dust and dirt.
- Wash away the leftover particles with clean water. Brush the deck to help sweep the liquid away.
- Using a paintbrush or roller, apply the deck cleaner. For accurate instruction, read the directions of the product you purchased. Let it sit for a few minutes.
- Rinse off the cleaner with clean water.
- Apply the sealer in a thin coat once the deck is dry. Repeat the application for the desired layer.
Check out this deck brush on Amazon.
Another wood deck maintenance tip is to have it cleaned, checked, and inspected by a professional. Usually, the fee for a check-up is $25, while an in-depth inspection costs $200.
To Finish Things Up
Repairing a splintered wood deck comes in 4 stages. The first one is power cleaning the surface with a water-bleach solution.
Next, inspect the deck for any problem that needs repairing, such as protruding, deformed, rusty nails, popped-up or rotting deck board, and spiky splinters.
Third, sand the deck area using an orbital sander with 100-grit and then 120-grit disc sandpaper. And lastly, treat the deck by applying a stain or a sealer.