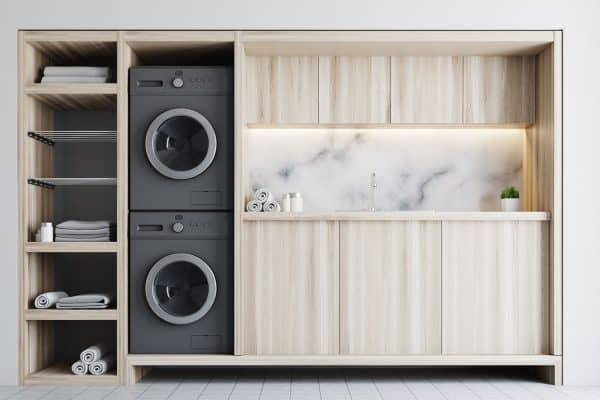
Whatever your lifestyle, the laundry room in your home gets a lot of use. So you are wondering - should the laundry room have a sink? Well, we provide a thoroughly researched answer to that question here. We also have included a primer on how to install one.
If within your budget and space, a laundry room sink adds significant convenience to your home's flow and your lifestyle. Advantages of a laundry room sink include:
- Stain scrubbing basin
- Filthy clothes staging area
- Excellent general clean up utility
In the rest of this post, we will expand on the advantages of a laundry room sink point by point. Following this are step-by-step directions on how to choose and install a sink of your own. This post will give you all the information you need regarding laundry room sinks.
![Washing machine in the laundry room, wooden table and shelf style, sink lamp mirror and wicker basket decor. Should A Laundry Room Have A Sink [And How To Add One!]](https://homedecorbliss.com/wp-content/uploads/2021/04/Washing-machine-in-the-laundry-room-wooden-table-and-shelf-style-sink-lamp-mirror-and-wicker-basket-decor.-Should-A-Laundry-Room-Have-A-Sink.png)
Stain Scrubbing Basin
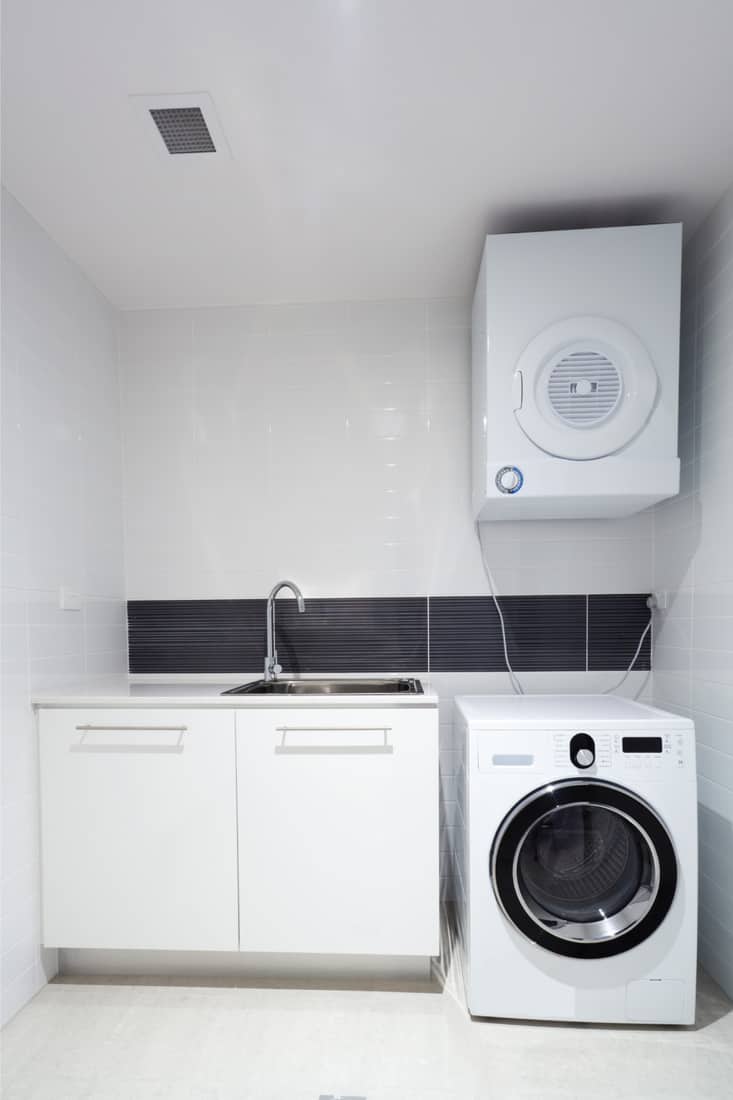
If you, your spouse, or your child stains clothing, it can be a real pain to clean up. No one likes bending over a bucket or getting the kitchen or bathroom dirty in the cleaning process. That is why a laundry room sink is just the ticket.
We may include affiliate links and curated AI content to highlight top design styles.
Whether the stain requires a bit of scrubbing or is better handled with soaking, a laundry room sink works perfectly. Generally deep basin sinks, these fixtures are designed to be easy to clean and easy to work in. This means that your back will have an easier time with the scrubbing process, and you will have an easier time cleaning away whatever caused the stain in the first place.
Further, laundry rooms are generally the home for all of your cleaning supplies. Having a centralized cleaning location means you can access soaps and stain remover, scrub brushes, hot water, the washing machine, and the dryer all in one place.
Finally, using the laundry room sink to clean stains frees up other areas in your house. No need to clutter the kitchen or bathroom with a soaking t-shirt. Keeping all the cleaning in one place improves home flow and neatness.
Filthy Clothes Staging Area
When a kid comes home from soccer practice, or you come in from a messy outdoor project, a laundry room sink shines once again. You can plop the muddy but easy-to-clean clothes right into the sink before transferring them to the laundry.
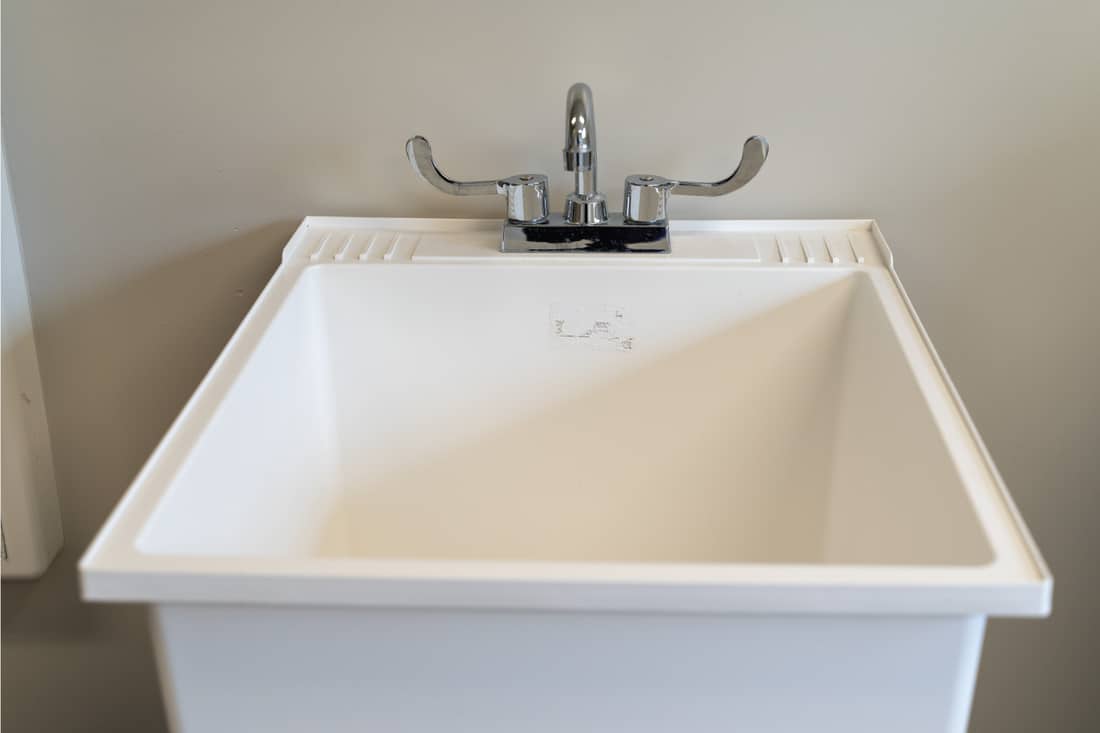
This avoids the hassle of getting mud, dirt, or other grime in the nicer areas of your house. And once you are ready for the washer, you can move the dirty clothes right to the laundry and rinse the sink out. Boom, the clean-up is all done.
Excellent Clean Up Utility
Laundry room sinks are easy to clean and can hold a lot of water, making so many chores easier. These chores include cleaning paint brushes, cleaning up other crafts, filling buckets, watering plants, and much more. As before, the best part is you do not have to worry about dirtying the rest of the house in the process.
While not always the case, many laundry rooms are near an entrance or exit to the home. The addition of a laundry room sink means that the wash-up is easier when you come home with dirty hands, arms, or face. You can scrub or rinse yourself in the laundry room without worrying about getting a mess in the rest of the house.
How to add a sink to a laundry room?
Once you have decided to get a laundry room sink and have chosen a good location - the real work is just beginning. In this section, we will cover how to add a sink to a laundry room. While these directions are relatively comprehensive, the safest, easiest, and neatest way to add a sink is to pay a plumber or general contractor to do the work for you. This is especially pertinent since local plumbing codes often apply to small changes like adding a new sink.
Tools and Materials
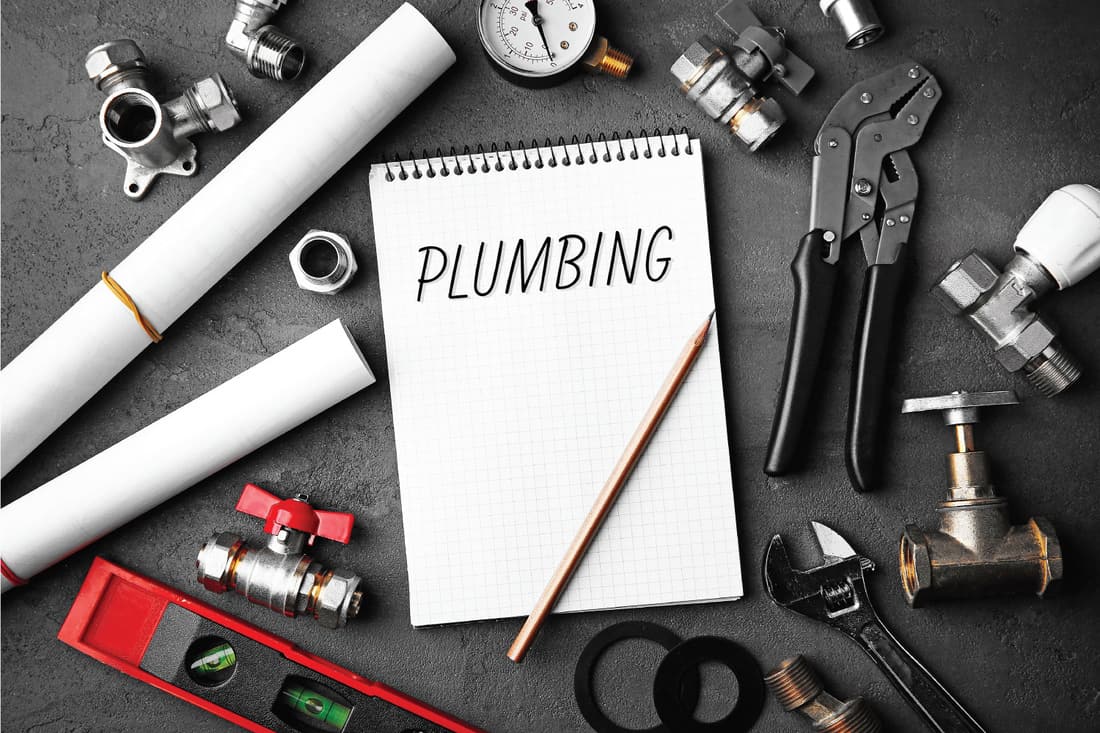
Here is a list of tools and materials you will likely need. Remember, every project is different and may require a unique set of tools and materials.
Tools
- Bubble Level
- Tape Measure
- Cordless Drill
- 5/8" bit or larger
- Stud Finder
- Pipe Cutter (copper or plastic depending o
- Utility Knife
- Thread Sealant Tape
Materials
- Laundry Sink
- Laundry Faucet an
- Two T-Joints
- Hot and Cold plumbing lines
- Sink valves
- Two stubouts
- Waste line for the sink
- Y-joint for the waste line
- drywall repair materials (if required)
Step 1: Find the existing plumbing
Since your laundry room has a washer in it already, you can be sure that the hot and cold water lines, as well as a drainage line, are nearby. Locate these lines and get ready to proceed to step two. For the waste line, sometimes the washer's standpipe works great, and other times you can hook into another waste line under your flooring.
Step 2: Choose where to run your new plumbing
You can either run the new plumbing in the wall or under the floor. To run the plumbing in the wall, you will have to remove a large enough section of drywall to access the old plumbing, the new sink location, and all the studs in between. Remove the drywall by cutting the tape lines with a utility knife and backing out the drywall screws with a screw gun. Use the stud finder to locate where the screws will be.
Running the plumbing under the floor is only feasible if your laundry room is above a crawlspace or basement. To get plumbing access, you'll have to drill holes in your floor under the new sink location. If you have to work in a crawlspace, be sure to wear proper protective equipment such as a mask and Tyvek suit.
Step 3: Attach the sink valves to the laundry supply lines
The first step is to determine what type of plumbing you have and what type of plumbing you will run. When working with copper joints, you will have to solder the new joints. Glue is used for many plastic pipes. Some types of joints use push-fit technology. When joining threaded joints, use the thread sealant tape for a longer-lasting tighter seal.
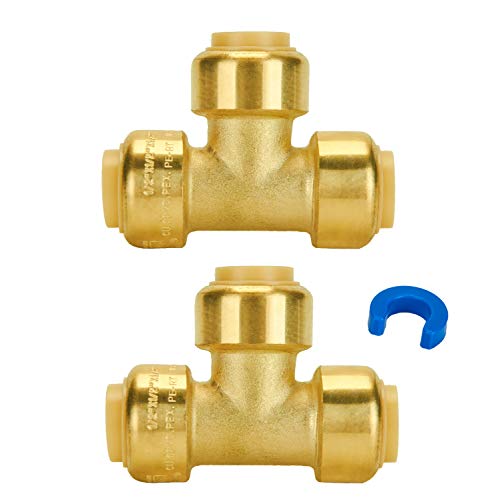
Here is an example of copper T-joints with push fitting. Click this link to see on Amazon.
Talk to the employees in your local hardware store to help choose what kind of plumbing to run. This involves price, existing plumbing, and DIY experience. Be sure to double-check that all your joints are compatible. Copper is the most common type of plumbing used for laundry supply lines.
Click here for stud protector plates from Amazon.
Next, drill holes through the framing to fit the new plumbing (usually about 5/8"). You will want to drill holes through all the studs or joists that separate the hot and cold supplies you are using to the new sink location. For thinner framing, reinforce the drill location with a stud protector plate.
Now be sure to shut the water off and drain the plumbing system by opening the valve or faucet that is lowest in elevation. Now, use the proper cutting tool to cut the existing lines. For instance, if the existing lines are copper, use a copper pipe cutter; if they are PEX, use a PEX pipe cutter. Then push the T-joint into the new space and attach it according to the pipe type (solder, glue, or push). Depending on the supply line configuration, you might have to make two cuts to make room for the space taken up by the joint.
Click here for a stub out that connects from PEX to the sink valve from Amazon.
Run the plumbing from this T-joint until you come to behind the new sink location. Here, you'll run out the stub outs. Stub outs are the pipe ends that hook onto your sink valves. For underfloor installs, you'll run pipe straight up along the wall to a 90-degree turn for the stubouts. For in-wall plumbing, situate the stubouts, so they stick straight out from the wall to fit your new sink.
Click here for a multi-material shut-off valve from Amazon.
Finally, attach the sink valves to the ends of the stubouts. Sink vales attach to your plumbing and the lines included in your sink. They usually are closed via a knob. The end that attaches to your sink line is threaded - make sure you get compatible joints. At this point, close the valves and pressure test the system to make sure all your joints hold
Step 4: Run the new drain line
Start by cutting into the chosen waste line and attaching the Y-joint. Make sure this joint fits the waste line for the new sink. Then run the waste line from where the sink P-trap terminates to the Y-joint. Make sure that the waste line runs consistently downhill the entire way. This downhill run does not have to be significant; 1/4" of drop per foot of run is plenty.
****For this step, be sure to follow the local code.
Step 5: Repair Drywall or Flooring
Repair the drywall or flooring that you had to remove to run the new plumbing. This might require new drywall tape and a new paint job. Be sure to reinstall all insulation you may have removed. This is essential, especially in cold climates - frozen pipes are not fun.
Step 6: Assemble Sink and Attach to New Plumbing
Assemble the sink and faucet as per the included directions and attach them to your new plumbing. Be sure that the hot water, cold water, and drain lines are all attached properly. Test everything out before you declare a job well done. Also, take the time to level out your sink. Good work!
How much does it cost to add a sink to a laundry room?
The cost of your new sink install usually runs about $350. This is the price tag just for the parts and sink - so this assumes you are doing all the work yourself. If you are paying a professional to do the work, expect to pay double this or more.
How to choose a sink for a laundry room?
When choosing your new sink, you need to consider size, depth, and material. Initially, you want to make sure your new sink fits the space you have in your laundry room. A deeper sink provides more utility for cleaning and storage but generally costs more. You want something easy to clean in terms of material, such as stainless steel, that still matches your decor.
In Closing
This post has provided you not only the many advantages to a laundry room sink but has even gone over how to install one. Now it is time to get out there and upgrade your laundry room. Good luck!
When deciding how to design your laundry room Home Decor Bliss has you covered. Both of the following articles are full of great advice to give you the most convenient good looking laundry room around.




![Epoxyshield vs. Rocksolid: Which is Better? [Pros, Cons & Differences Explained]](https://homedecorbliss.com/wp-content/uploads/2023/08/shutterstock_1764682379-600x400.jpg)
