Bathrooms have a lot of nooks and crannies, and one of the more difficult spots to reach is behind the toilet. If you've decided to paint your bathroom, you might be wondering how to reach it. Well, we've researched the topic in-depth and have the answer for you.
Follow these steps to paint behind a toilet:
- Choose your paint.
- Prep your toilet and bathroom for painting.
- Choose your method of painting: mini roller or stick and rag.
- Paint behind the toilet with thin, light coats.
- De-prep your toilet.
We've given you the basic steps to paint behind your toilet, but keep reading as we go into detail about how to do each step. We'll also answer some other questions you might have about painting your bathroom!
![Newly painted Green room toilet fisheye, How To Paint Behind A Toilet [5 Steps]](https://homedecorbliss.com/wp-content/uploads/2021/01/How-To-Paint-Behind-A-Toilet-5-Steps.png)
How To Paint Behind A Toilet
We may include affiliate links and curated AI content to highlight top design styles.
Before you begin painting behind your toilet, there are a few things you will need:
- Trash bags
- Drop cloths
- Mini roller or stick and rag
- Primer and paint
- Tape
Step 1: Choosing Your Paint
If you need to know how to paint behind your toilet, you're probably planning on painting your entire bathroom. Bathrooms are high moisture areas, so it is important to choose a paint suitable for the area.
Though there are "bathroom paints" available, you can use latex-based interior paint. Just check for a paint that is washable and has a semi-gloss or gloss finish, or a paint that is mold and mildew proof. Flat finished paint is the most susceptible to moisture and therefore mildew growth, so it is best to avoid this kind of finish.

Click here to see this mold & mildew proof paint on Amazon.
Step 2: Prepping Your Toilet For Painting
Paint fumes can be strong, so make sure your bathroom is well ventilated. Run the fan or add a small fan in the doorway to increase ventilation. The very first step is to clean up around your toilet.
The paint will adhere best and look better if you make sure the area is clean first. Remove the lid to the water tank to make it easier to reach behind the toilet. If you're not sure how to clean behind your toilet, we will go over this below. Make sure the wall is dry before you begin to paint.
Once the area is clean and dry, place a trash bag over the water tank and secure it with painter's tape. This prevents any paint splashes from getting on your toilet. Place drop cloths around the base of the toilet to protect the floor.
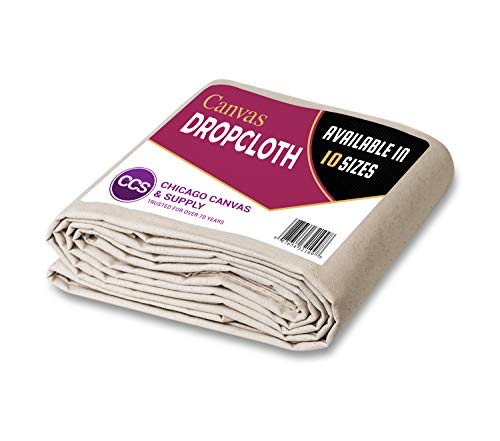
Click here to see this drop cloth on Amazon.
How Do You Clean Behind The Toilet?
We listed a stick and rag as a method to paint behind your toilet, but it is also a good method for cleaning behind your toilet. Attach a damp, wet cloth to a yardstick or painter's stick and use it to reach behind the water tank. Keep the area clean by doing this every time you clean the rest of your bathroom.
Step 3: Deciding On Your Painting Method
The method you choose really depends on how much space you have between your toilet and your wall. The easiest method is to use a mini roller, but if you have less than an inch clearance, a mini roller will probably not fit. If you have very limited space, you will need to use a stick and rag. This is as easy as it sounds and we'll discuss it more in just a moment.
Mini Roller
A mini roller is just that. It is a small roller measuring around an inch in diameter. Choose a long handle for your roller so that you can reach all the way behind the toilet. You can purchase rollers with handles for hard-to-reach places like the one below.

Click here to see this mini roller on Amazon.
Stick And Rag
For this method, you will need a smooth rag or a paint edger pad. Attach your rag or pad to the end of a painter's stick. This will allow you to reach behind the toilet. This method will not be as neat as a roller, but it will get the job done.

Click here to see paint edger pads on Amazon.
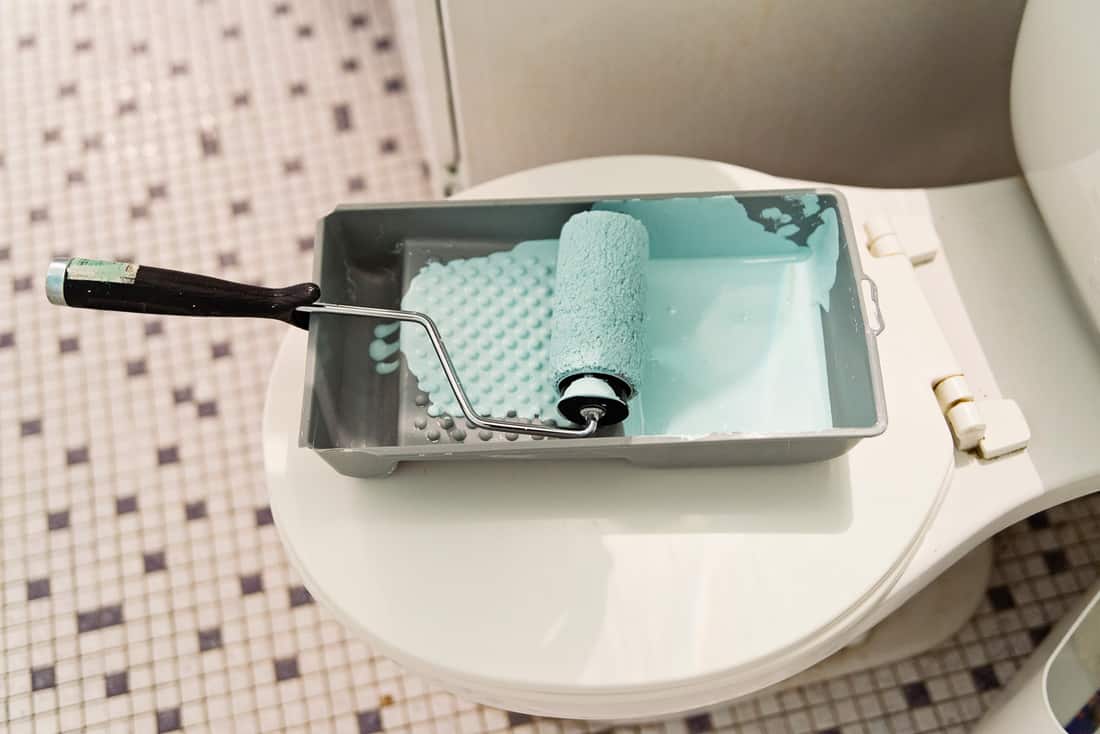
Step 4: Applying The Paint
Whichever method you choose, you should apply the paint the same way. Multiple thin coats will be needed. Slide the stick or roller back and forth until the area is adequately covered. Make sure to let each coat dry before applying the next. Place your roller or rag inside a bag between each coat to keep it from drying.
Step 5: De-prepping Your Toilet
Once your paint is dry, you can remove the tape, the trash bag, and drop cloths from the floor. If you decided to skip the trash bag step and accidentally dripped paint on your toilet, clean it up as soon as possible.
How Do You Get Paint Off A Toilet?
If you've got paint on your toilet, don't worry, it won't become a permanent feature if you act quickly. Fortunately, porcelain is a pretty easy surface to remove paint from and if it is a fresh spill, it should be pretty easy to remove with a damp cloth. If the paint has had time to dry and it is latex-based paint, use a cloth soaked in denatured alcohol and scrub the area.

Click here to see denatured alcohol on Amazon.
If the paint is still not going away, you can use a paint thinner. Paint thinner will not damage porcelain, but you should wear goggles and gloves when using it. Make sure to follow any guidelines on the paint thinner container. Apply the thinner using a paintbrush and allow it to sit for 10 minutes until you notice the paint start to change.
Use a plastic scraper to remove the thinner and the paint, and then wash the area with warm, soapy water. Paint thinner will remove both latex and oil-based paints.

Click here to see paint thinner on Amazon.
Do You Need To Prime Bathroom Walls Before Painting Them?
It might be tempting to skip primer and jump right into painting, but it is never a bad idea to prime any room before you paint it. This is especially true with your bathroom. Using a primer before you paint not only gives your paint a better finish, it also helps protect it against moisture and mildew— and just as there is with paint, there is also mildew resistant primer available, too.

Click here to see interior latex primer on Amazon.
What Do You Paint First In A Bathroom?

So, you've picked your paint, prepped your bathroom, and you've got all of the necessary equipment, but where do you begin? Well, the general rule is to work top-down, so if you are planning on painting the ceiling as well as the walls, you should begin there. Paint the trim next.
If you are not painting the ceiling or the trim, you can delve right into painting the walls and begin by cutting in the edges of the walls with a 2-inch brush.
If you hadn't thought about painting or decorating your ceiling, but now you're feeling inspired, check out this blog post: 11 Awesome Bathroom Ceiling Ideas.
Final Thoughts
Painting the wall behind your toilet might seem like a tricky task, but with the right equipment, you can conquer it fairly easily and quickly. Hopefully, our steps and advice have eased any of your concerns and you now feel confident you can get the task done. Happy painting!
Now that you've figured out how to paint behind your toilet, you might be wondering how to paint your cabinets. Well, we can help with that, too. Take a look at another one of our blog posts: How To Paint Bathroom Cabinets [9 Steps].
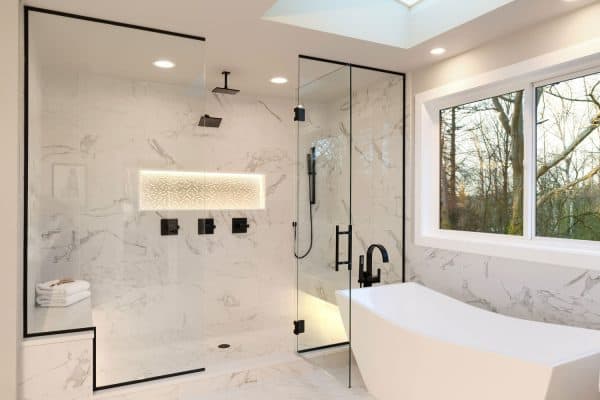
![Marble walled shower wall, 5 Best Types Of Shower Wall Panels To Consider For Your Bathroom Renovation [The Ultimate Guide]](https://homedecorbliss.com/wp-content/uploads/2023/07/shutterstock_2138160219-600x400.jpg)